| Building
Tamiya's M3 Lee |
 |
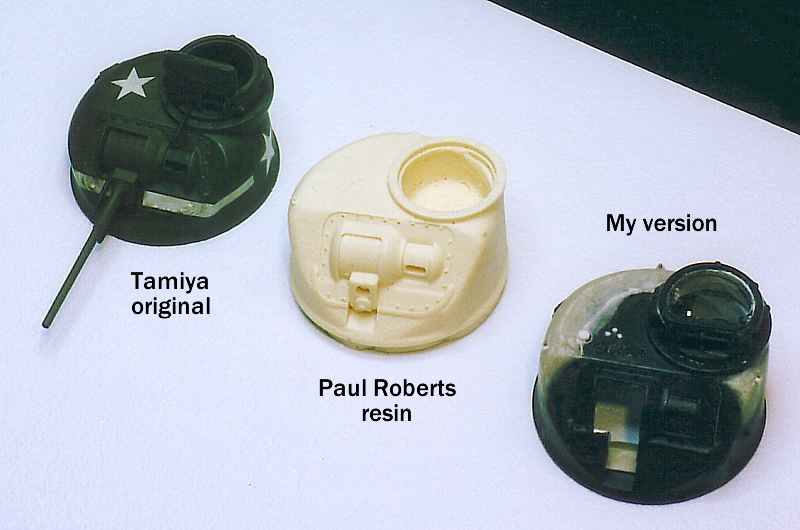
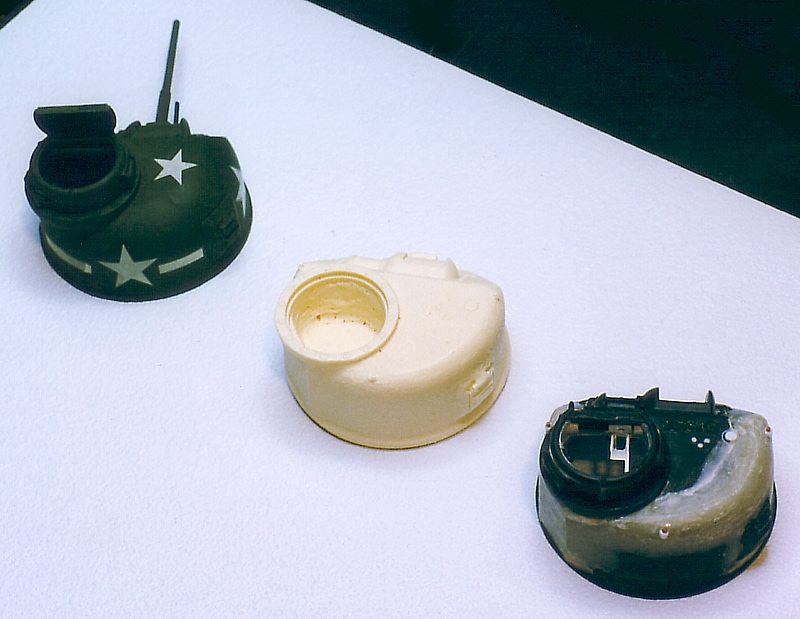
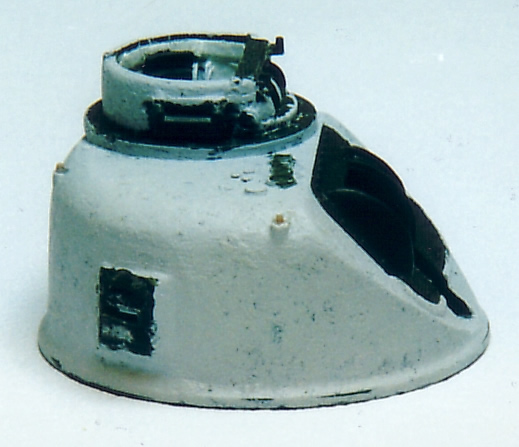
Turret Exterior
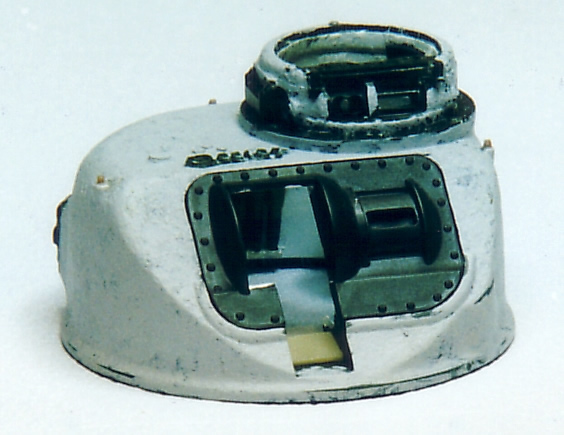
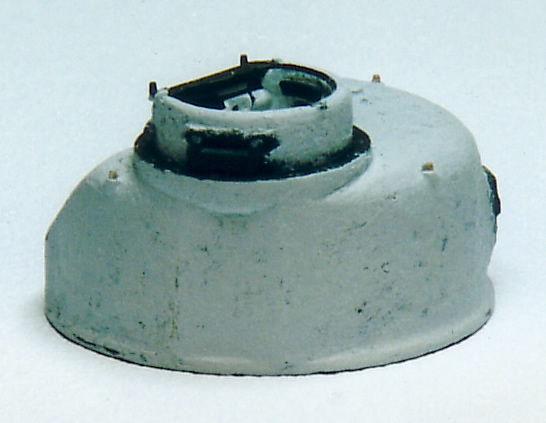
The slender tube beneath the 37mm barrel is often mistaken for a .30 machine gun. It is actually a stabilizer for the 37mm. Not all guns had this stabilizer, and I found conflicting information as to whether the stabilizer for the 37mm directly corresponded with the use of a stabilizer for the 75mm—and hence the need, or not, for the collar seen on the shorter 75mm barrels. (This is probably an instance where the Zaloga or Hunnicutt books would have provided quick and reliable answers.) However, as one can see from the picture on the front page of this article, the profile of the North African Lee in the color Army motion picture shows the use of the 37mm stabilizer with the longer 75mm barrel, which my build up reflects. The actual coax .30, by the way, is positioned to the right of the gun (looking out from the turret). Turret InteriorSince you can only look down into the turret through the cupola, the skewed dimensions of the roof and wall transition are not apparent. The ready rounds from Verlinden were added to the walls, and I did a bit of detailing on the port. The visors on the cupola got some additional detailing as well. I decided to have the .30 machine gun removed for maintenance, and fashioned a cradle and spring to fill the space. (How a man was supposed to navigate around that MG and in and out of that hatch is beyond me!) Without any detailed photos to guide me, I just added some bolts and a handle to the cupola hatch based on the layout of hinges on the kit piece.
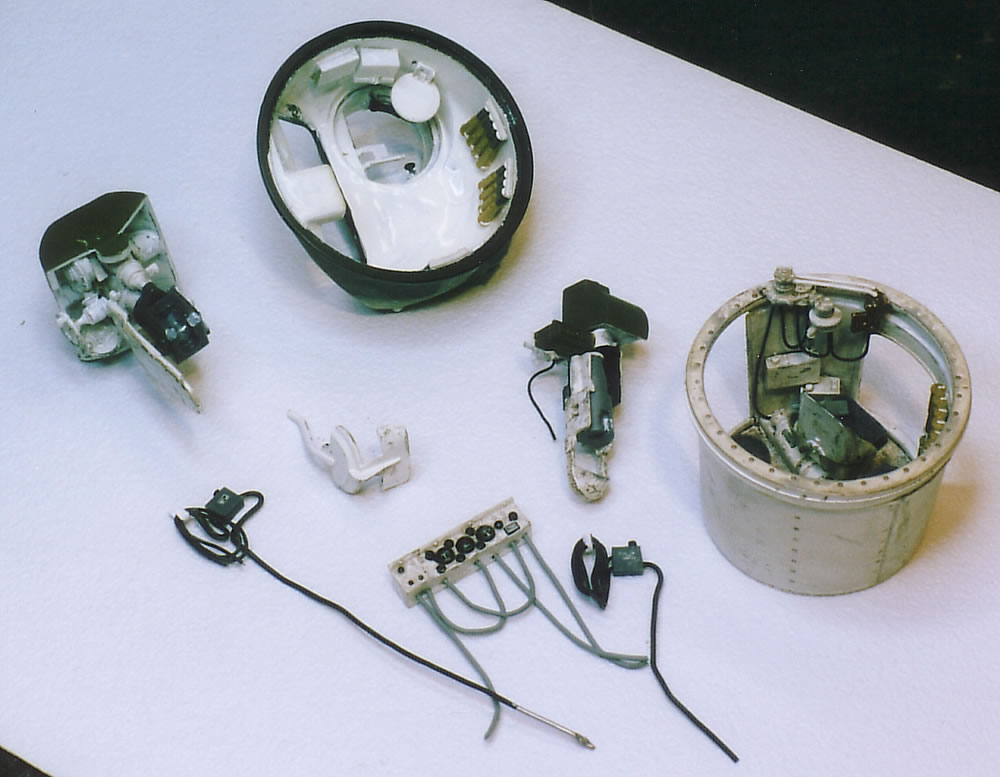
Turret BasketI had troubling deciphering VP's instructions for the turret basket and the top ring as to exactly where they attached (the ring interior seems undersized). It fits the Tamiya turret well. However, I had to remove a portion of the left sponson in order to allow the turret to sit properly on the hull; I don't know if was a result me fouling the turret ring attachment or if VP fouled their measurements. But since my adjustments shorted the length of the turret from top to bottom, I think the problem is with Verlinden's accuracy or construction method. When
I dry fitting the top and bottom hull parts and dropping the turret in place,
I discovered that I needed to break apart and reposition the generator on the
rear left sponson because it was in the way of the basket. Introduction
and Research Notes |
 |
 |
 |
 |
 |
 |
 |
 |
 |
 |
 |
 |
|