| Building
Tamiya's M3 Lee |
 |
The Upper Hull Interior
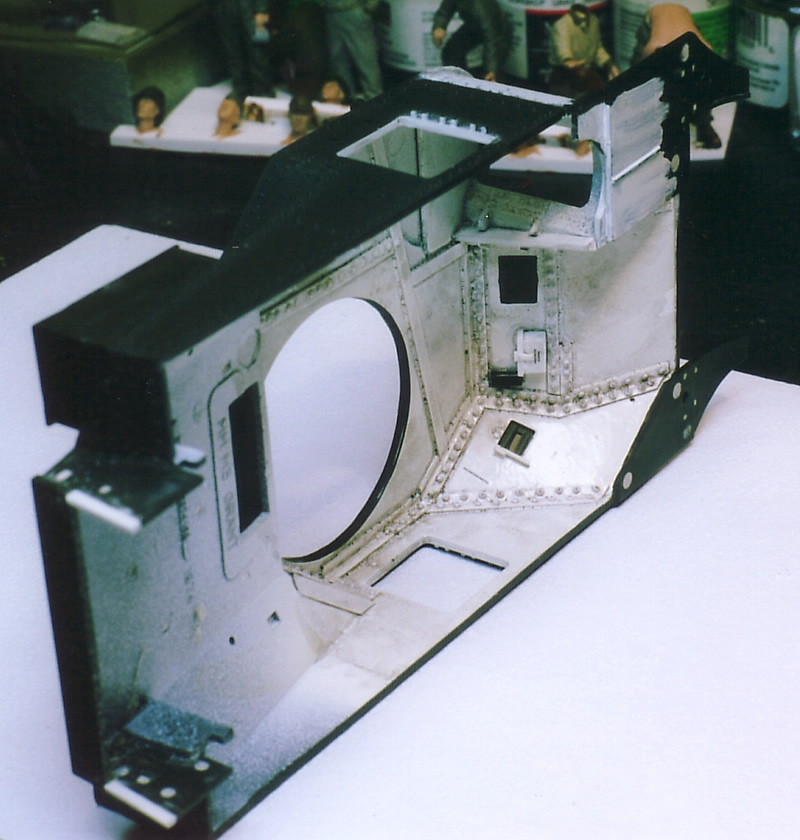
Between the VP resin and Eduard photoetched metal sets, you have two different approaches to the control panel. I opted for the resin piece because I could drill holes in the bottom and drape wiring from it. I used some gauge decals from Fingerprint Designs' "U.S. Internal Stenciling" for the instrument panel. (If you're just looking through the doors of the tank and not the turret opening, you can get by just painting the circles black). The VP set also provides for the dual .30 machine guns that were originally assigned to the front glacis, but by the time the Lee saw action one of these guns had been removed and the open port plugged. VP combines the two .30 bodies and the cradle into one piece. I carefully carved off the left gun from the cradle. Both this part and the instrument panel were installed late in the final steps, just before attaching the upper and lower hulls. Other detailing came from the Verlinden set (radio, generator, 75mm ammo bin, and a pair of unidentified pressurized containers) and personal additions, included wiring and junction boxes, ammo bins for the hull .30, a fire extinguisher, canteens mounted on the turret brace, and extended gun shield bracing that is missing from the Verlinden piece. Another puzzling omission from the interior set is the seat back for the gunner. I made one out of scrap plastic and attached the completed seat to the sponson gun just before sealing the interior. Introduction
and Research Notes
|
 |
 |
 |
 |
 |
 |
 |
 |
 |
 |
 |
 |
|