105mm
Howitzer
The
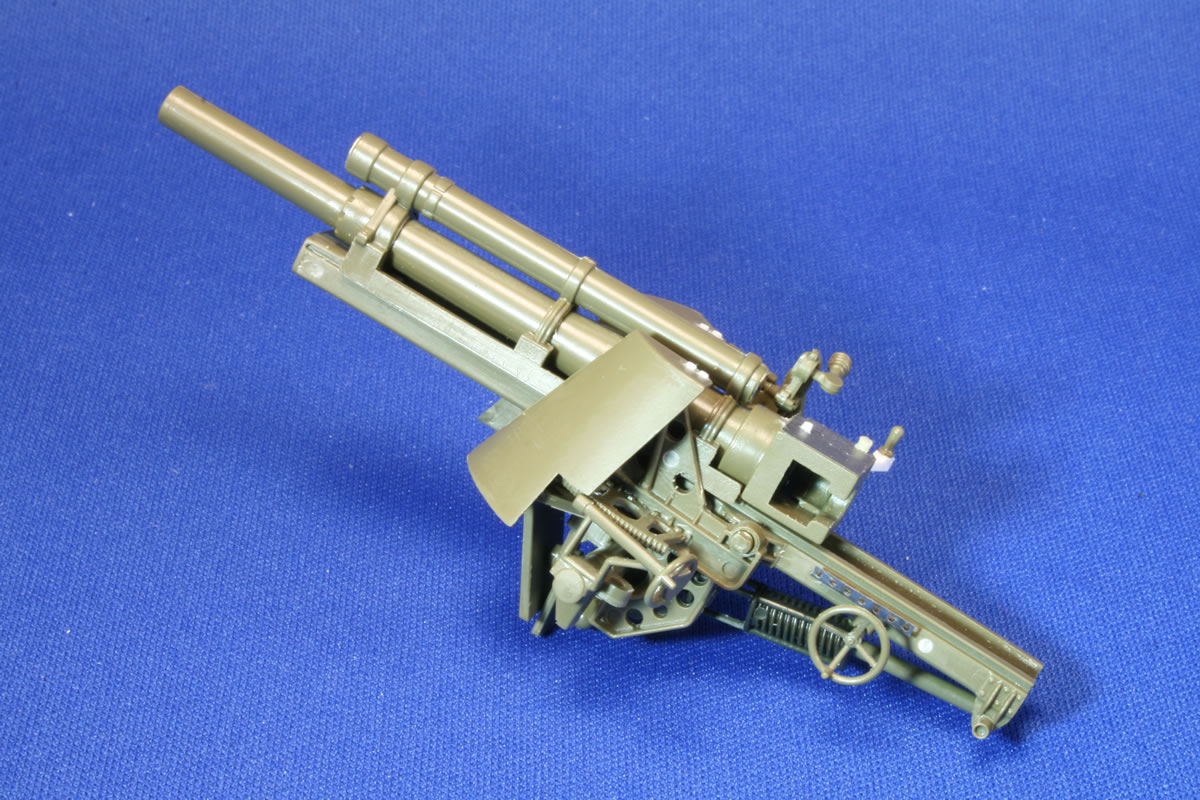
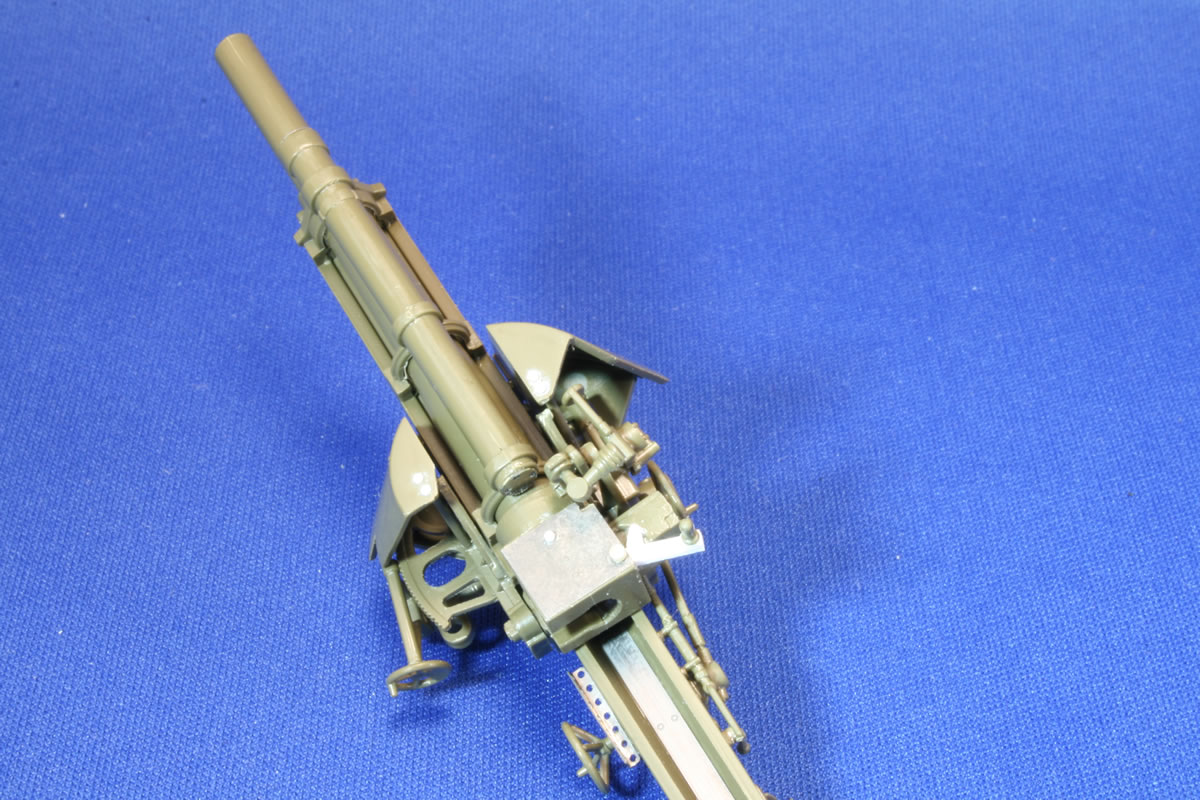
howitzer goes together quite easily, save for numerous pin marks on the sleigh
and arc assemblies. Some of these can be filled in easily, some not. Other things
to pay attention to include making sure the outer faces of the two shield sections
are flat along the edges (there's a bit of a flare along the edges), and seams
are removed on the barrel, recuperator, and cradle (this took several attempts,
even after the first coat of paint). Eduard supplies pieces to cap the ends of
the recuperator, but make sure you have sanded down the end faces so the parts
sit flush on them; some putty might be needed to blend the rims of the photoetch
parts with the plastic. There also are metal parts to cover the seams on the rear
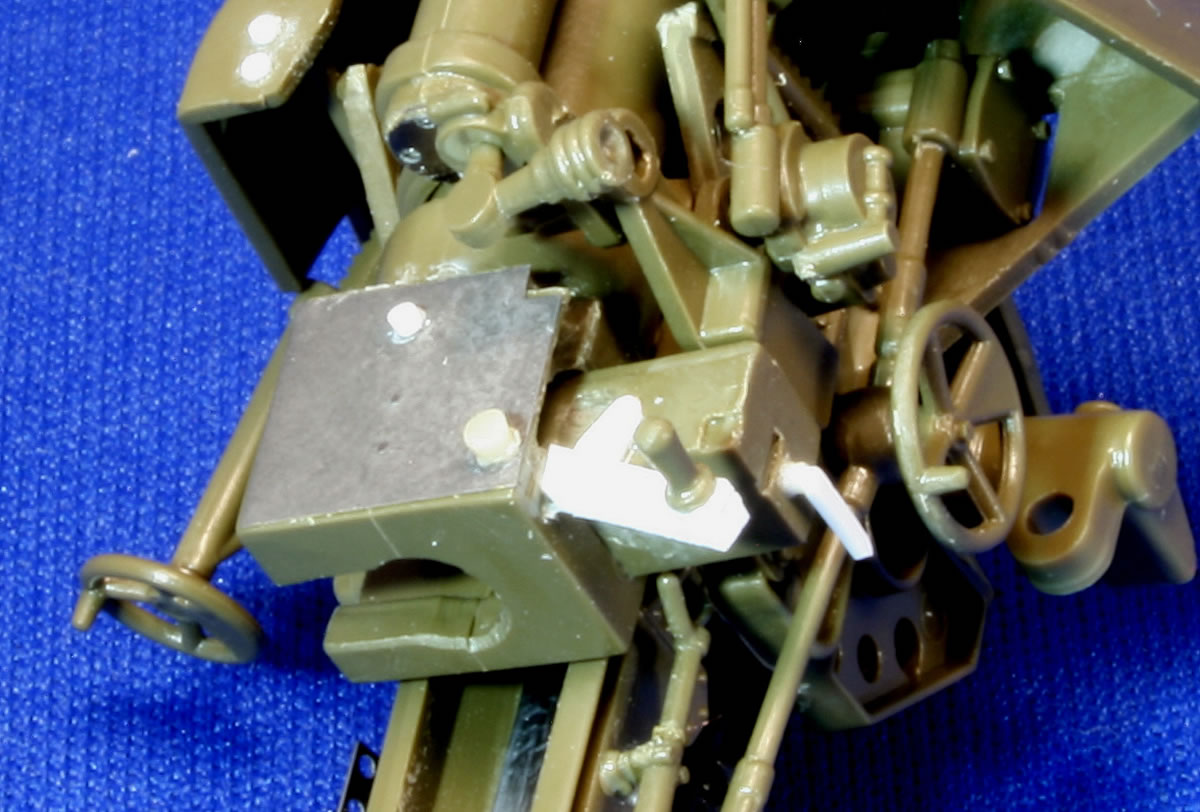
trough of the cradle and on the breech plate. The shields need a pair of bolts
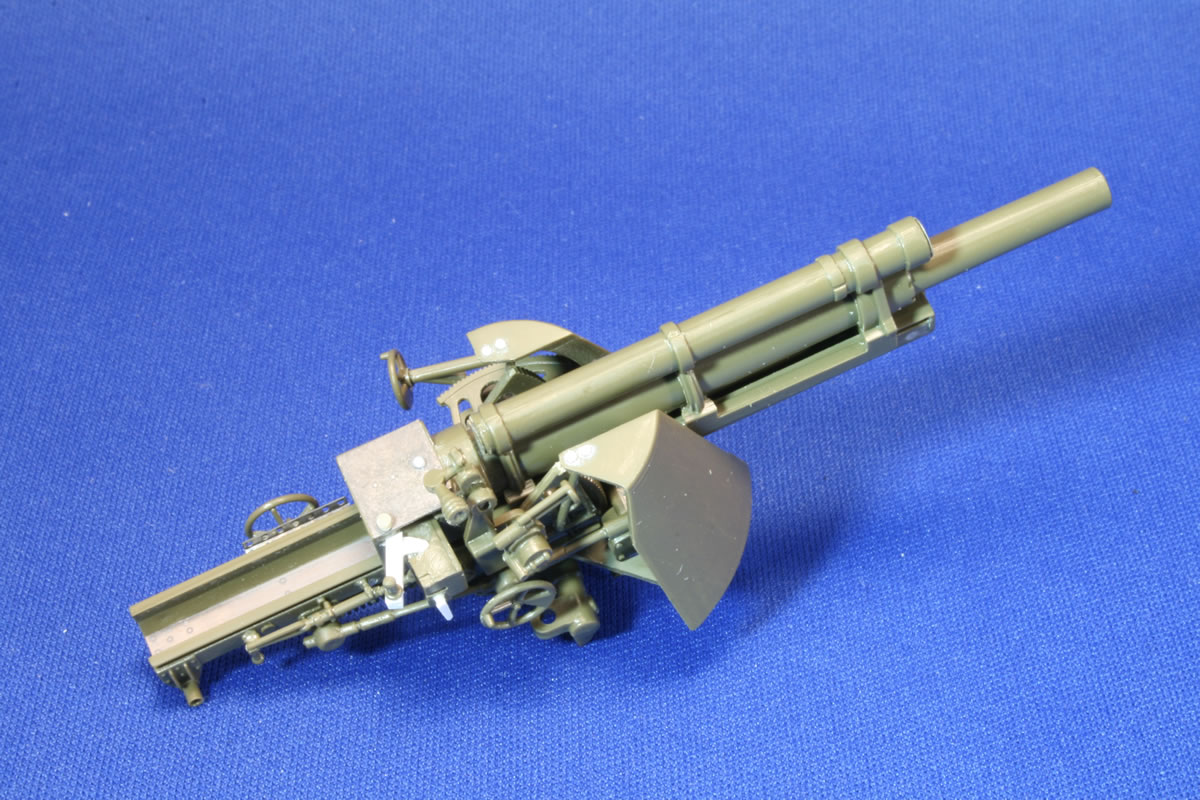
added to their tops for the connection of the support arms.  The
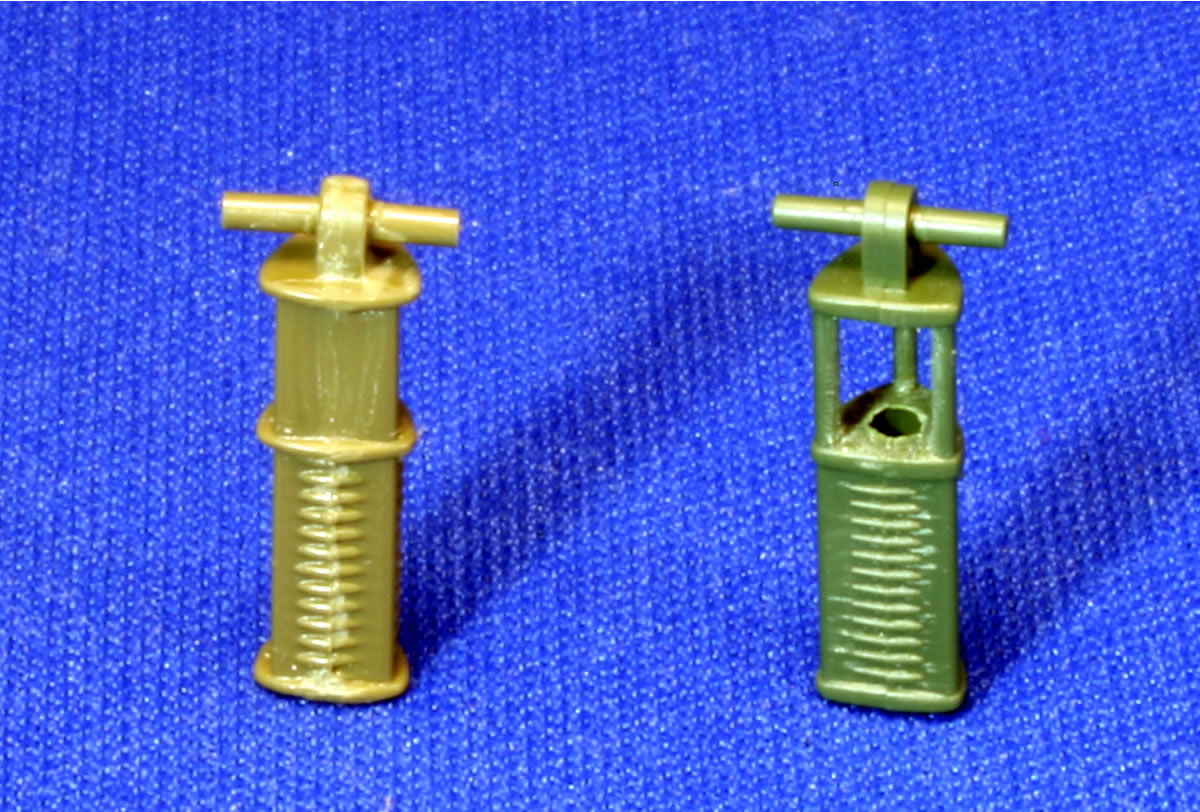
equilibrator beneath the cradle is a poor representation, with a couple of nasty
pin marks smack into the sides of the spring that are virtually impossible to
repair. The two rods on the top side are presented as a solid flat plate. I used
the trusty Dremel and X-acto to open the area and shape the rods. The photos shows
the Italeri part on the left and the Academy version on the right. They share
the identical problem and were cleaned up in the same maner. The
equilibrator beneath the cradle is a poor representation, with a couple of nasty
pin marks smack into the sides of the spring that are virtually impossible to
repair. The two rods on the top side are presented as a solid flat plate. I used
the trusty Dremel and X-acto to open the area and shape the rods. The photos shows
the Italeri part on the left and the Academy version on the right. They share
the identical problem and were cleaned up in the same maner.
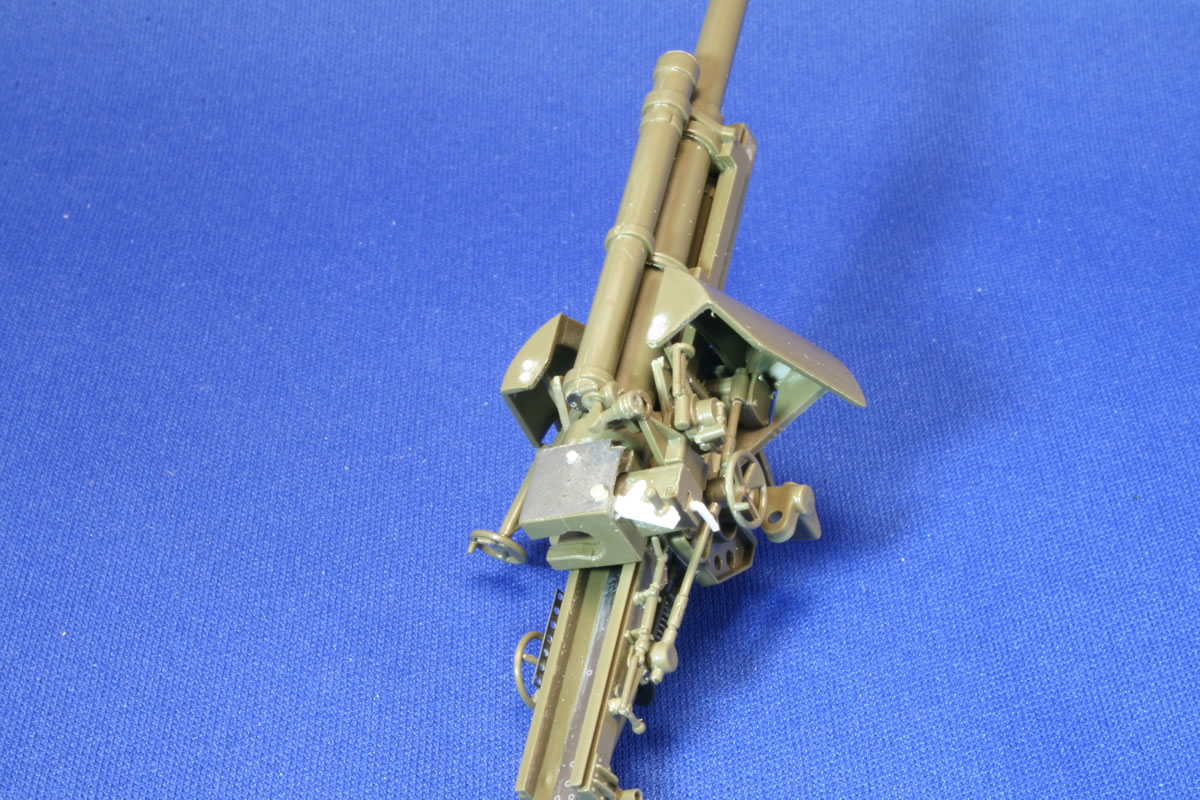
It's
worth noting that this howitzer fits perfectly on the Academy kit supports for
those modelers preferring the more crisply molded Italeri weapon over the Academy
version. I decided to do that for my Priest set in action in Sicily, and reworked
the breech to an open position.
The Tankograd book provided the detailing guidance for the breech block and lever.
Introduction
Suspension
and Lower Hull
Driver's
Compartment
Fighting Compartment
105mm
Howitzer
Upper Hull Exterior
Final
Assembly, Painting, and Weathering
|