|
Building
the Italeri Late M7 Priest |
 |
Fighting
CompartmentThe pulpit includes a box provided by Italeri for .45 rounds; I added a piece of plastic to better define the cover. The TM calls for a canvas bucket "in bracket on machine gun turret," so I attached a Verlinden bucket there. Below the four-hole storage shelf for .50 ammo boxes is a drawer that holds tools for the weapons. Unfortunately, the empty Italeri bin is sized too small to hold any ammo boxes. One has the choice to leave it empty or scratch a new one. I opted to use one from the Academy kit, which has four ammo boxes molded into place (I built a new early style box for the Academy Priest, which held only two ammo boxes).
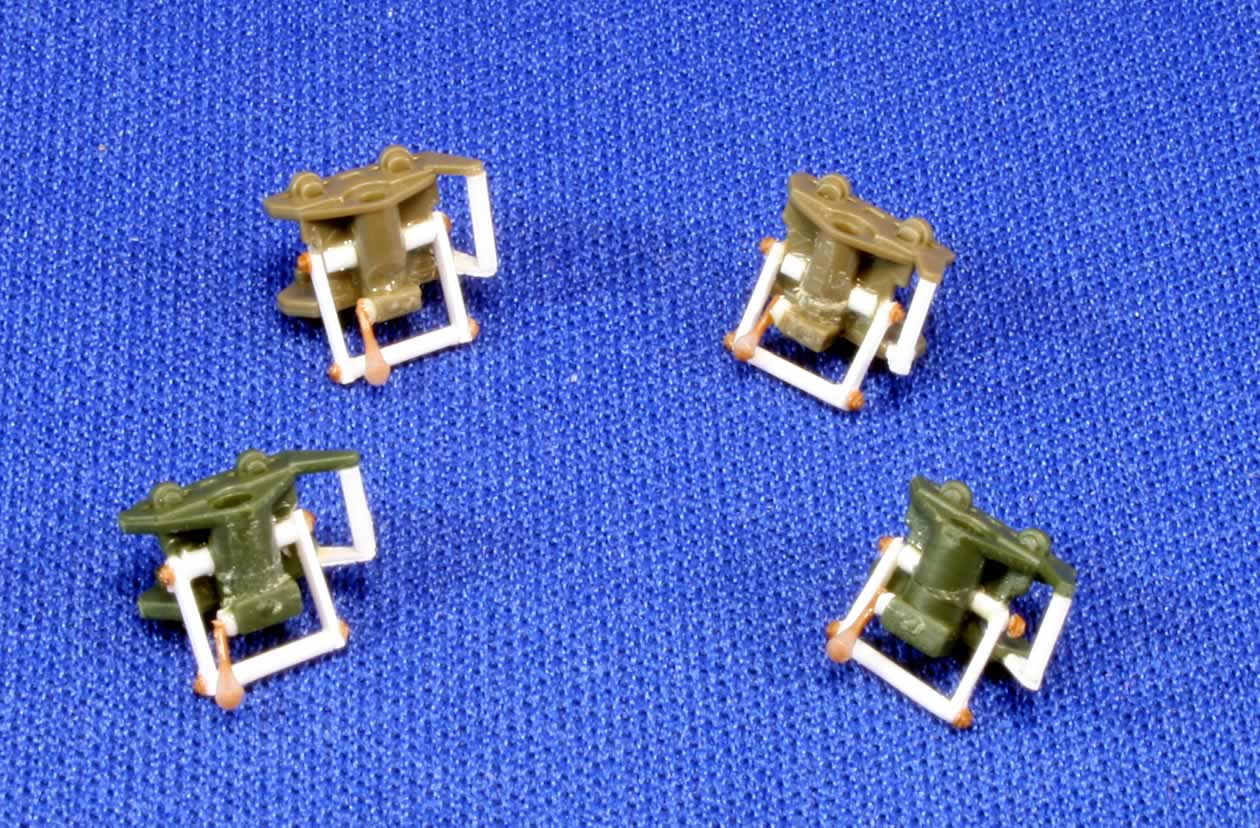
The Priest had attachment points for stowing two weapons in the pulpit and three on the left wall behind the driver. Italeri mistakenly provides two M1 Garands in scabbards to locate on the wall of the pulpit; the early Priests carried M1 carbines, and the late Priest carried three .45 Thompson submachine guns. The TM doesn't state where these were located, though an illustration of the late M7 shows two canvas "envelopes" standing in the pulpit and at least one placed diagonally on the wall next to the driver. Naturally, none of the museum vehicles have any scabbards or weapons in them, but a photo in the library of the Missing-Lynx website shows canvas envelopes hanging from the left wall-and a pair in the turret! Unfortunately, the website offers no identity or location of this particular vehicle. (The more-detailed interior set from Eduard includes five scabbards, but I haven't seen evidence of all five being used simultaneously.) The three round seats in the kit have nasty sink marks right in the middle of the cushion. Some putty will be required here. The attachments are very simplified, and the Eduard parts are only a marginal improvement. The seats on the two superstructure walls were hinged to fold down when not needed. I used a spare AFV Club seat for the left wall, in its down position, and an Academy seat for the pulpit, which would be occupied by one of the crew. The kit's rear bulkhead is correct for the late Priest, so skip the Eduard oil cooler overlay if you're doing this version. Though molded to the wall, the wiring is correct, but I opted to shave off the line coming out of the terminal box since it is supposed to stand away from the wall, and replaced it with wire. A master switch was also added to the side of the box. Different TM photos show either the bore cleaner staff or ranging poles fixed to the bulkhead wall. If your Priest is in firing mode, as this one is, the ranging poles likely will be deployed in the distance, so you don't need to deal with them if you don't want to.
Speaking of fire, the fire extinguishers are one of the weakest parts of the kit, lacking the conical "muzzle" on the business end and properly shaped handle. You can try to remedy these yourself, with a slip of paper rolled into a short cone and scratchbuilt handle. I had a spare extinguisher to use and employed an empty photo etch holder for something different. The instructions suggest mounting these to the ammo bin, but in actuality they sat on the sponson in the corners of the bins. A row of rivets runs horizontally just below joint of the sponson shelf and the vertical hull wall in the fighting compartment. There also are bolts securing the abbreviated trails to the vertical walls. I used .040" rivets from Tichy Train Group. The floor is inaccurate, presenting a mesh pattern rather than herringbone. Eduard's extra-detailed interior repairs that, but without that set, I let it go. I did open up the hand holes that enabled access to ammo and tool bins below the flooring. Late in the process, I also added the cover over the drive shaft as it rises up through the floor and enters the engine compartment behind the bulkhead. This required slicing diagonally through a 5/32" tube and sanding it down until it was about a ½" long and 1/8" high at the bulkhead end. I glued this piece onto a very thin piece of plastic that was a hair larger than the outline of the cover, and then glued this to floor. Finally, coming around the left side, we have a pair of square tabs with raised, open circles on top, one attached to the bulkhead and the other attached to the ammo bin. I could find no explanation for these tabs, which are pieces of sheet metal folded over on the sides, and possibly threaded through the raised hole. They appear sporadically on earlier versions of the M7, generally just one on the right bin, and two or three in different positions on the M7B1 and M7B2. I used the Dremel to thin out the bottom side of the plastic pieces and drilled a hole through the raised centers. You can keep or eliminate the swiveling gunner's seat, which was an addition to some, but not all, late M7s, as suggested by illustrations. Introduction |

 |
 |
 |
 |
 |
 |
 |
 |
 |
 |
 |
 |
|