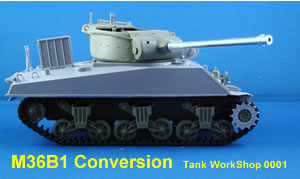
| Building
an M36B1 from Tank WorkShop |
 |
| The
U.S. military was nothing if not creative when it came to arming its troops during
the war. The M36B1 is a case in point. In October 1944, there was a lack of M10A1
hulls to carry the M36 tank destroyer's turret with its powerful tank-busting
90mm gun. The plentiful Sherman M4A3 late hull was substituted with only minor
alterations needed mainly to accommodate the TD's larger ammo rounds. The resulting
M36B1 had the advantage of thicker hull armor and a bow machine gun. Only 187
conversions were done, and there are reportedly only a handful of photos of these
beasts in action, but they are an impressive sight. According to Steve Zaloga,
they were deployed to tank destroyer battalions including the 605th, 654th, 705th,
and 813th. Italeri has the only bona fide M36B1 kit in plastic, a late-1980s pairing of its uninspired M4A3 hull with a new turret that was devoid of much of the detail one expects to see in an open-topped AFV. When the Italeri kit was periodically out of production, some enterprising modelers cobbled together the turret of Tamiya's ancient motorized M36 Jackson with the company's war-horse M4A3 hull.
As created by master maker Karl van Sweden, the TWS set provides a tweaked M4A3(76)W hull from Dragon recast in resin, a full hull interior, and assorted exterior hull fittings. The AFV Club kit provides the lower hull pan, suspension, tracks, and turret. Unfortunately, this is not a marriage made in heaven. Each kit has its strengths and weaknesses, require some additional detailing and an ample dose of patience. And I am trying to ascertain—after having built and painted the conversion—whether the straight roller arm suspension provided by the AFV Club kit should really be the later suspension with the upswept arm. If that proves to be the case, there is a significant flaw with this project.
|
 In
another head-to-head match-up similar to their M18 Hellcat competition, both Academy
and AFV Club produced their own renditions of the M36 Jackson. Academy came out
ahead in this bout, since AFV Club dropped the ball on the rear hull wall and
engine deck, resulting in a mishmash of M10 and Sherman features rather than pure
M10A1 details. However, Tank WorkShop found enough that it liked in this kit to
base its M36B1 conversion on it.
In
another head-to-head match-up similar to their M18 Hellcat competition, both Academy
and AFV Club produced their own renditions of the M36 Jackson. Academy came out
ahead in this bout, since AFV Club dropped the ball on the rear hull wall and
engine deck, resulting in a mishmash of M10 and Sherman features rather than pure
M10A1 details. However, Tank WorkShop found enough that it liked in this kit to
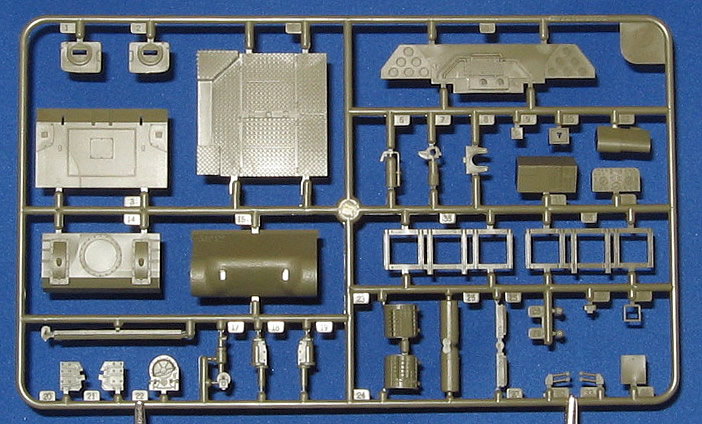
base its M36B1 conversion on it.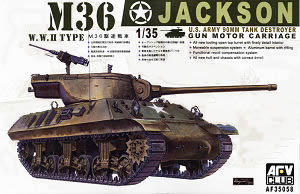 The
AFV Club M36
The
AFV Club M36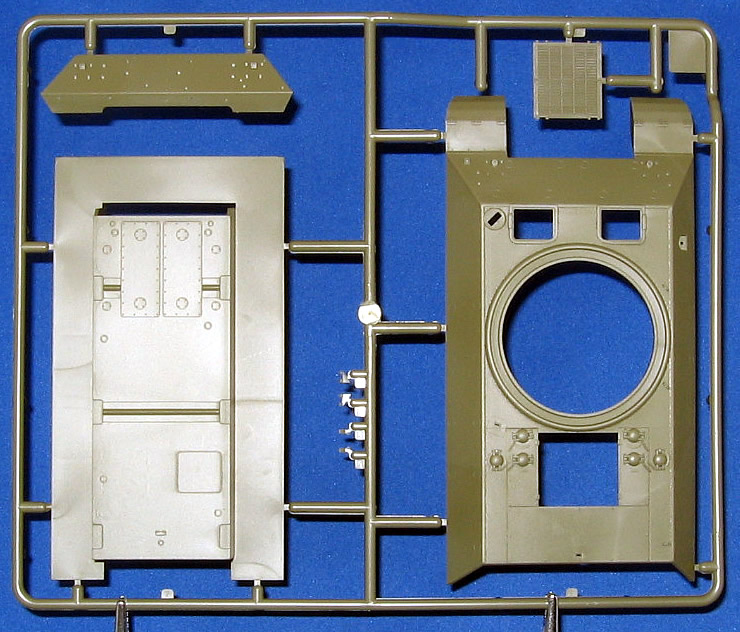 | 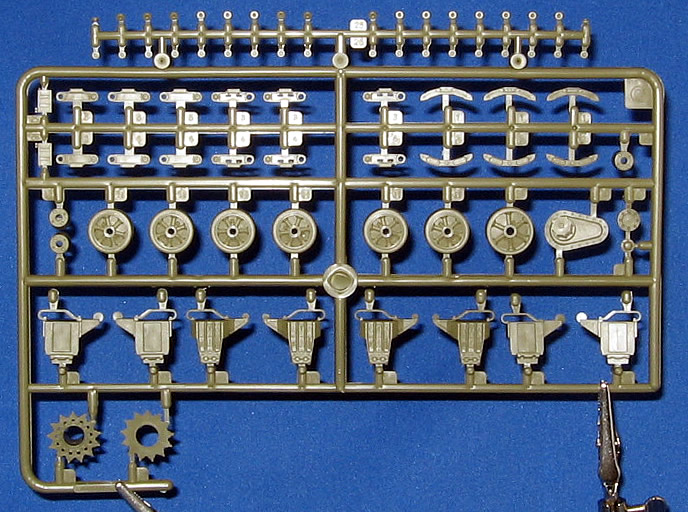 | 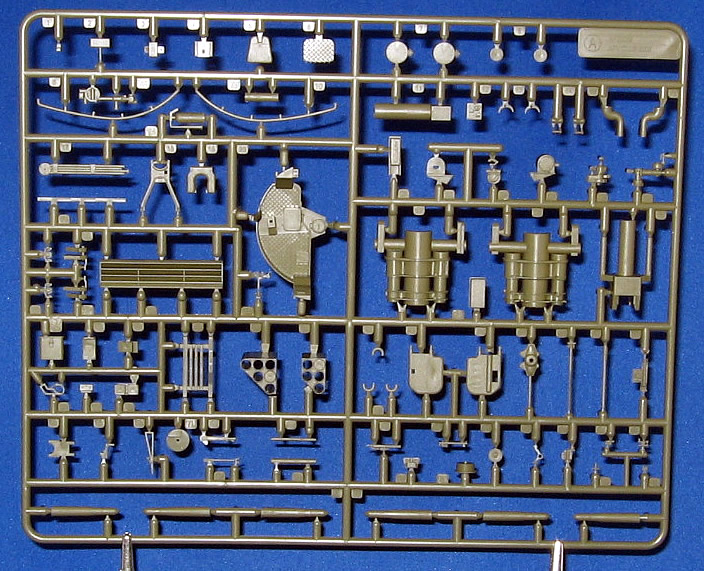 |
 |  |  |
 |  |  |
The Tank Workshop Conversion
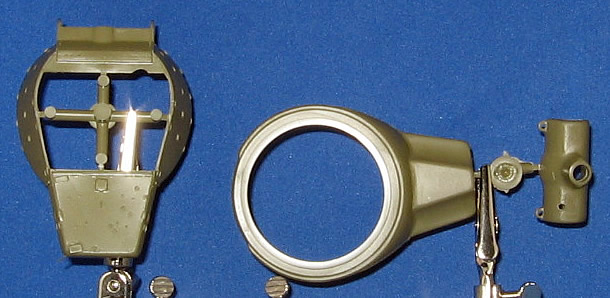
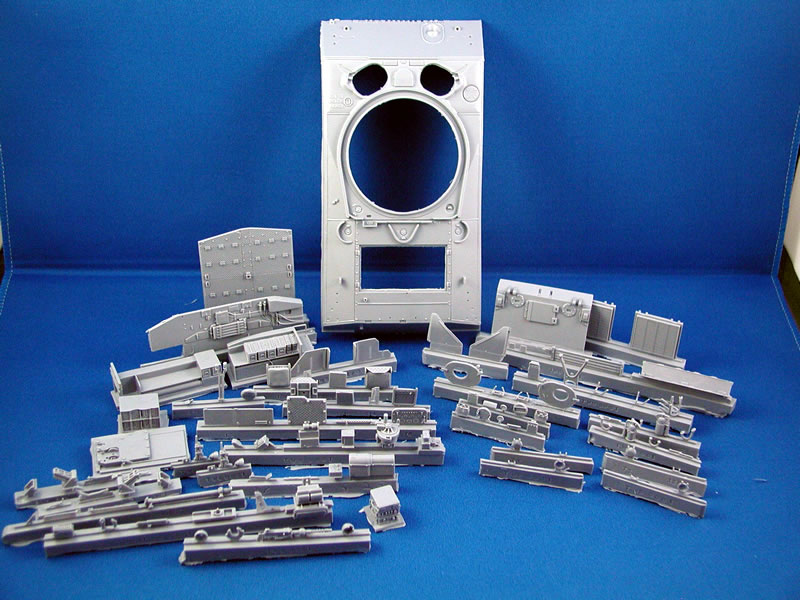
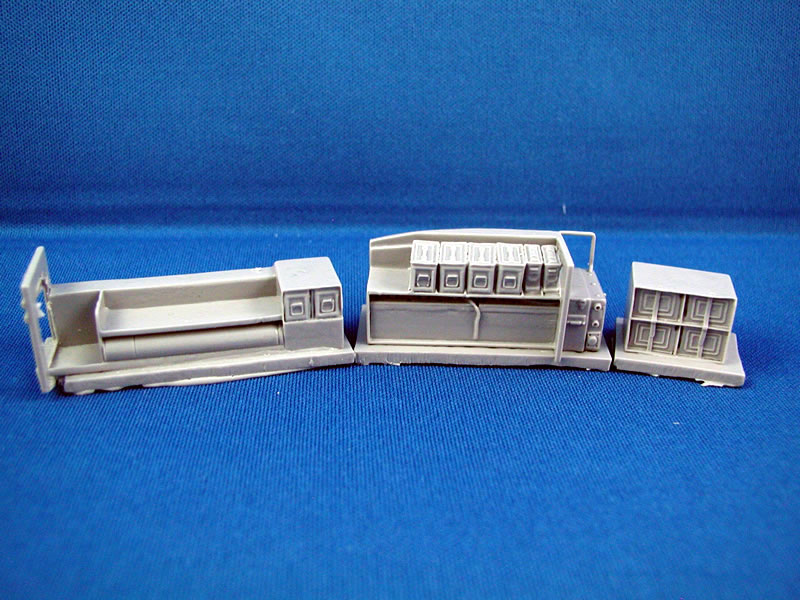
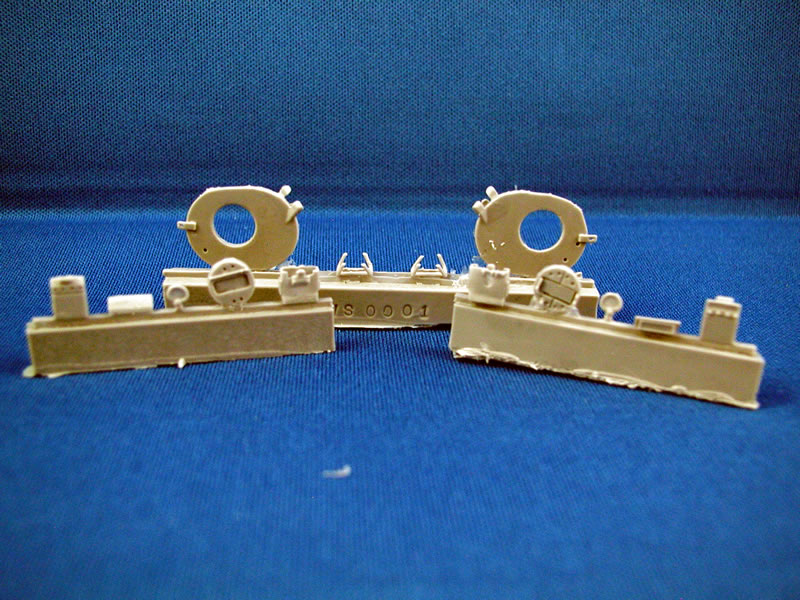
Packaged in a sturdy box, this set provides several dozen parts apportioned among four small resealable bags, as well as the hull. Overall, the level of detail is good, if a bit soft. Since all of the interior bits will be seen through hatches and not well lit, it's acceptable. There is some cleanup involved, especially with some of the larger pieces that are direct pours into open molds, leaving large, thick bases that need to be sanded or ground away. There were a few short shots, where not enough resin filled the cavities on the taillights and a grease gun.
 |  |
 |  |
 | 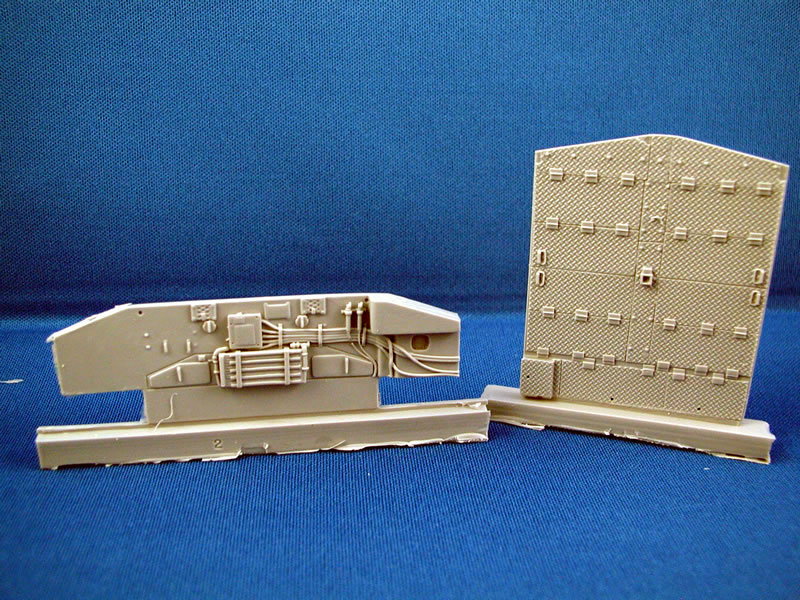 |
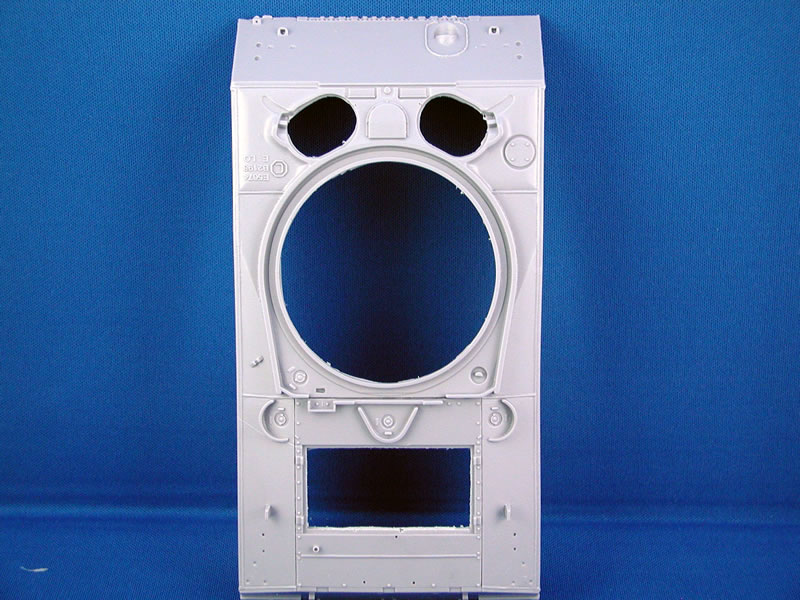
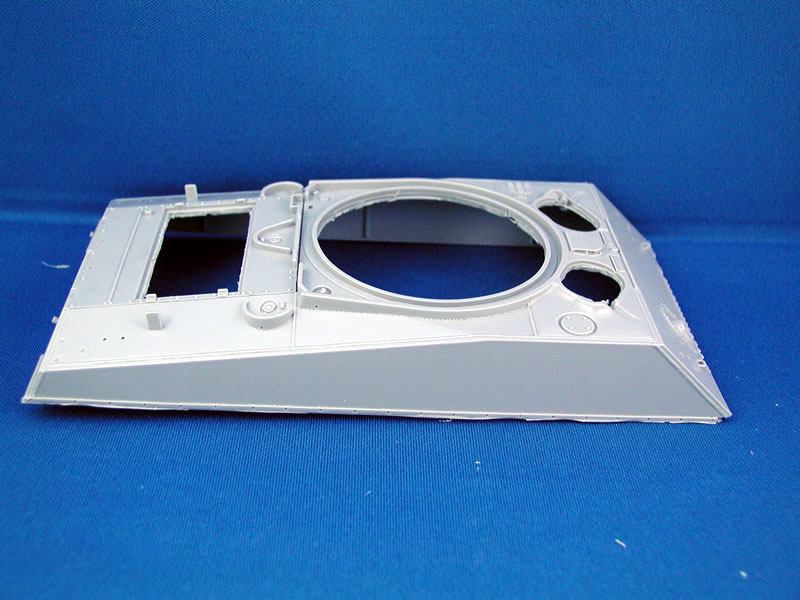
The TWS hull was more problematic. This reworking of the Dragon M4A3 hull fills in the welding seams but with straight runs of plastic rod and no attempt at texturing the welds. Other small details are included, like the stops for the engine doors, bolt holes in the sand shield mounting strips, nipples for the bow gun cover, and drainage holes in the splashguards for the gas caps. The two grouser stowage covers at the rear corners of the hull-a mistaken inclusion on the DML hull-are removed from the resin copy.
Unfortunately, the conversion hull in the original set was badly warped. But Jay Galbierz warned me up front that he wasn't happy with how the left hull walls were casting too thin and said a replacement was on the way. When it arrived, I could see his new mold added some thickness to the hull walls, apparently through additional plastic card on the master. But there were some new problems: the front of the hull was too thin around the bow gun and the bolt strip, and there was a crescent-shaped hollow behind the driver's hatch opening. Another new wrinkle was a literal wrinkle: a torn corner of the mold caused the left corner hull detail to ooze out. After another exchange of emails with Jay a third hull quickly arrived. Unfortunately, the same mistakes were amplified.
I
also discovered that the second and third hulls were appreciably smaller than
the first, which was likewise a couple millimeters shy of the original DML hull,
which I had on hand. Molds can dry out (and wear and tear out) and resin can shrink,
and I think this is a challenge common to many aftermarket companies: you want
to get the most of the time and expense put into creating the molds, without sacrificing
quality in the end products. And larger pieces, like hulls, can fall prey to myriad
hazards. In this instance, quality control took a hit, in spite of Jay's best
customer service efforts.
Ultimately, I resorted to fixing the initial hull I received. Saul Garcia gave me a good tip about fixing warped hulls: boil water in a large glass container (I used a Pyrex meatloaf dish) so you can easily see when the piece begins to distort. Then, when you have the proper shape, dip it into a bowl of cold water to stop the reshaping process. I used the cold water after taking the warp out of the hull, but the sides were a bit bowed. I dipped one side into the hot water, removed it, and pressed the side against the kitchen counter to keep it flat as it cooled. I repeated this with the other side. That pretty much did the trick, though the thin left side had a hint of a wave in it still. Not wanting to risk further damage in an attempt to improve it, I decided to move forward and see how it turned out.
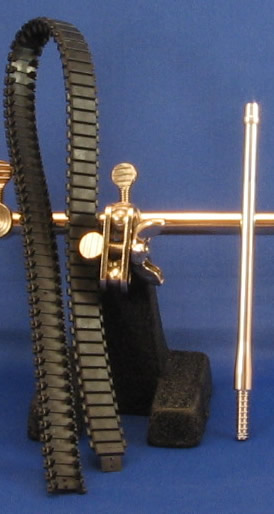
Some additional parts needed straightening, including the shifting levers, battery case door, and M1 grease guns. A quick dip in boiling water took care of those.
It is essential to remove the mold release agent on these parts, so give everything a gentle wash before you being construction. The type of resin used for this kit is more rubbery than the hard, brittle resins used by other aftermarket manufacturers. On one hand, this is good because thin parts are more forgiving of stress. On the other hand, the slicker surface doesn't give that instant adhesion I've experienced with other resins. Making sure the surfaces are clean will help. This will also ensure that your paint adheres well, too.
Additional Updates and Accessories
- M-36 Tank Destroyer for the Italeri M36 kit (35481) Eduard
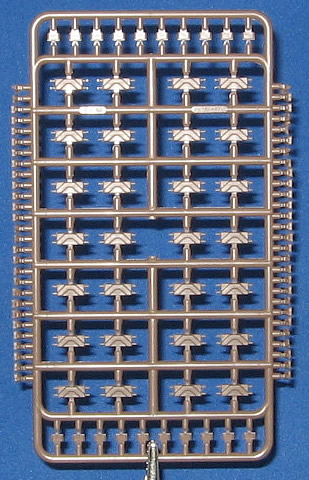
- M4 Sherman VVSS T48-Track (AF35038)
- VVSS Update Set (FDA101) Fort Duquesne Military Miniatures
- 1/35
Sherman Brass Skids with Nuts & Bolts (0006) LionMarc
- U.S. Internal Stencilling 1940s/1950s (FPD 35/010) Fingerprint Designs
- M4 Sherman Sandbag Hull (28508) Kirin
Introduction
Hull
Interior
Hull
Exterior
Turret
Finishing
 |
 |
 |
 |
 |
 |
 |
 |
 |
 |
 |
 |
|