Updating the InteriorMy
approach to the interior was basically the same as with the other Academy
Priest I built. The premise, incorporating the historical photos, was that
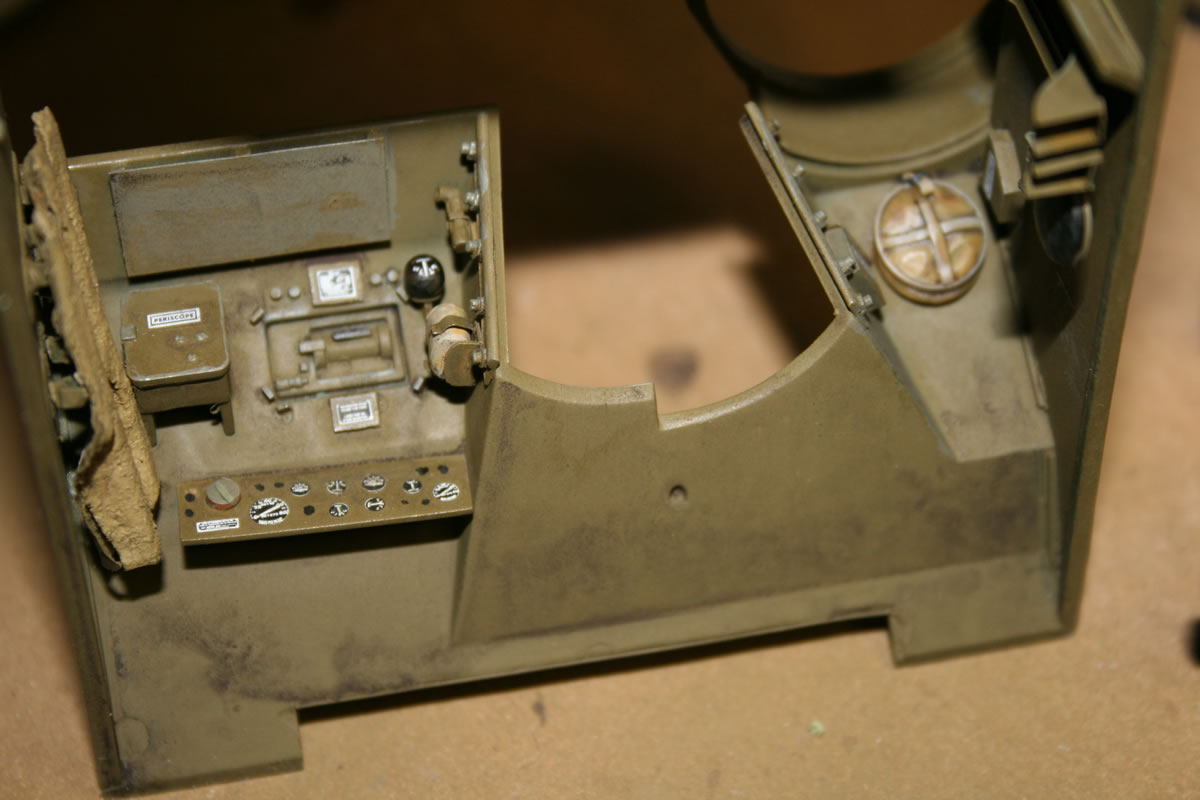
this was a late intermediate M7, retaining the early instrument panel and original
pulpit configuration, but incorporating factory-installed supplemental hinged
armor. Since I hadn't seen a model portraying the Priest with the carbine racks
filled to the left of the driver, I decided to give that a go, figuring that the
troops coming ashore after D-Day would be fully armed. Knowing that by this time
crews would likely be equipped with Thompson submachine guns, I left the scabbards
in the pulpit area empty and the guns would be out and available to the crew if
they should suddenly be fired upon. 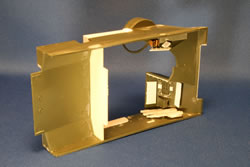 |  |
I
had received a sample of Voyager Models impressive photoetch set for the Academy
kit to review and
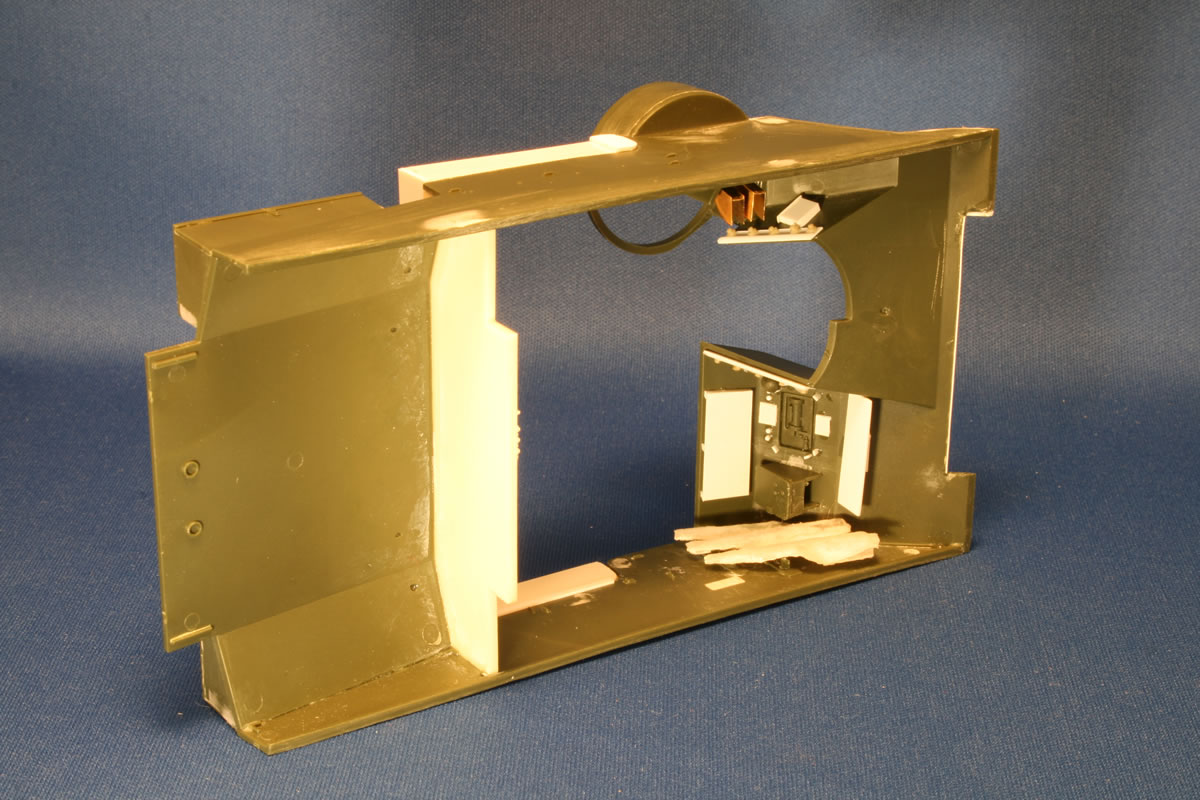
put to use on this project. But "impressive" swingsboth ways. A resin
bulkhead is provided, which includes the breather tube molded into the wall. Since
I planned to fill the compartment with figures, I decided to live with this shortcut.
The resin part fits well, but the photoetched cover is problematic, as seen below
with the Academy part. The piece features dimples where bolts could be placed,
but when the part is bent into shape, the dimples are on the rear side, seen in
the right photo. Only some time after the fact did it occur to me that perhaps
the dimples were there to be pressed upon to create an embossed effect on the
facing side to represent a bolt or screw. But that was not suggested for this
particular part by the instruction sheet. The Voyager set does provide a small
fret with brass fasteners that can detail the cover. 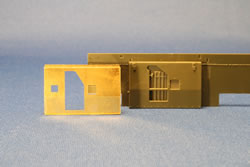 | 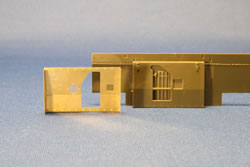 |
The
kit provides plastic stock to cut for the hinged armor plates, seen in the top
set of photos, and templates to plan your cuts. Unfortunately, templates are not
provided for the extension that overlaps the added armor and the superstructure
wall and contains the sliding bars to secure them. Not a big deal, but a little
more guesswork. Ultimately, I abandoned the three-part template for the rear supplemental
wall and made one long strip and slipped the photoetch over the joints (apparently
the wall could be lower in segments). 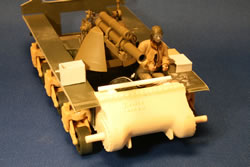 | 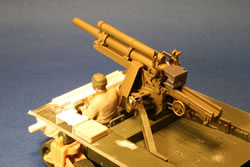 |
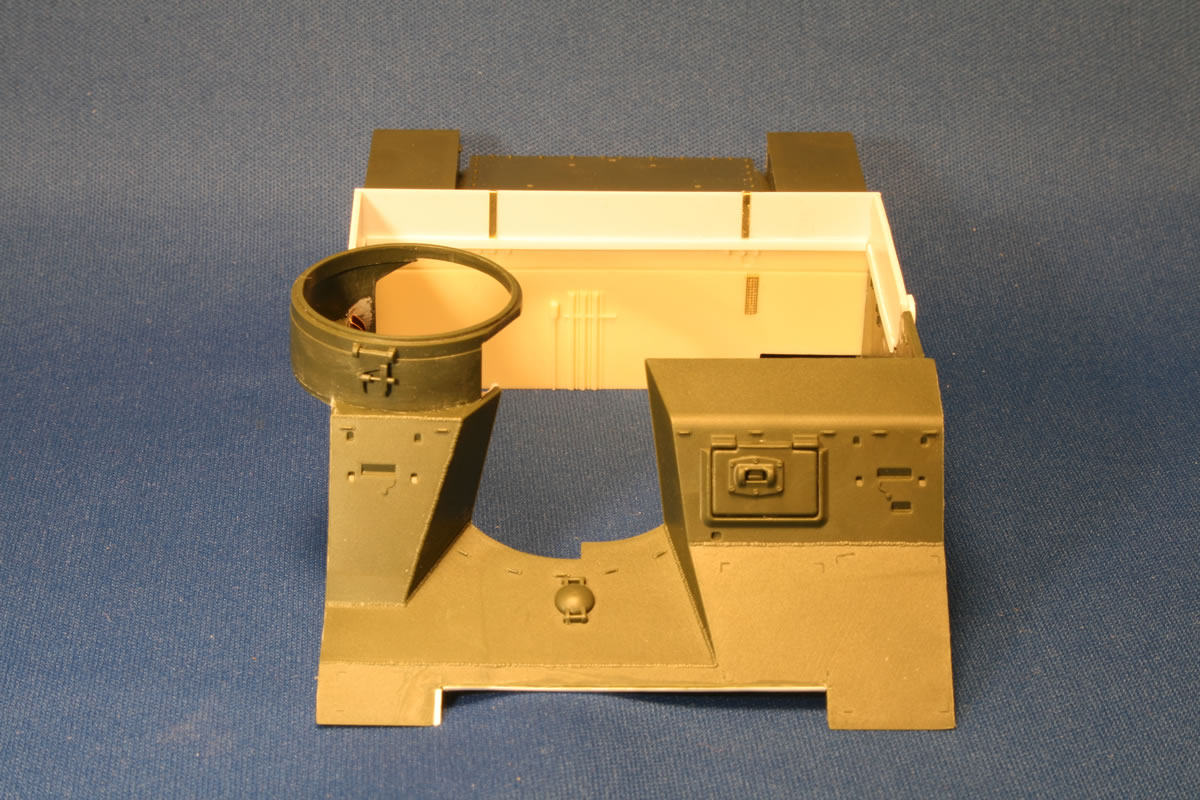
The
photo above left gives a good view of the Formations one-piece differential cover
that was used on Baboon, not the three-piece cover that comes in the kit. The
swap requires some trimming of the Academy hull and I added some plastic stock
to the interior of the hull walls to give some more surface for the resin piece
to attach to. Initially, I had the nose set too high, and had to use superglue
debonder to remove the piece and reset it properly. I did some perfunctory detailing
of the interior side of the case, though it will be virtually unseen once the
crew compartment is populated. Later, it was necessary to remove some resin from
the nose to accommodate the Voyager fenders. The tan suspension bogies are Academy's
replacement parts for their oversized pieces that were first included with the
M3 Lee, and the lower hull construction was essentially the same as with my previous
Priest. I used
the driver from DML's U.S.
Tank Crew (NW Europe 1944). To accommodate the gun shield, I needed to
adjust his right arm and lean him a tad to the left, but it works. Since the driver's
visor is closed, I didn't need to worry about his face. As
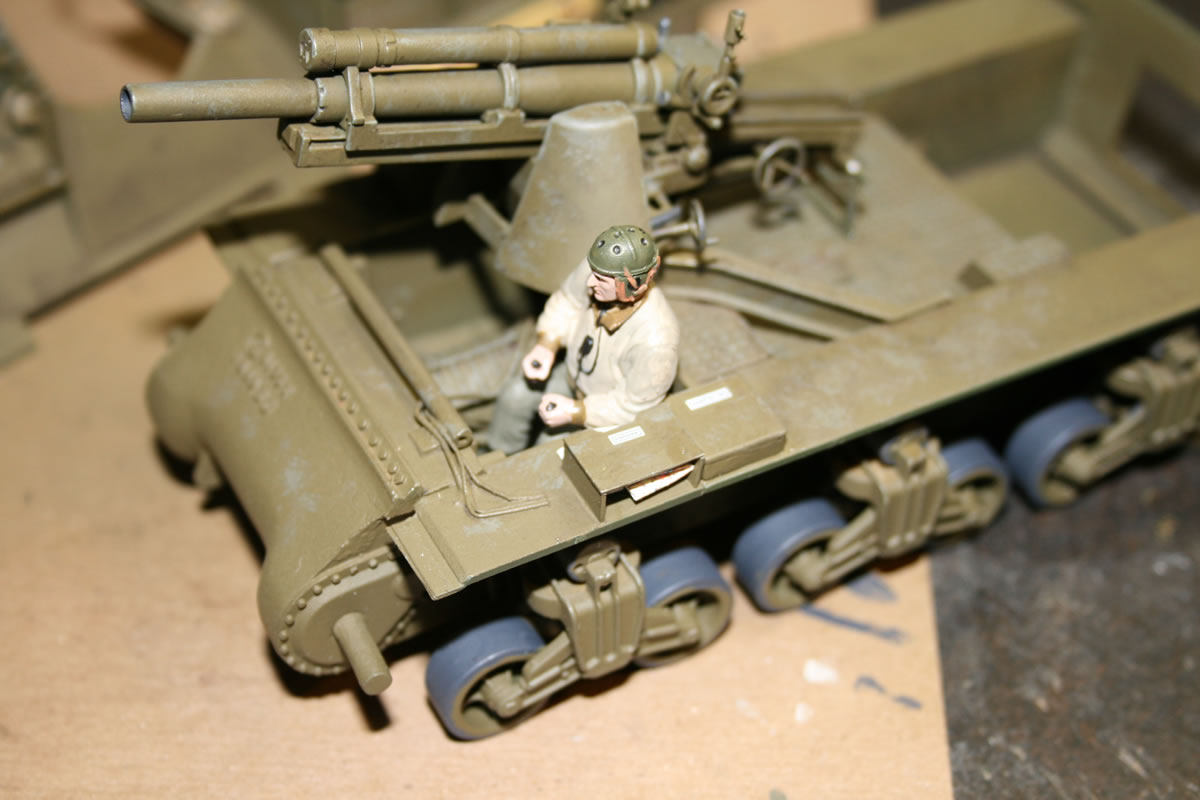
I mention in the review of the Voyager's set, the armor bins went together well,
but I had already painted up the shortened 105mm ammo tubes provided in the Academy
kit when I built the first Priest, so I went with the Academy bins, which are
not that difficult to fix (and most modelers will be able to live with the out-of-the-box
configuration). Just for something different, I painted the tape bands of several
of the tubes in the grey/yellow/grey that identified them as smoke shells, the
premise being that the crew might want some smoke available with the ready rounds
as they approached enemy territory. The
interior parts were painted before the superstructure walls were attached. You
can see the Academy tools in the upper right photo that are mounted on the rear
overhang wall. As kit tools go they're not half bad, and the squarish straps are
quickly improved with the small buckles included with detailing bolts and wingnuts
in the AFV Club M36 Jackson. These will look fine with the limited view after
the wading trunk is attached. The
Historical Baboon
Updating
the Interior
Tackling the Exterior
Painting,
Decals, and Weathering
The
Diorama: "Lafayette, Baboon Has Arrived!" |