|
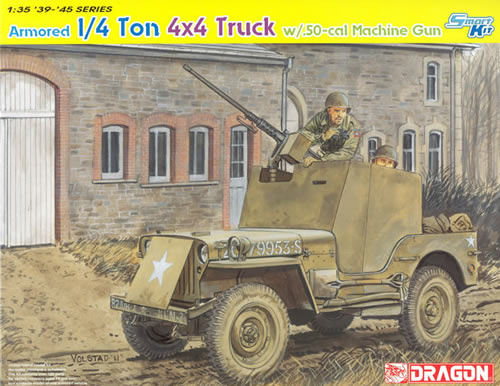
1/4 Ton 4x4 Truck w/.50-cal Machine Gun |
 |
|
Dragon
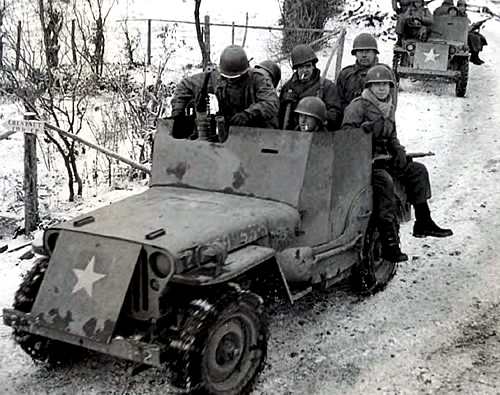
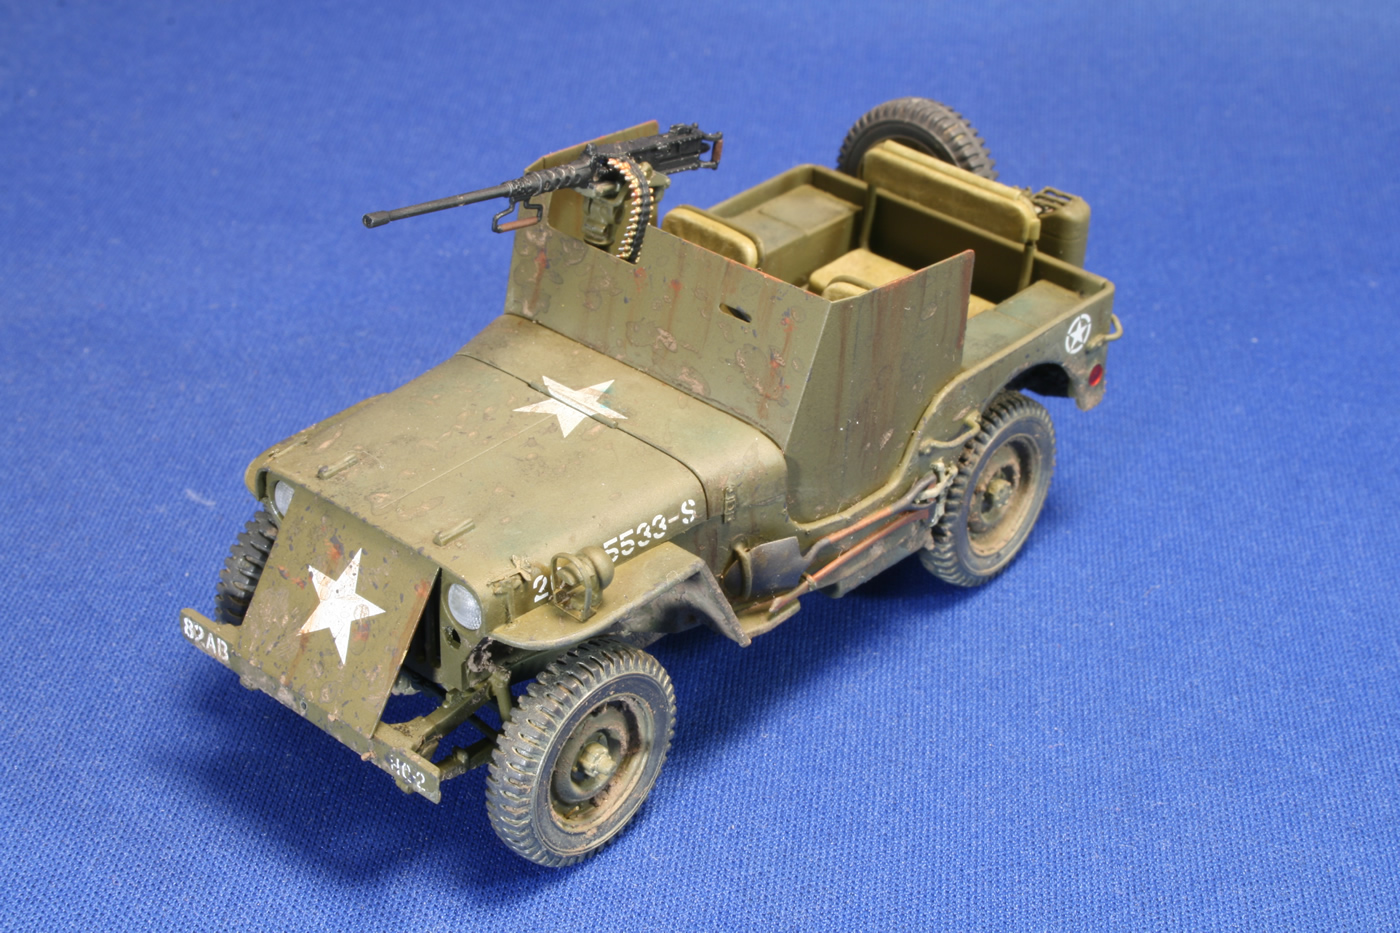
Models Limited You can't please everyone. There were numerous gripes when this kit came out earlier in 2012: Why didn't DML include a windshield for modelers who didn't want to use the makeshift armor cocoon devised in 1944 to give some protection to jeep occupants? Why is the kit priced more than a third more ($39 vs. $23) than the superb but not-quite-perfect 15-year-old Tamiya jeep? Why weren't there more decal options in the box? (Later, there were complaints when DML released a version of this kit with a pair of jerryrigged bazookas: Why didn't DML include the bazookas with the armored jeep kit? The obvious answer is, people then would complain that they would have to buy two kits in order to do both versions!) Perhaps DML figured that since there is already a good Tamiya kit out there, they would compete on the strengths of this field modification, and if someone wants a windshield they can buy the competitor's kit—as modelers have done without any problems. The fact that the kit costs more reflects the inclusion of the photoetch set for the armor and other doodads, as well as the costs of creating a new kit since the Tamiya jeep came out in 1997. More decal options would indeed be nice, and as this kit appears to be based on the often seen photo of the 82nd Airborne jeep below, inclusion of the bumper markings would be logical, but since they are not clear, perhaps DML didn't want to go there. On the other hand, the kit supplies an assortment of separate numbers, as well as the placards and instrument dials for the dashboard.
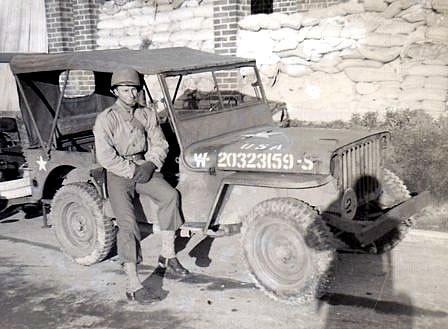
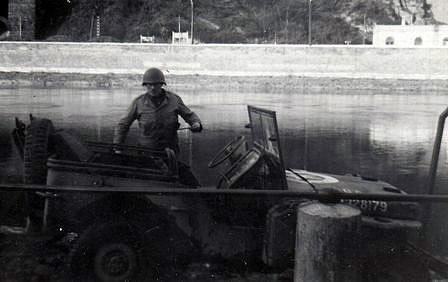
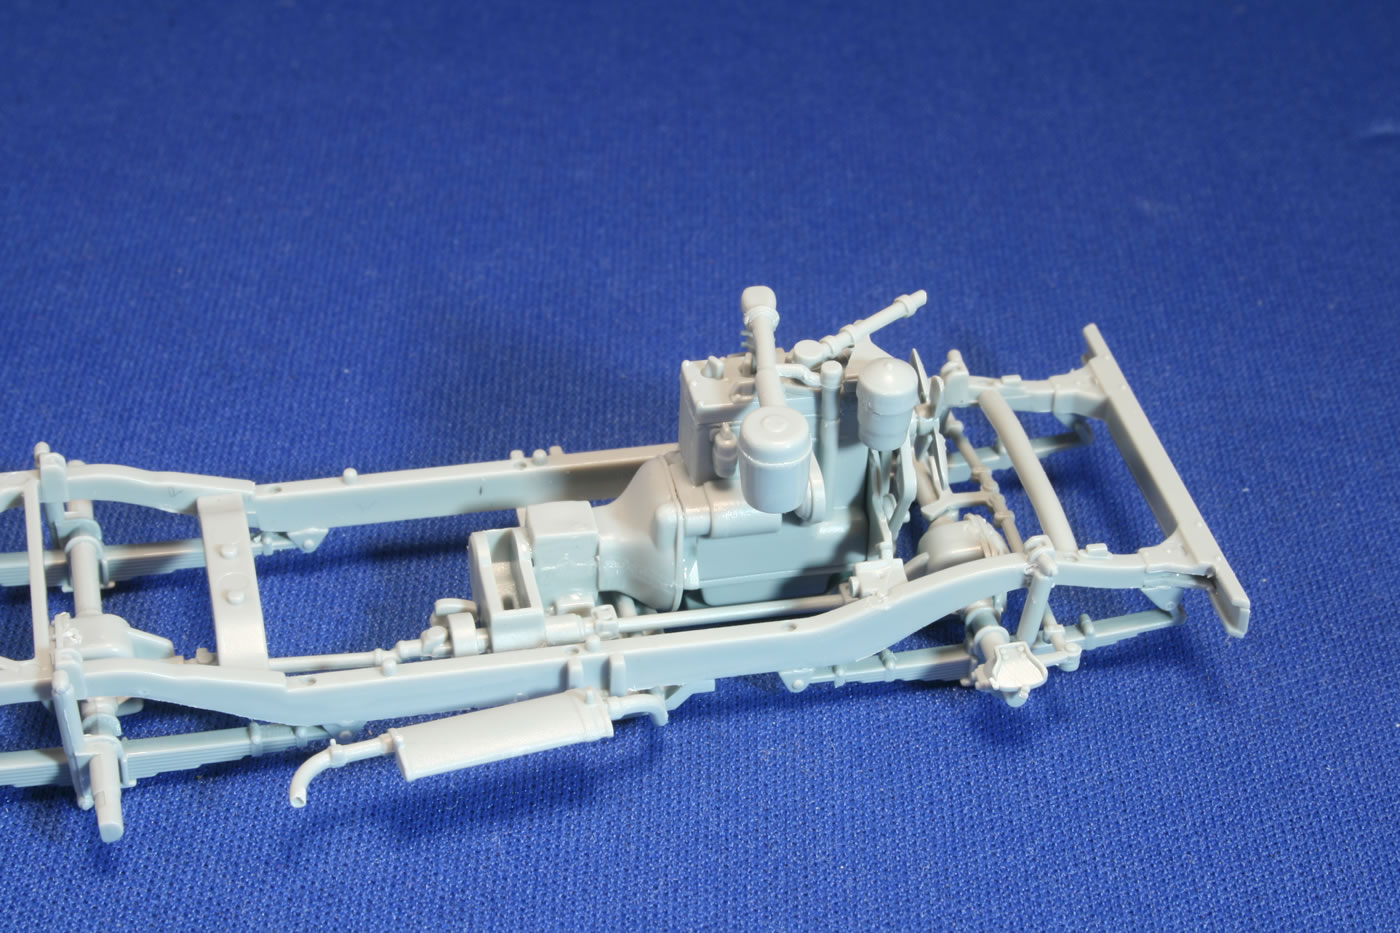
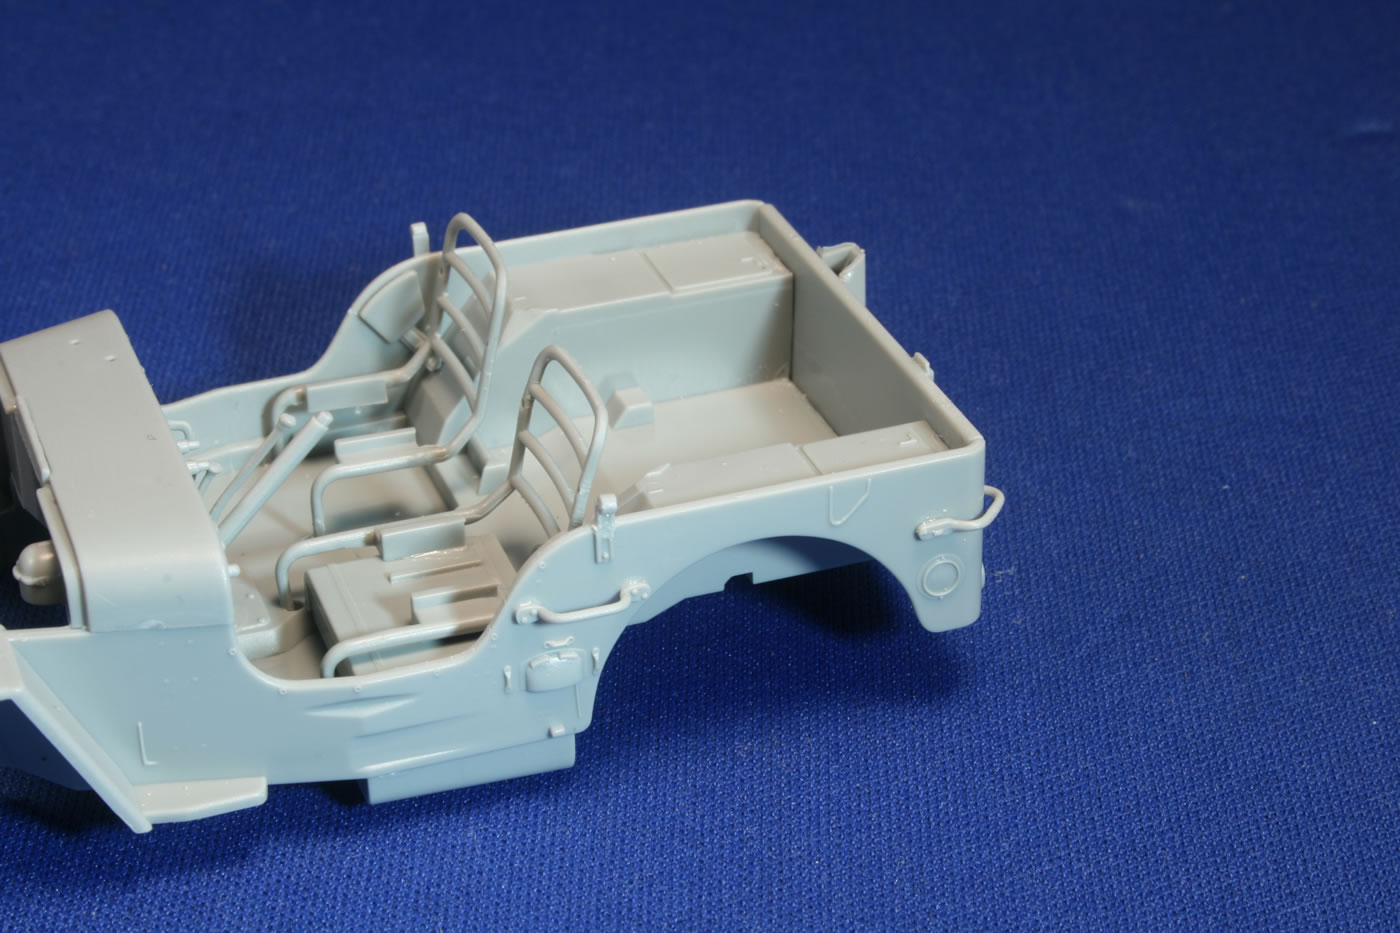
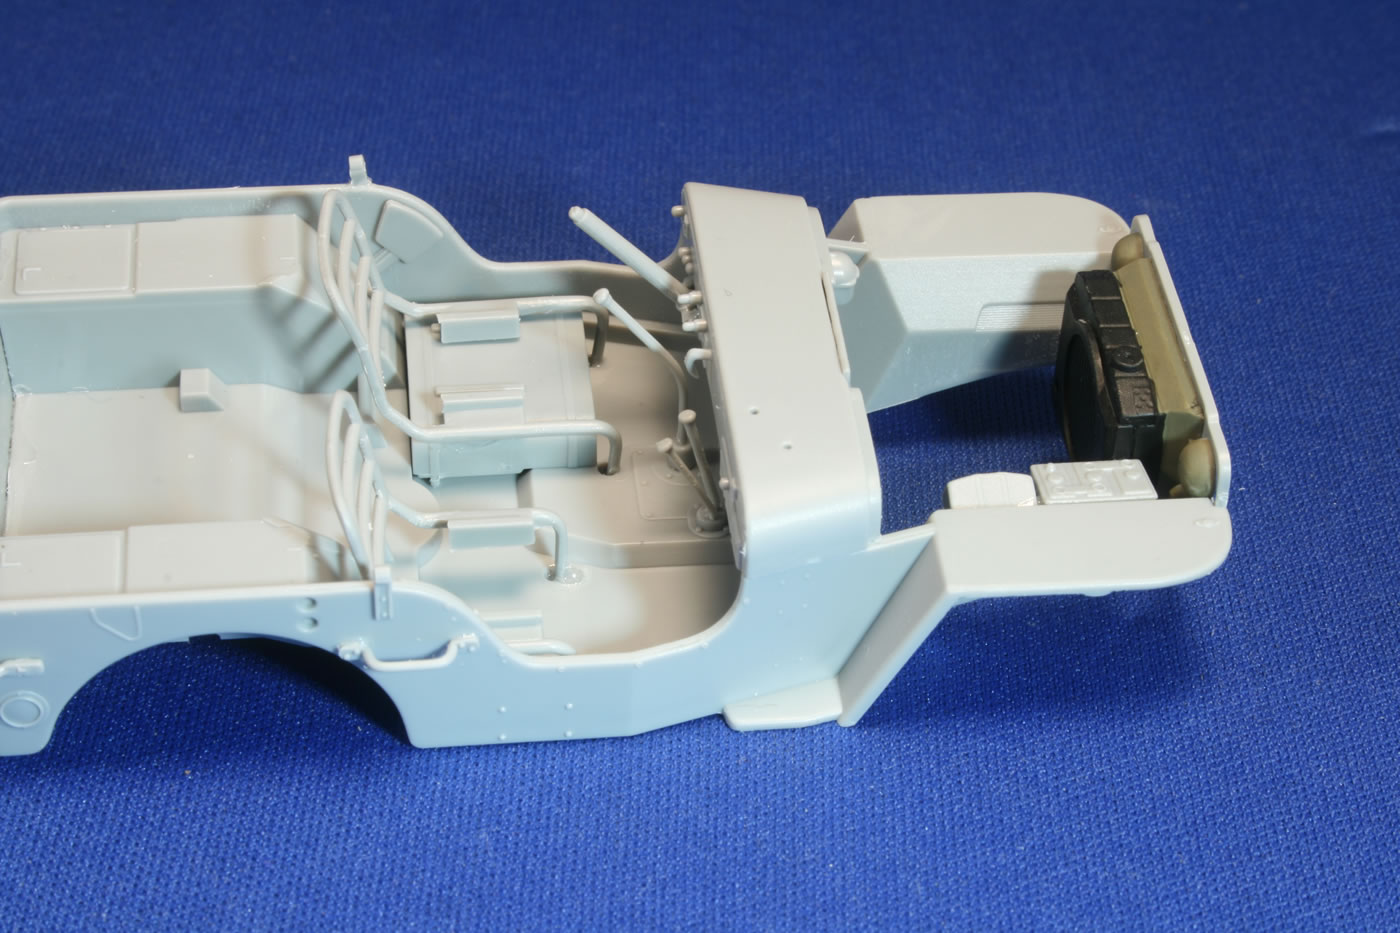
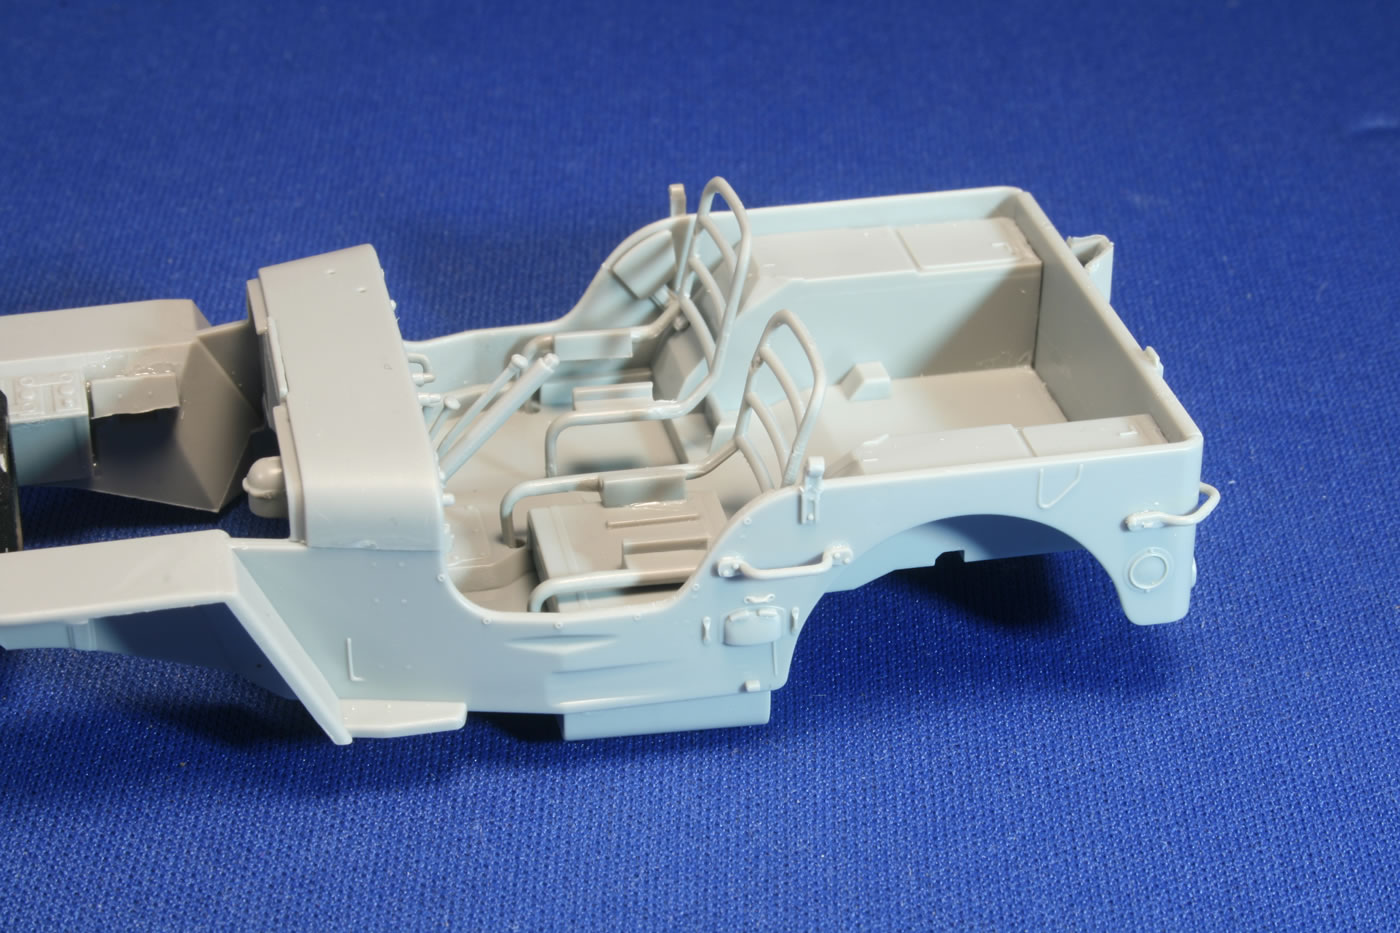
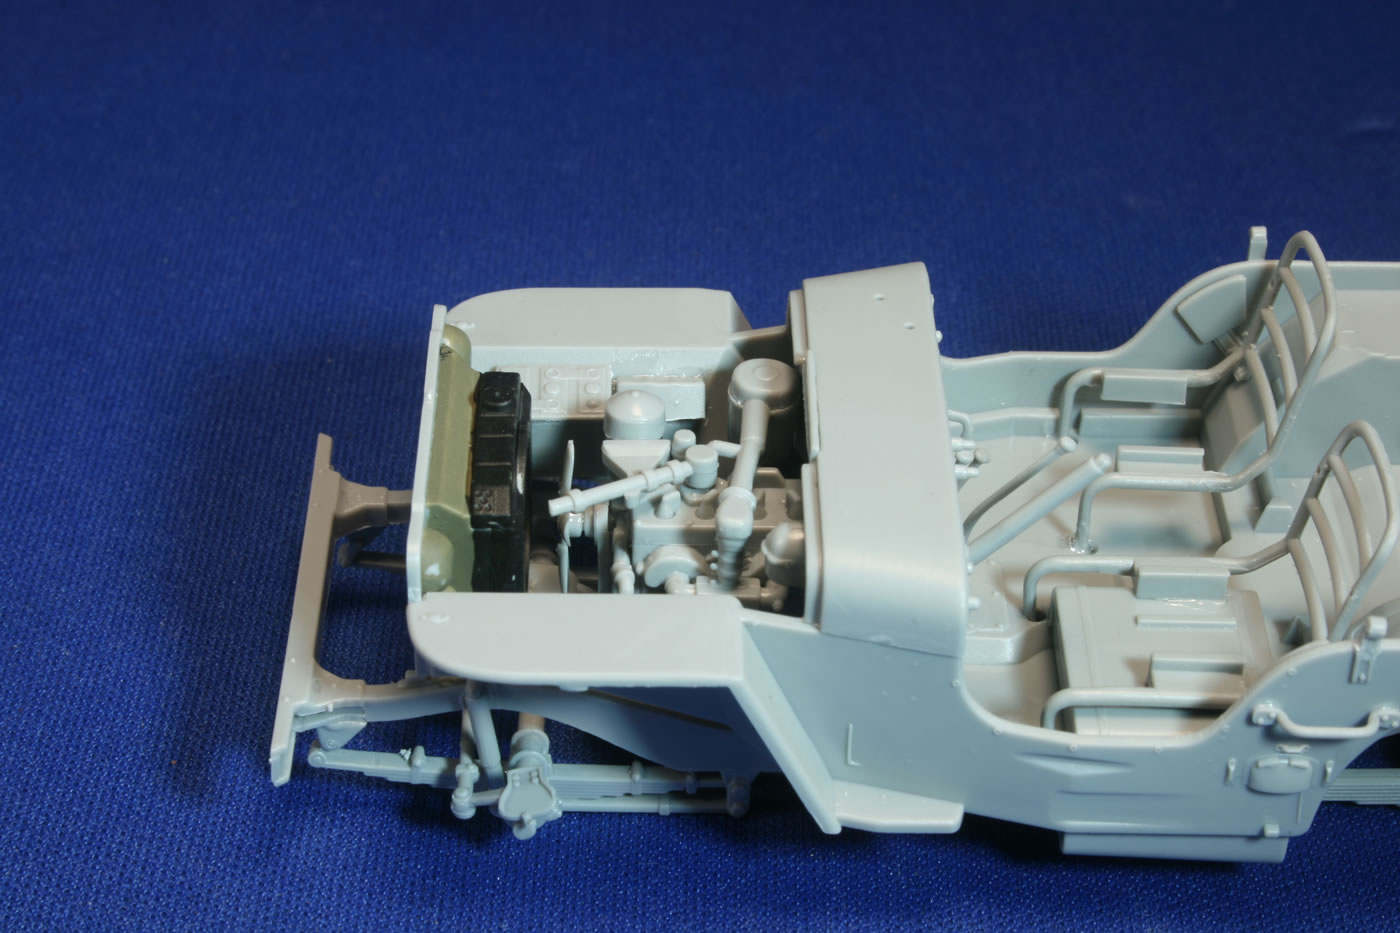
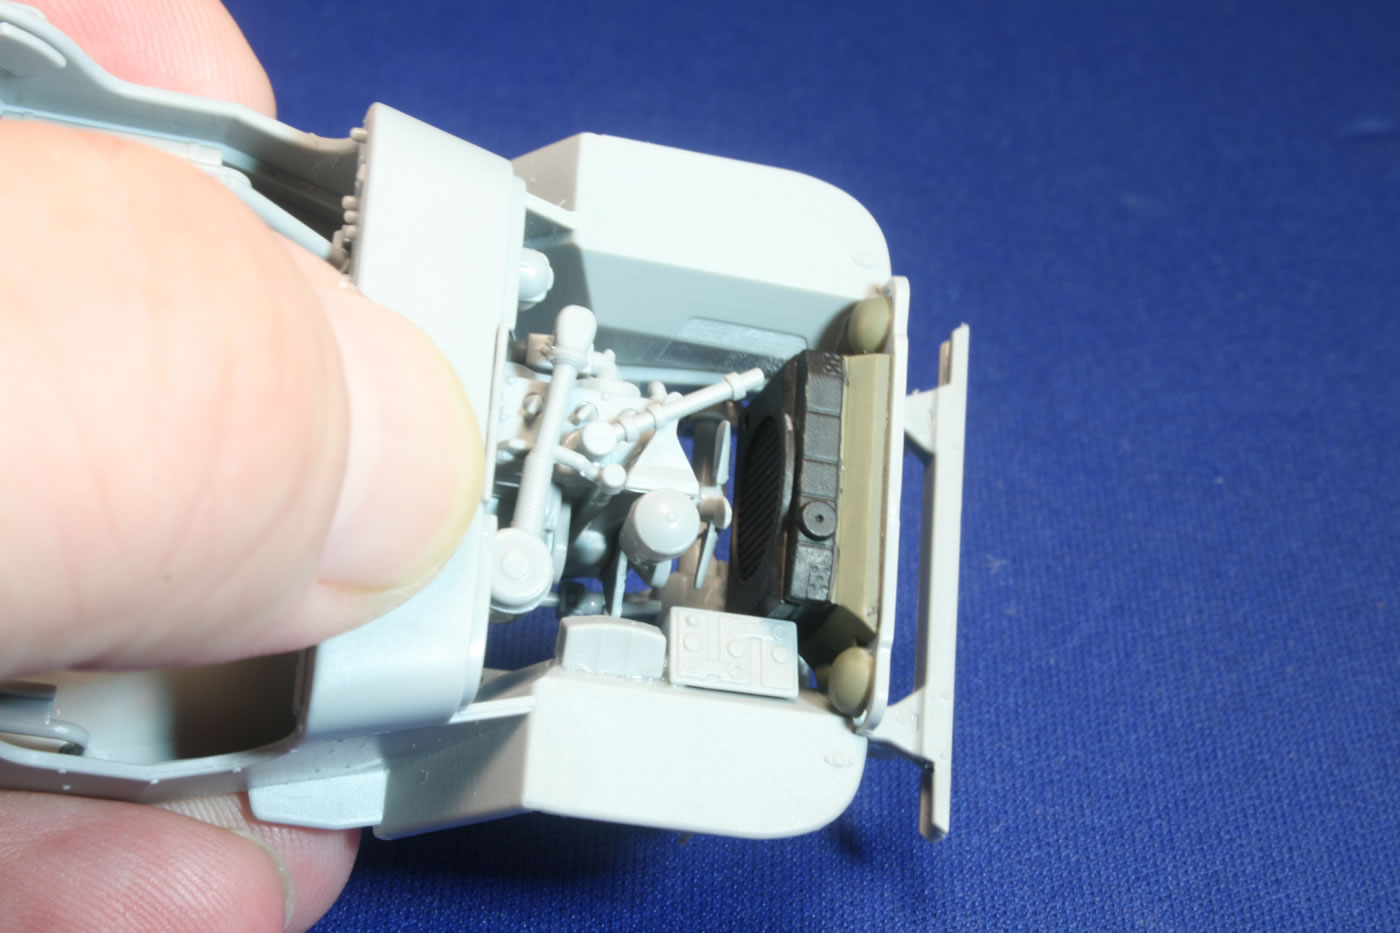
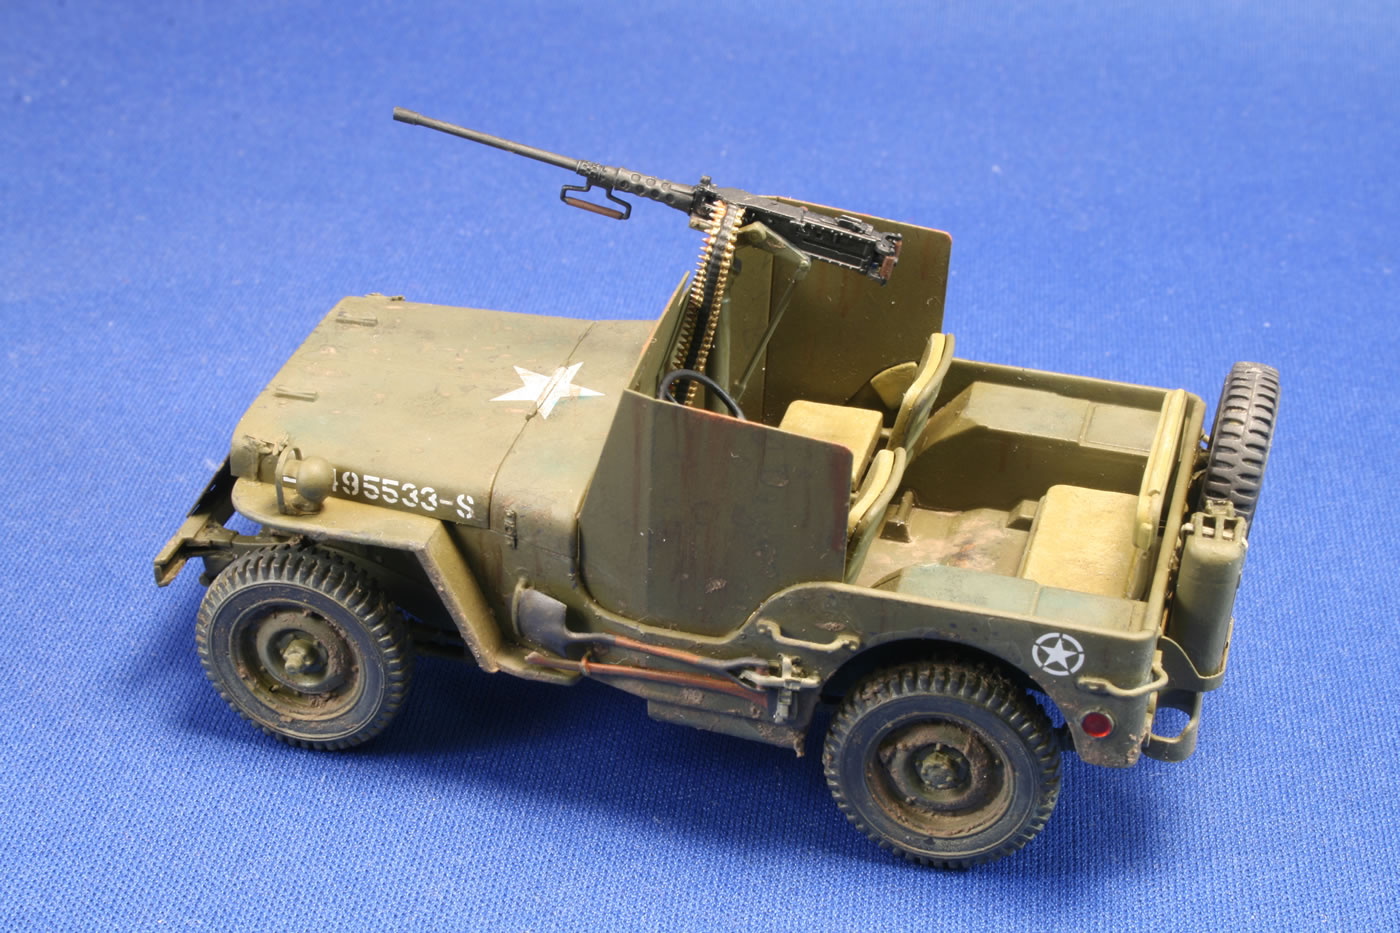
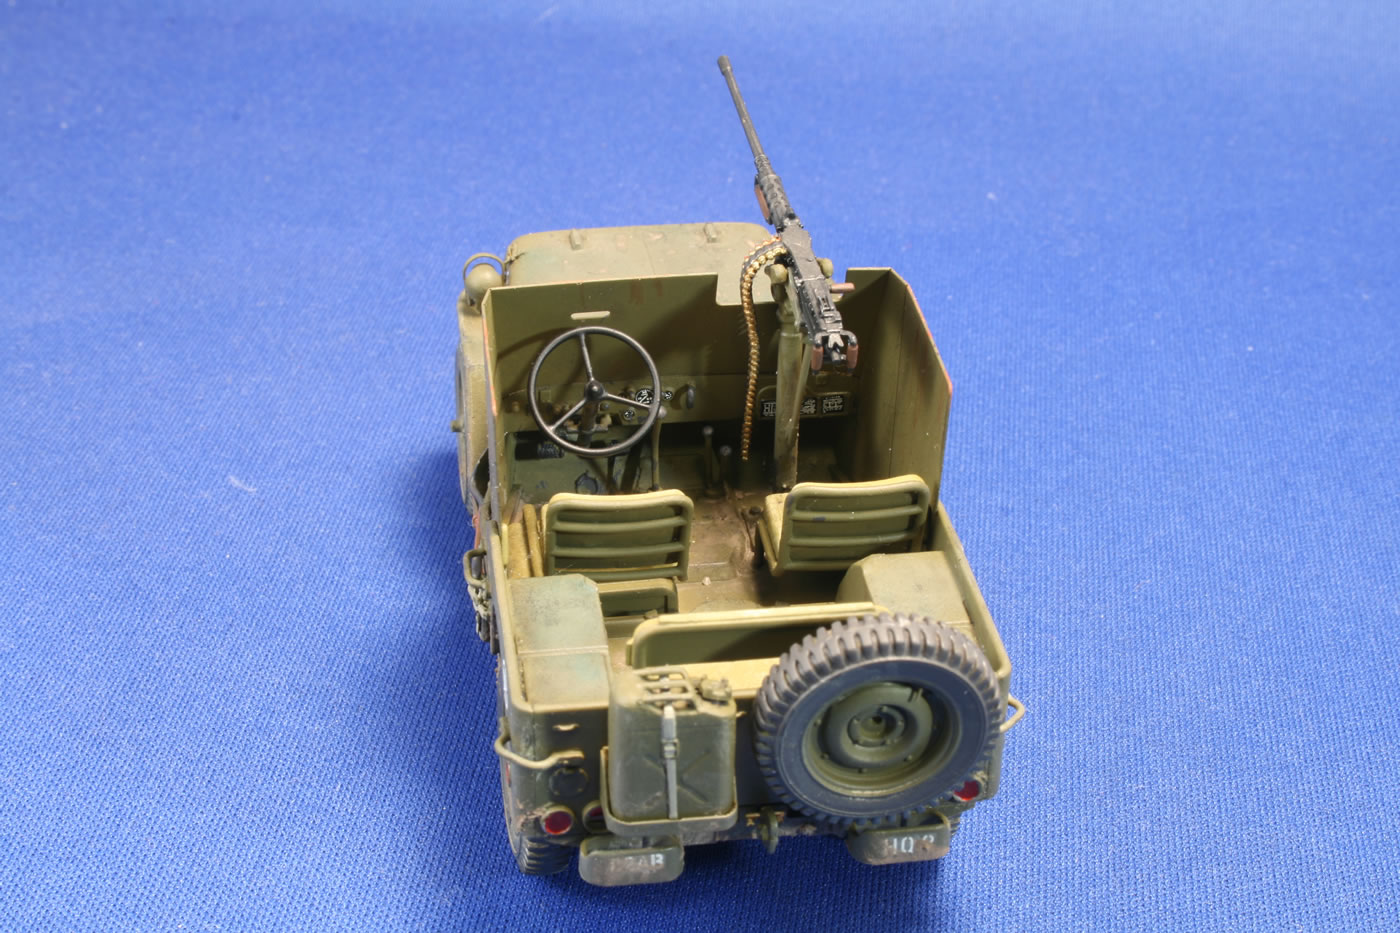
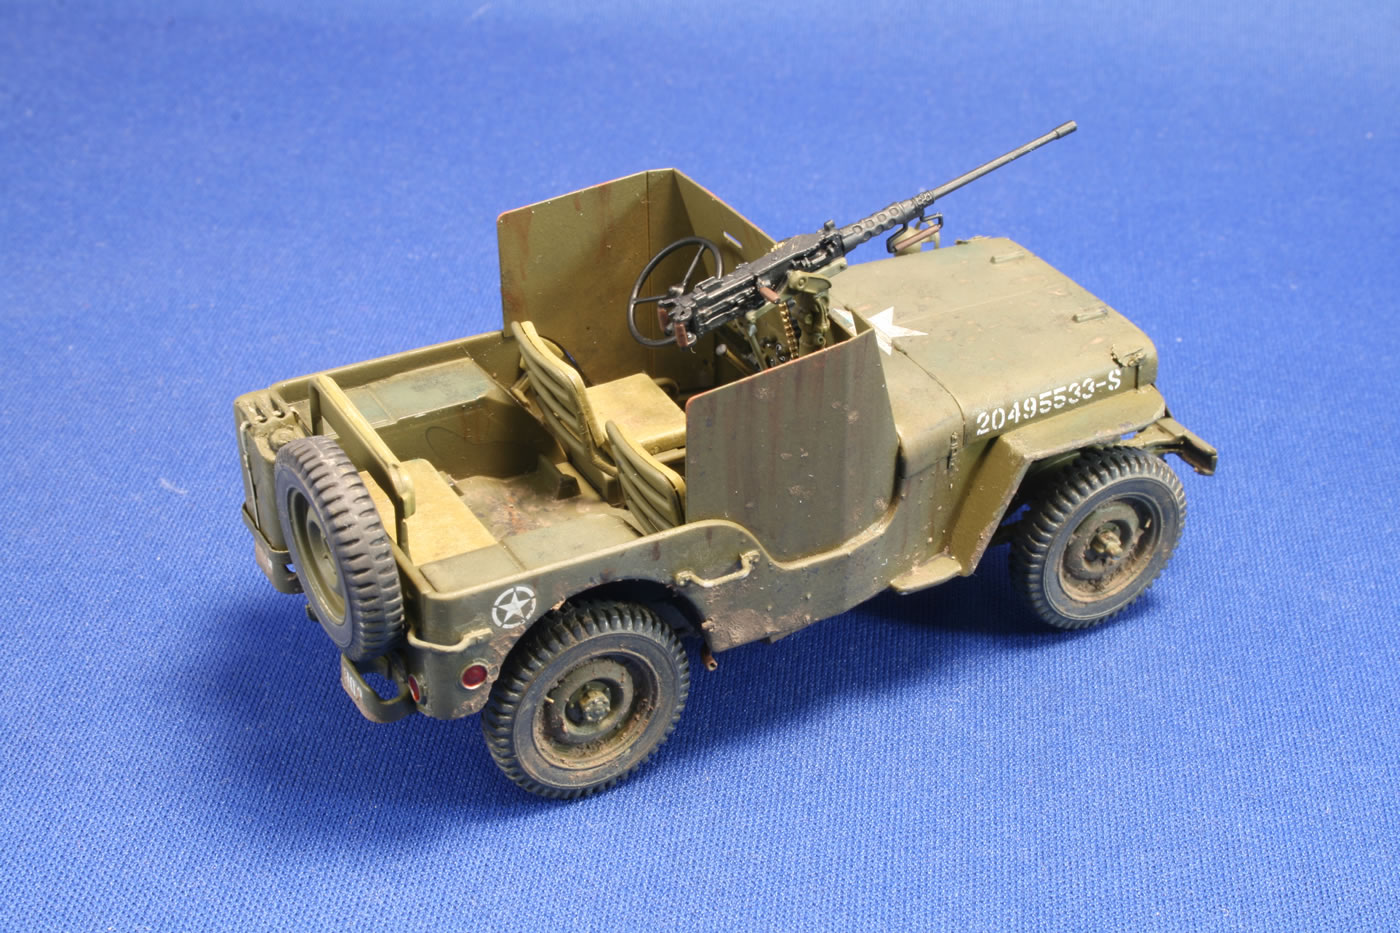
The proof is in the results of the building, however, and the Dragon kit goes together very well. It captures some of the details the Tamiya kit misses such as the snap anchors around the door openings that were attachment points for little used canvas doors. The tie downs and photoetch straps are on hand to secure the pioneer tools (one plastic strap is molded the entrenching tool handle) and the jerry can. The photoetch fret also includes the standard OEM latches for the hood and missing windshield. It is necessary to remove some guides from the side of the jeep where the mounts for the canvas roof supports go. Be careful when installing the rear wall to the one-piece body tub—though the drawing of the back is correct, DML's instructions call out B36 when the part really should be A17. And the machine gun stand is part B4, not B6 cited in the instructions. It happens that there are two .50 cal. MGs in the kit, one molded in sprue B, and another separate tree that is not alluded to in the instructions. Without saying so in the instructions, this is the intended gun, as it is much more refined than the sprue B weapon. It also offers the option of using the typical horizontally oriented ammo box or the long horizontal one in plastic or photoetch. Given the limited ability to swing the MG in the confines of the cut-out on the front armor plate, it appears from photos that a belt of ammo was fed into the gun rather than a mounted box of either type . That was the approach I decided upon and used a belt from the Academy machine gun set. The instructions are likewise fuzzy which of the angled brace supports that extends from the side of the mount to the underside of the machine gun that one should use, and the pieces are not as presented in the diagram. The longer one appeared to be correct for the .50 but I had to trim the ends to get it to sit at the correct angle. DML includes most of an engine, which initially looked more promising than the Tamiya kit, but it lacks the water pump on the side and the hose to the radiator is too short. Nonetheless, the engine is crisply molded and would be the good basis for some extra detailing if one wanted an open hood. Another advantage to the DML kit is that it includes the gas pedal and clutch and brake pedals as separate plastic pieces; these are typically photoetch aftermarket parts if not built from scratch. Just before I started in on this kit, I happened upon some info online about the star on the hoods of jeeps. We are used to seeing the large marking, sometimes in a complete or broken circle. But I learned on the G503 Forum that smaller stars were initially painted over the hood hinge at the factory; stars were repainted lower on the hood in the theater of operations. This jeep of the 99th Infantry Division was shown as an example, as well as another unidentified jeep.
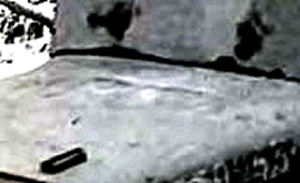
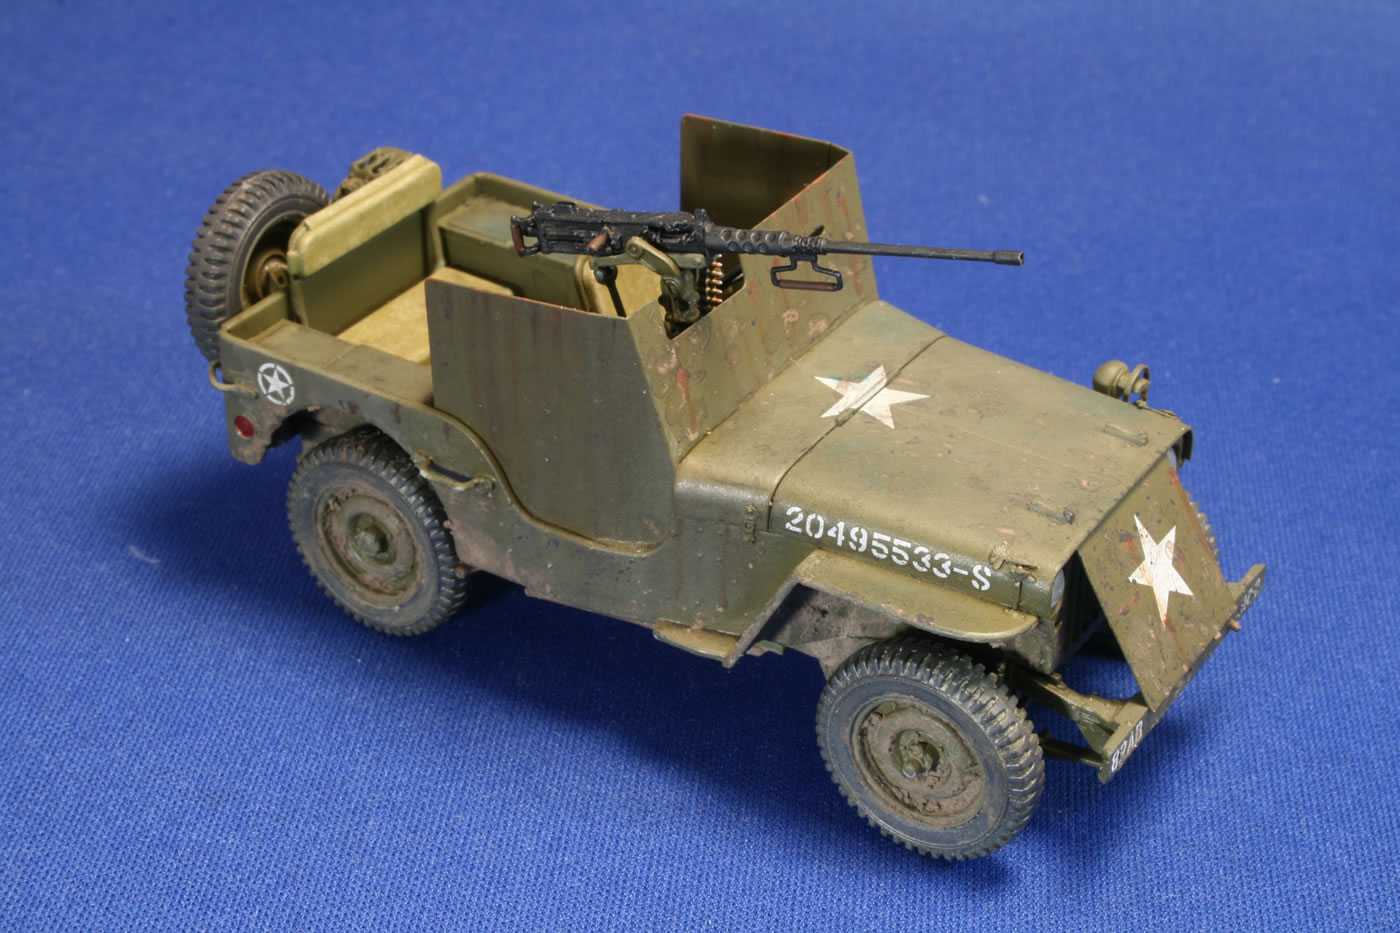
While the armored jeep at the top of the page appears not to have a star, I see a ringless star that is obscured by dirt and grime painted over the hinge. Look below and see if you agree.
So, after painting the base coat in Model Masters olive drab, I glossed the model and added the kit markings as well as a spare star on the hood. Weathering was accomplished with a coat of Easy Mud and assorted powders. . To get essentially the same results from the Tamiya kit, you'd need to find the armor plates in photoetch or scratchbuild them from plastic sheet. Ordnance Models produced a photoetch set (now out of production) that has the armored grill plate and surround and a mount to attach Tamiya kit's .30 cal. to the armor (there might be other photoetch sets from Eduard or Aber that I'm not aware of). Or, you'd have to pick up a spare .50 cal. and stand from Verlinden. You also would have to buy ($11) Tamiya's U.S. 2 1/2 Ton 6x6 Cargo Truck Accessory Parts set to get the tiny latches that hold down the hood and windshield. So, although the Tamiya kit comes with the options for the convoy as well as the wire cutter and the driver, you'd need to spend more to get the same jeep. In conclusion, neither the DML or the Tamiya kits are perfect—on their own or in comparison to one another. Each is designed to provide a specific result, and to try to extend them past that will cost extra money, time, or both. Dragon's kit is as nicely tooled as Tamiya's but with a bit more detail. It goes together as well as the Tamiya kit, though the funky DML directions make things more difficult than they should be. The ultimate value will be up to each individual modeler. Thanks to Dragon Models for the review sample.
--Tim Streeter |
 |
 |
 |
 |
 |
 |
 |
 |
 |
 |
 |
 |
|