|
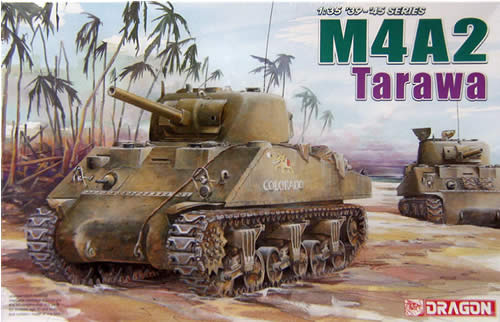
M4A2
Tarawa |
 |
|
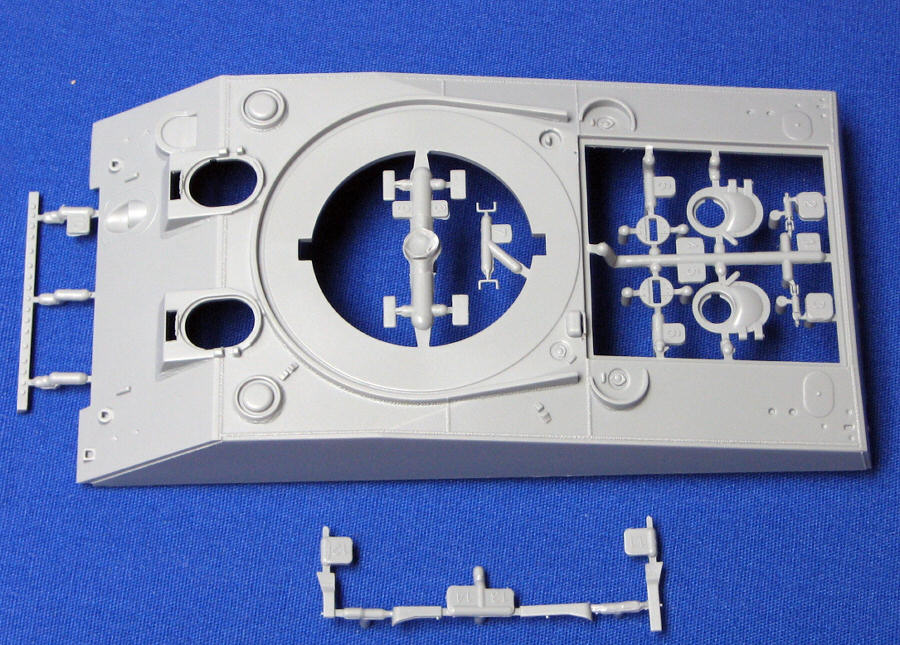
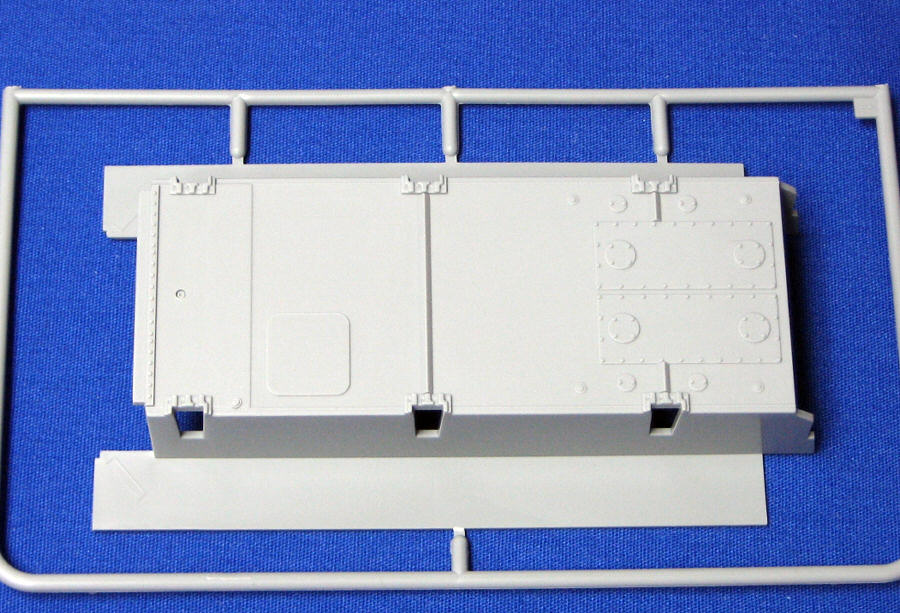
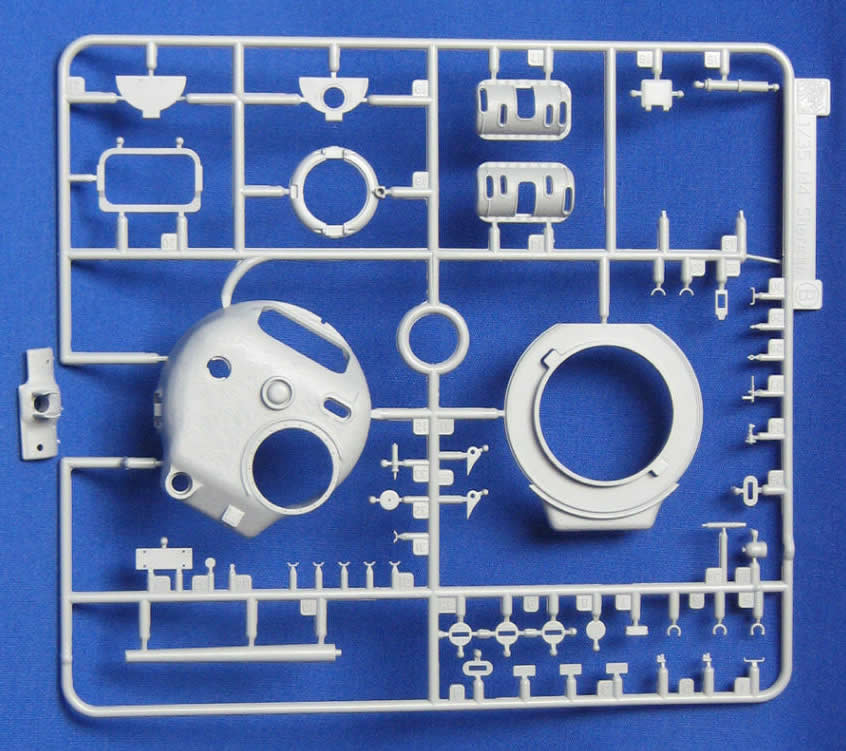
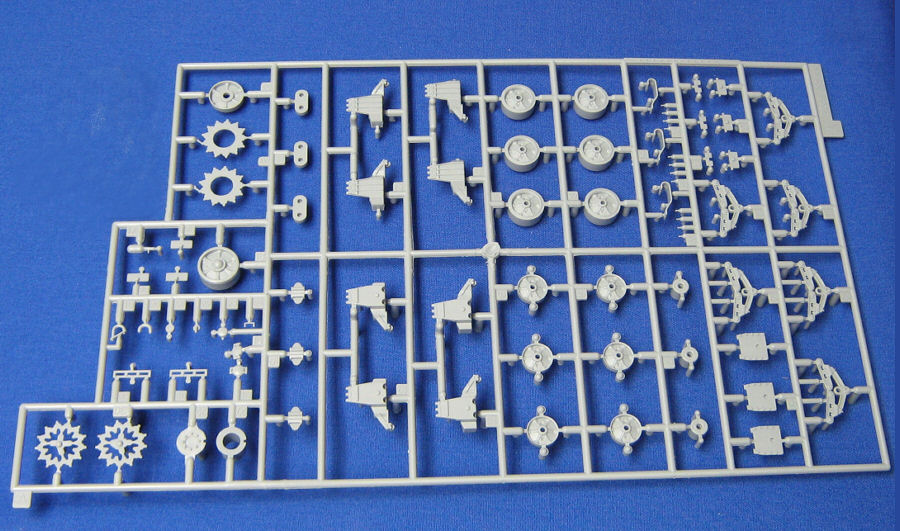
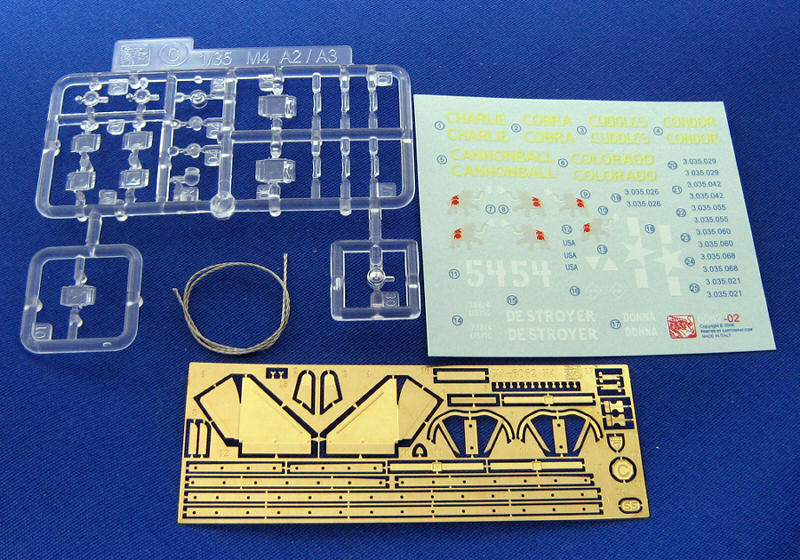
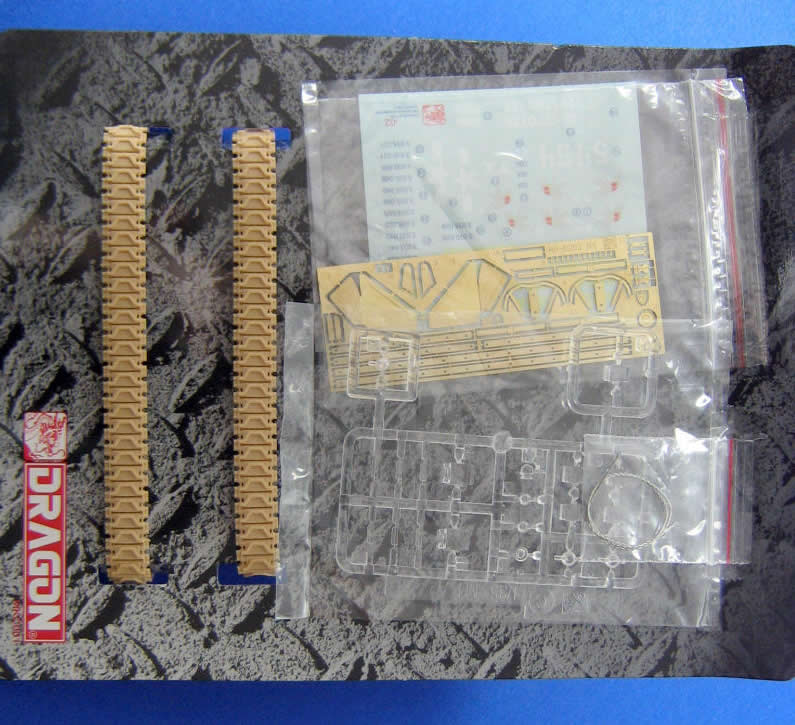
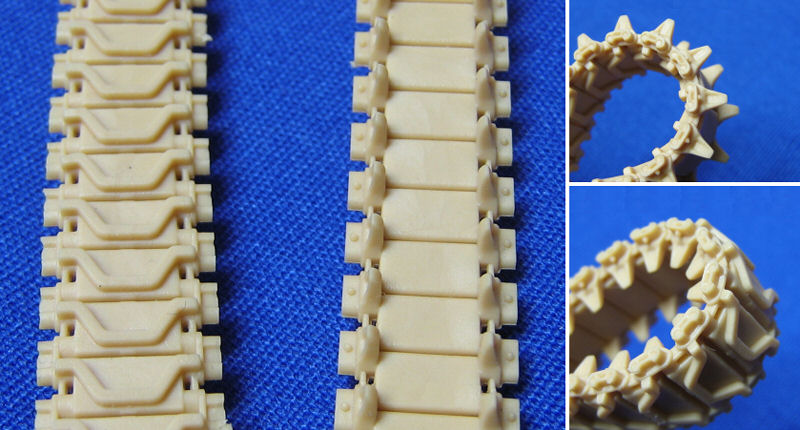
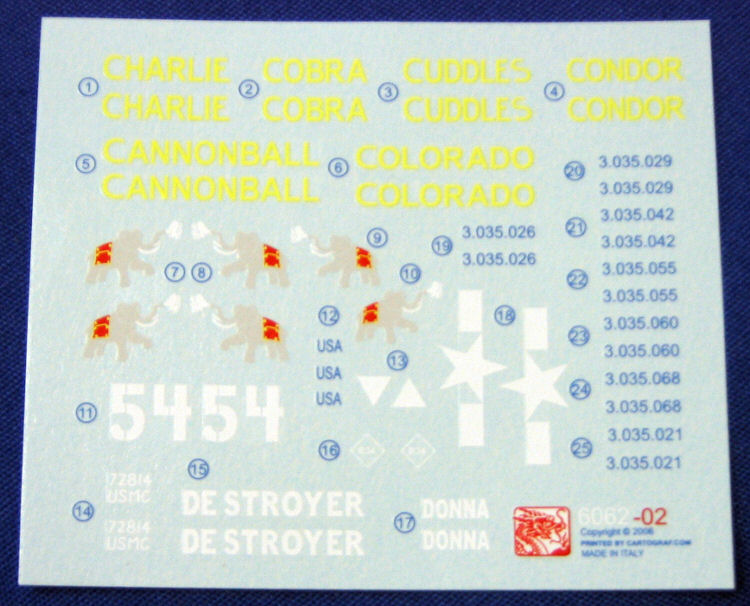
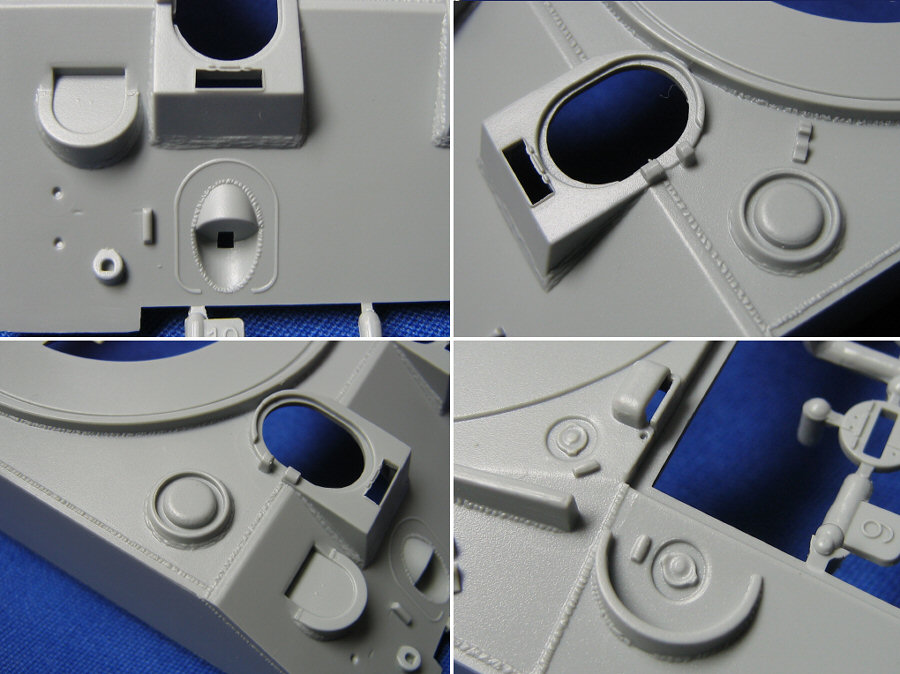
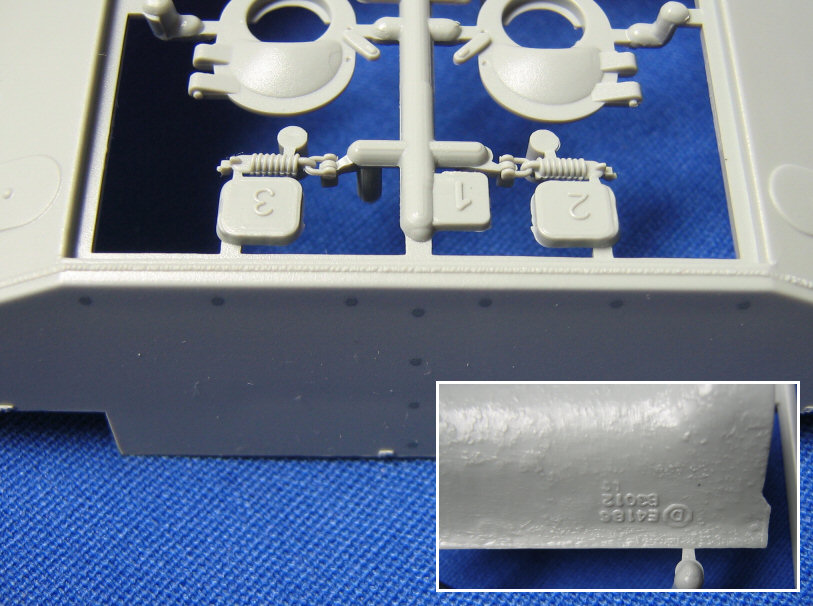
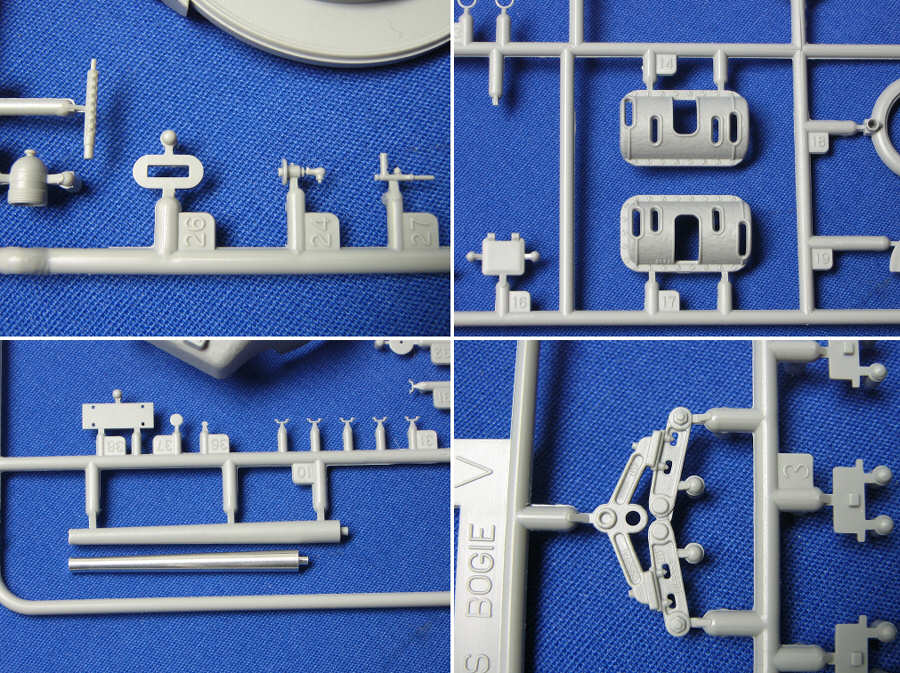
Many modelers have been waiting for the long announced M4A2 from Dragon. While it has been in their catalog for several years, speculation arose as to which variant it would be and if were ever see a hobby shop self. Well, it is here and it is very, very good. The Kit Contents Boxed under an attractive painting, we find the bonus card and all the sprues in cellophane packaging. The bottom of the box, as well as the sides, is used for promoting the features of the kit. Under the bonus parts card, are the 449 parts on several sprues, DS tracks, decals and a short length of twisted wire. On sprue A, marked M4A2/A3 there are 96 hull detail parts. The sprue seems to have been modified a bit with the addition of new items. Sprue B is the all new low bustle turret with M34A1 gun mount and contains 50 pieces, some of which are not for this variant. Sprue C has 20 clear styrene parts and comes from a previous kit. The clear styrene is bubble free and all the parts are usable. Sprue D is the early welded hull with the 56 degree glacis slope and the box shaped hoods. Molded around the hull are another 17 parts for a total of 18. The tracks are marked F and are DS gluable type T54E1 type. The packaging has caused some of the beautifully done teeth to be damaged. A dip in hot water cured them. DML recommends submerging them in hot water for three minutes. The early rounded transmission cover is marked as G. Sadly, this seems like a part clipped from another kit sprue and could have benefited from the addition of drain holes as well as toning down the cast texture. Part S is the twisted wire packaged in a resealable bag. There are two sprues marked V each with 81 parts and have been modified from the previous release. These are the VVSS with the flat top return roller mount with pillow blocs. The wheels are the pressed and welded and each has a back including new parts for the sprocket ring, idler backs (hurray!) and tiny bolt heads (parts V33) which are not mentioned in the instructions but are meant to be used on the track skids. On the sprue side, beautifully done bolts appear which are also not in the instructions and I will use in lieu of the photo etched parts (MA5) on the upper rear hull panel. The lower hull is part X and seems to have been modified with the addition of a strip of bolts for the transmission cover. It is correct in most details for the M4A2 and is only missing bolt details and the fuel drains under the sponsons to be complete. MA is the photoetched brass fret which account for 43 parts. The instructions are of the regular non photographic type and cover assembly with markings. The decals are by Cartograph and have seven options, six of which are from C Company, 1st Tank. The last is from D Company and is interesting in that they had star and bar markings added to the sides and roof. Sadly, only two star and bar decals are provided.
Photograph Key 1.
Sprue D - Upper hull Examining the KitStep 1 - Running Gear Starting with Step 1, there is a choice of sprockets to use, the cast (part V30) or the newly added flat disk (part V31). Photos of "Cannon Ball,"Charlie," "China Girl," "Cobra" (which had three bar tracks), "Colorado," and "Condor" all show the disk type sprockets. "Destroyer," as well as a photo I found of "Dude," also have the disk type sprocket. The bogies have received casting marks which are correct and properly placed. The only thing missing are the rivets on the outer rim of the road wheels. Steps 2 & 3 Steps 2 and 3 cover the mounting of the suspension as well as the rear deck. The rear panel is from Dragon’s previously released M4A2 76mm kit. The exhausts can use a little deepening of the ports. A great addition are the rear sides of the idlers, parts V32, which are now included. Part A53 represents a grill that is in the up position. The modeler should remember this if he ever wishes to show it in the lower position.
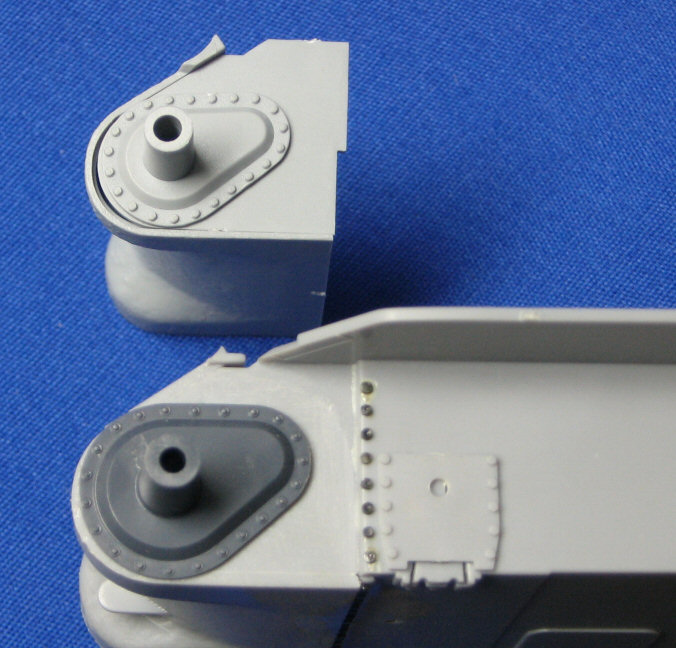
Step 4 has the modeler adding the front sprockets to the transmission cover. Here, we find a problem that was not corrected. The reduction gear covers, parts A29, are a bit undersized. In this photo, I show Dragon’s part, above, compared to Italeri’s (dark gray) part, which is correctly sized. Steps 5, 6, 7 & 8 - Upper Hull
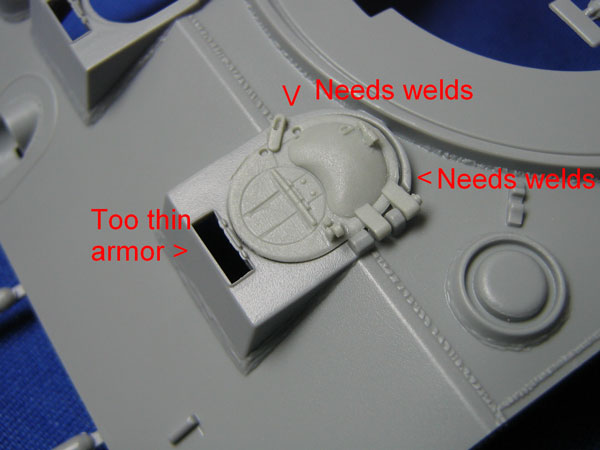
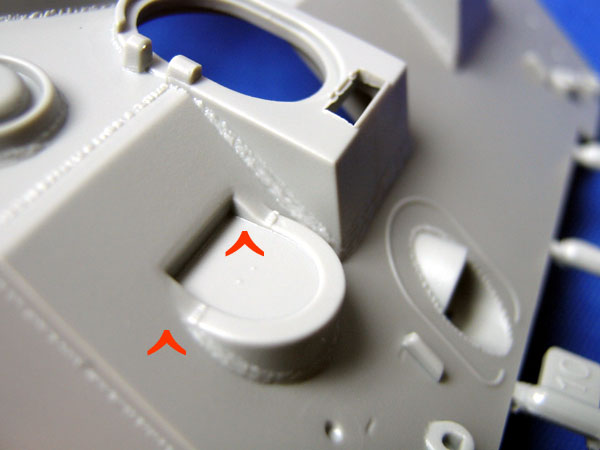
Steps 9 & 10 - Turret These steps are to assemble the turret. The commander’s cupola hatches are wonderfully detailed with casting marks but the cupola lacks any internal detail if the hatches are left open. The gun tube is slide molded with an open bore but lacks the flare of the early gun. "China Girl," "Commando," and "Cuddles" clearly have this type. The pistol port is open thanks to slide molding but there is a seam that must be removed and the turret then re-textured. The spotlight is exquisite in detail and the rear turret stowage tie downs are tiny (parts B31). Photo etched straps are included. Step 11 - Final Details The last step, 11, has one add the towing cable, foundry marks, and skirt mounts (the latter two items in photo etched brass) before putting both halves together. The tracks are also added at this time. The end connectors are very detailed and it is a shame that the teeth were damaged by the packaging as these tracks are better than some aftermarket items. Corrections to the Kit Corrections which have to be made are not difficult and are mostly a matter of omission. Many Marine tanks didn't have a machine gun but I will use Formations' excellent early gun for this kit. Also, several tanks had stowage brackets for fuel or water cans on the upper rear deck. These must be scrounged from the parts bin. Decals The decals are by Cartograf and are well printed but the elephant should be yellow according to a color photo seen on the Tarawa on the Web site listed below. Suitable Aftermarket Accessories Detailing out the kit I will use the following:
Conversion Potential For those wanting to do a Commonwealth tank, there are quite a few changes but here are some I will be doing: Ultracast
Turret Stowage Bin Conclusions and Acknowledgments Even though it has some mistakes and omissions, this is by far the best Sherman tank in polystyrene plastic. My sincerest thanks to Mike Canaday and Pawel Krupowicz for their work on the kit, Kurt Laughlin for his photo collection, and especially to Paul A. Owen for the review sample. References Used
-Saul Garcia |

 |
 |
 |
 |
 |
 |
 |
 |
 |
 |
 |
 |
|