| "Follow Us to Berlin!" |
 |
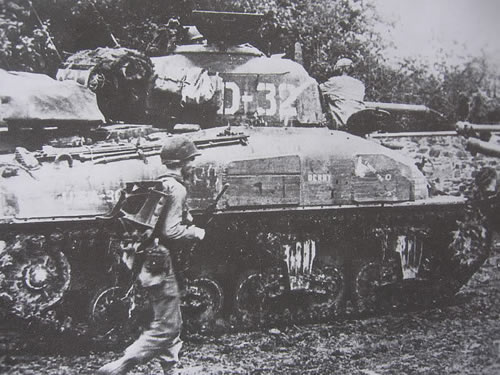
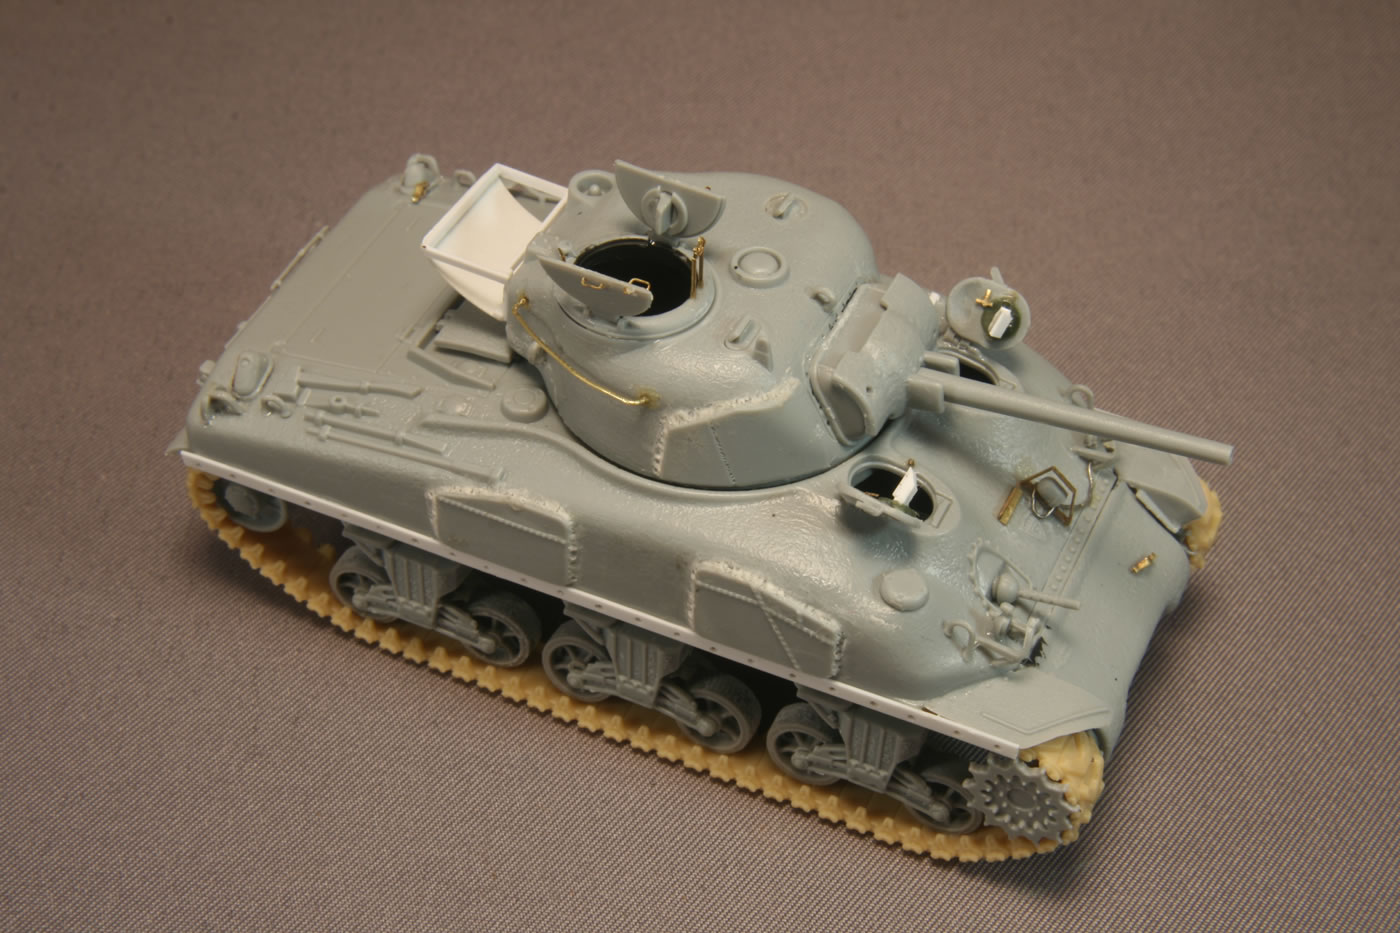
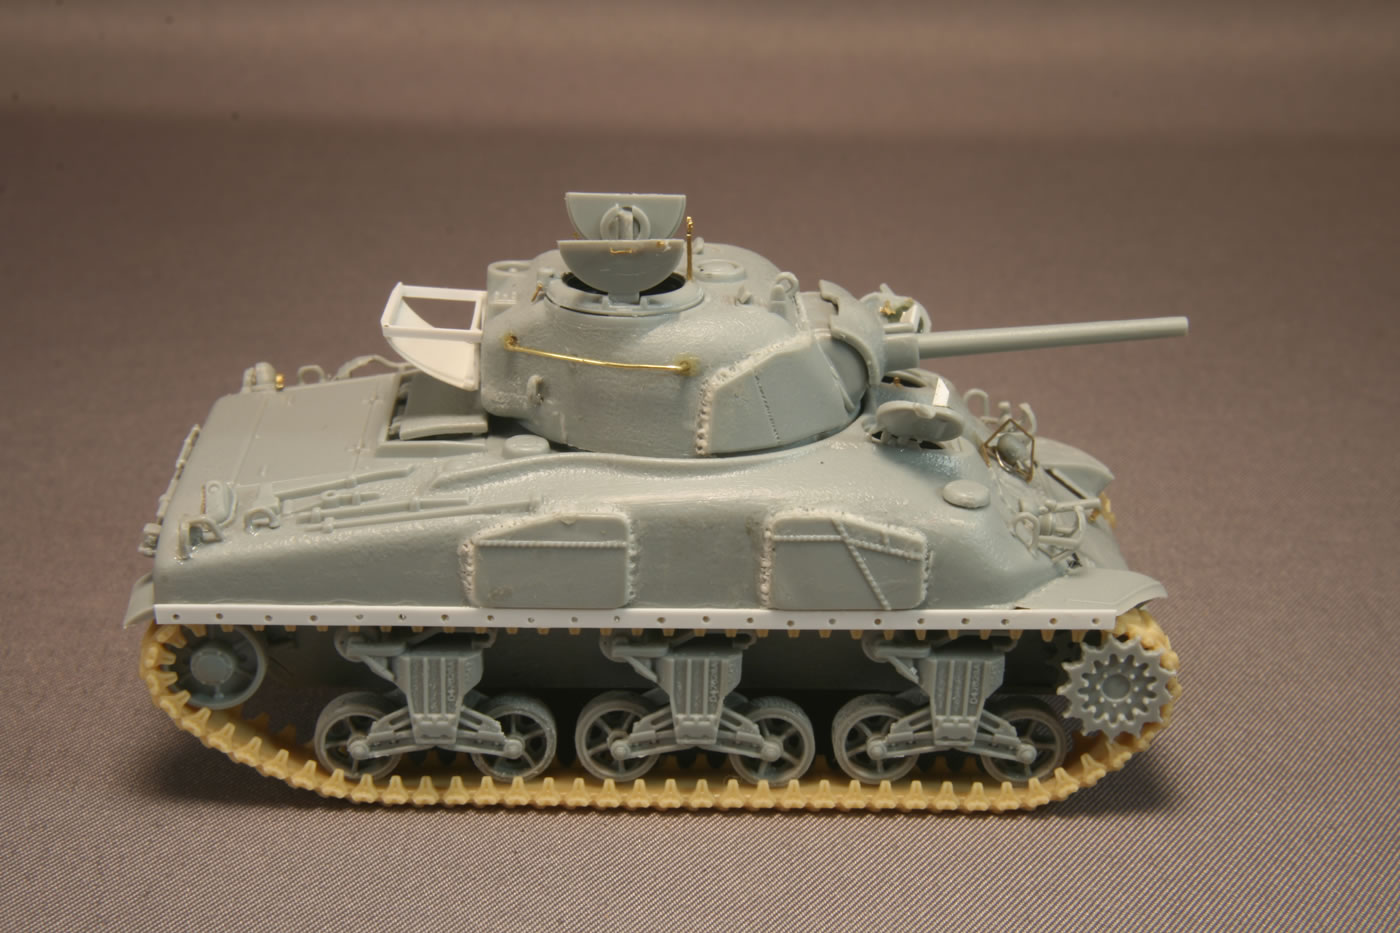
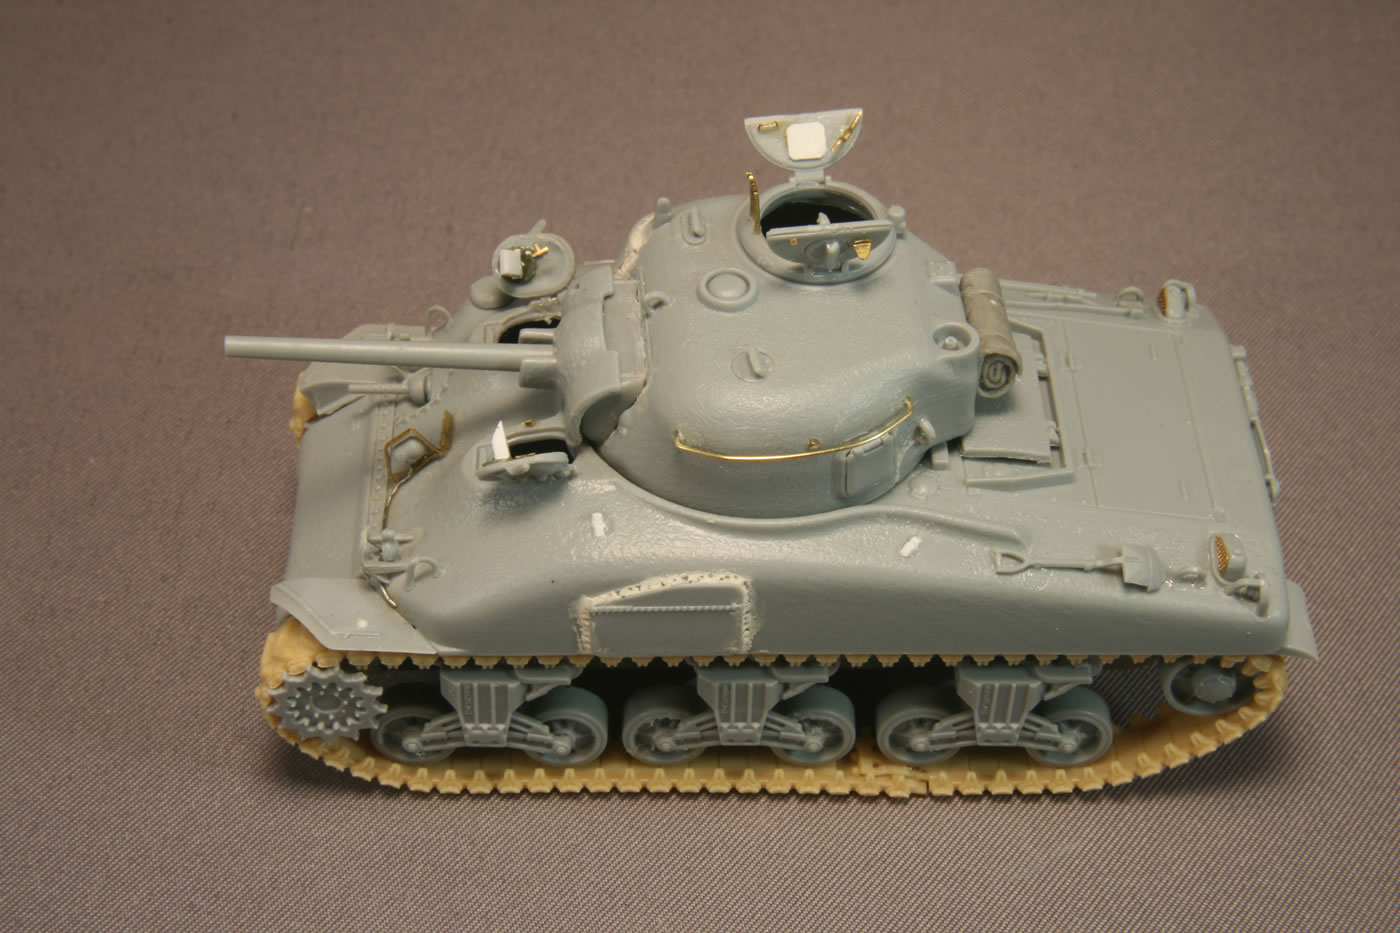
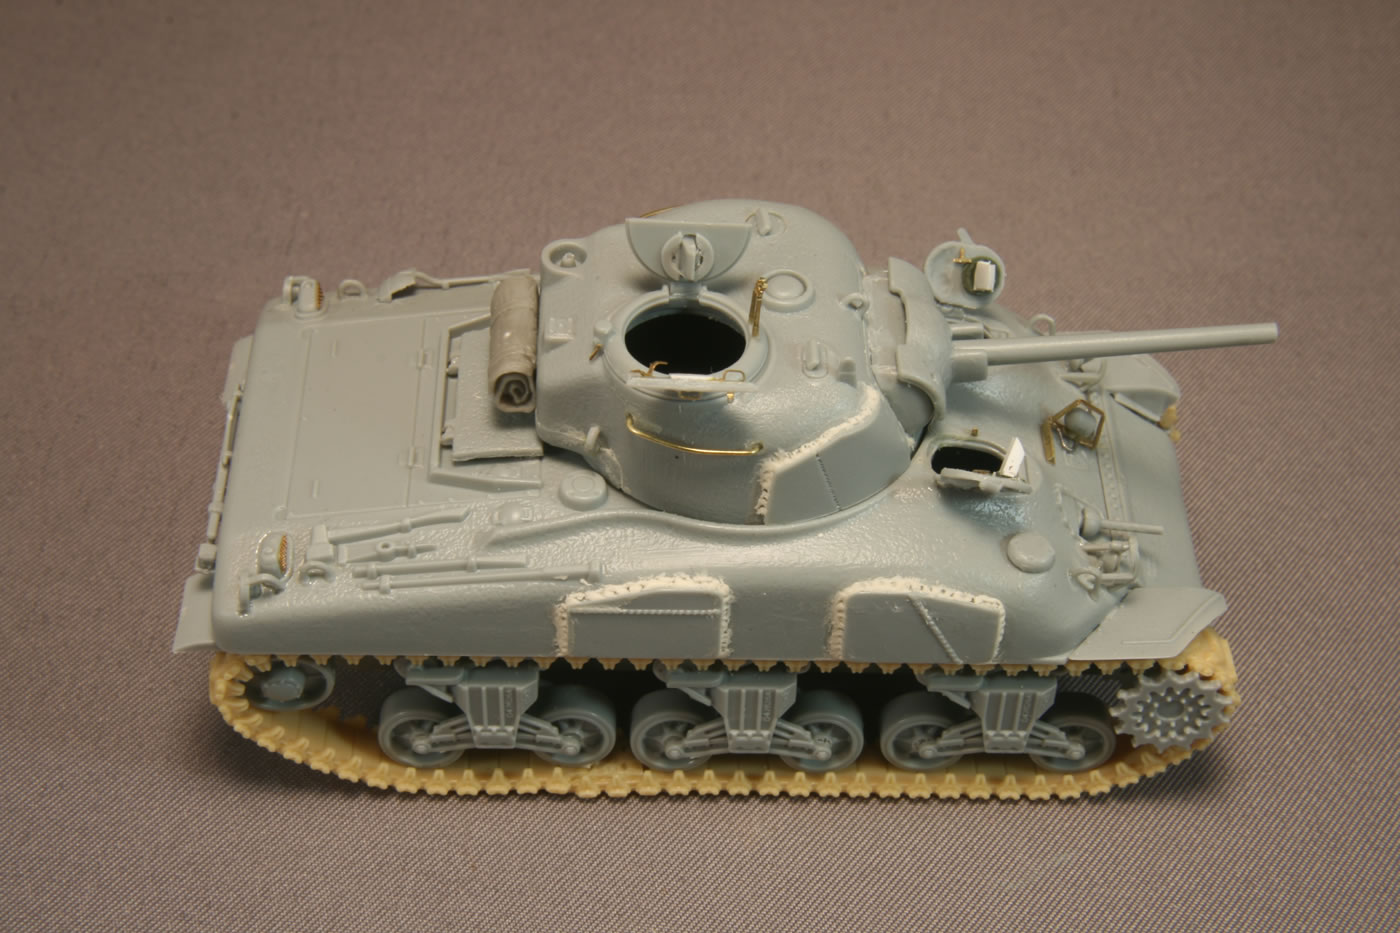
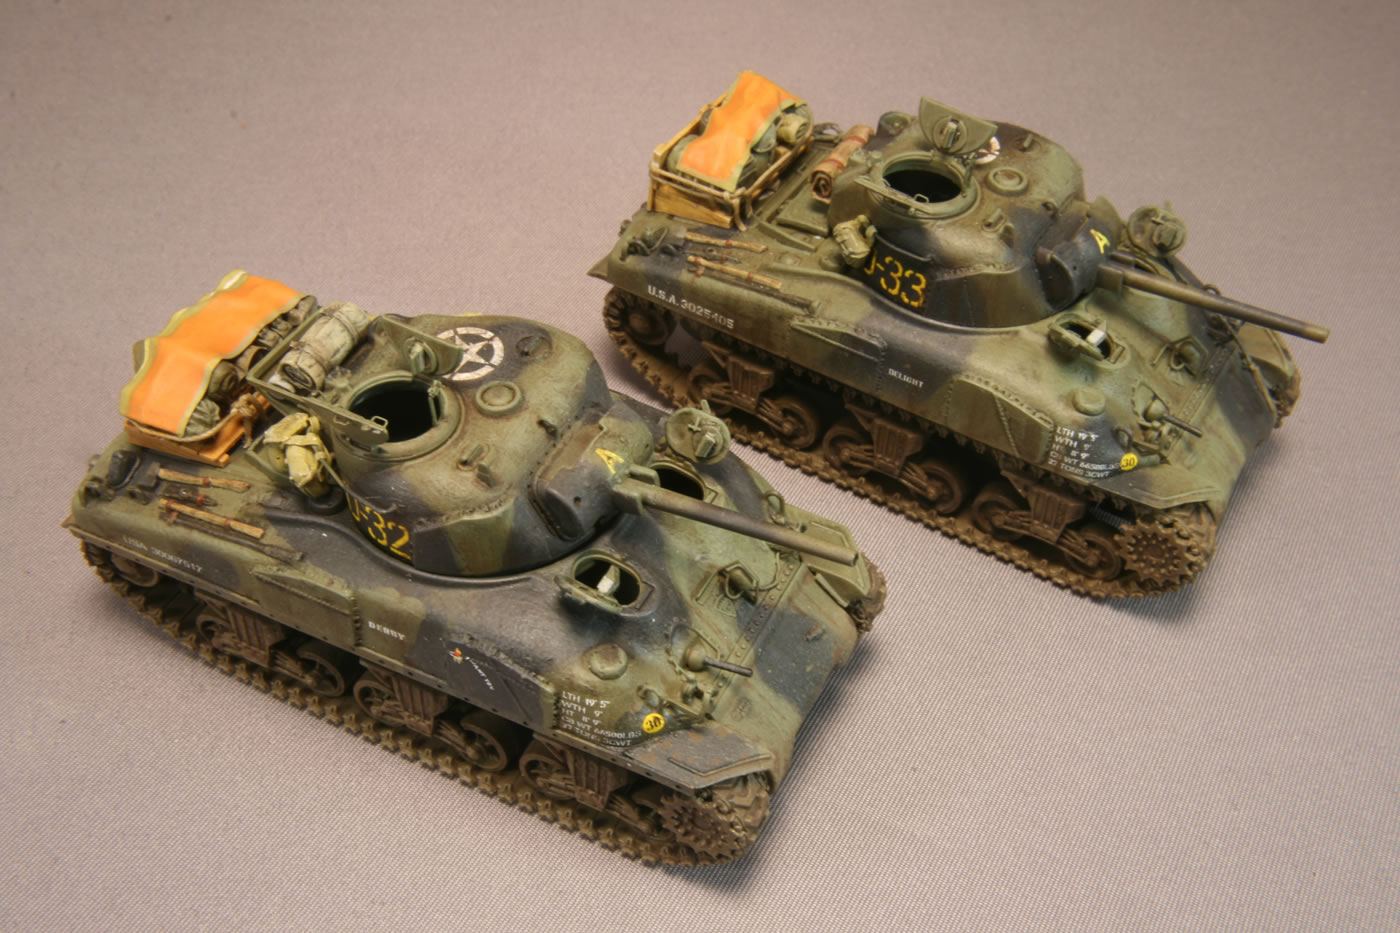
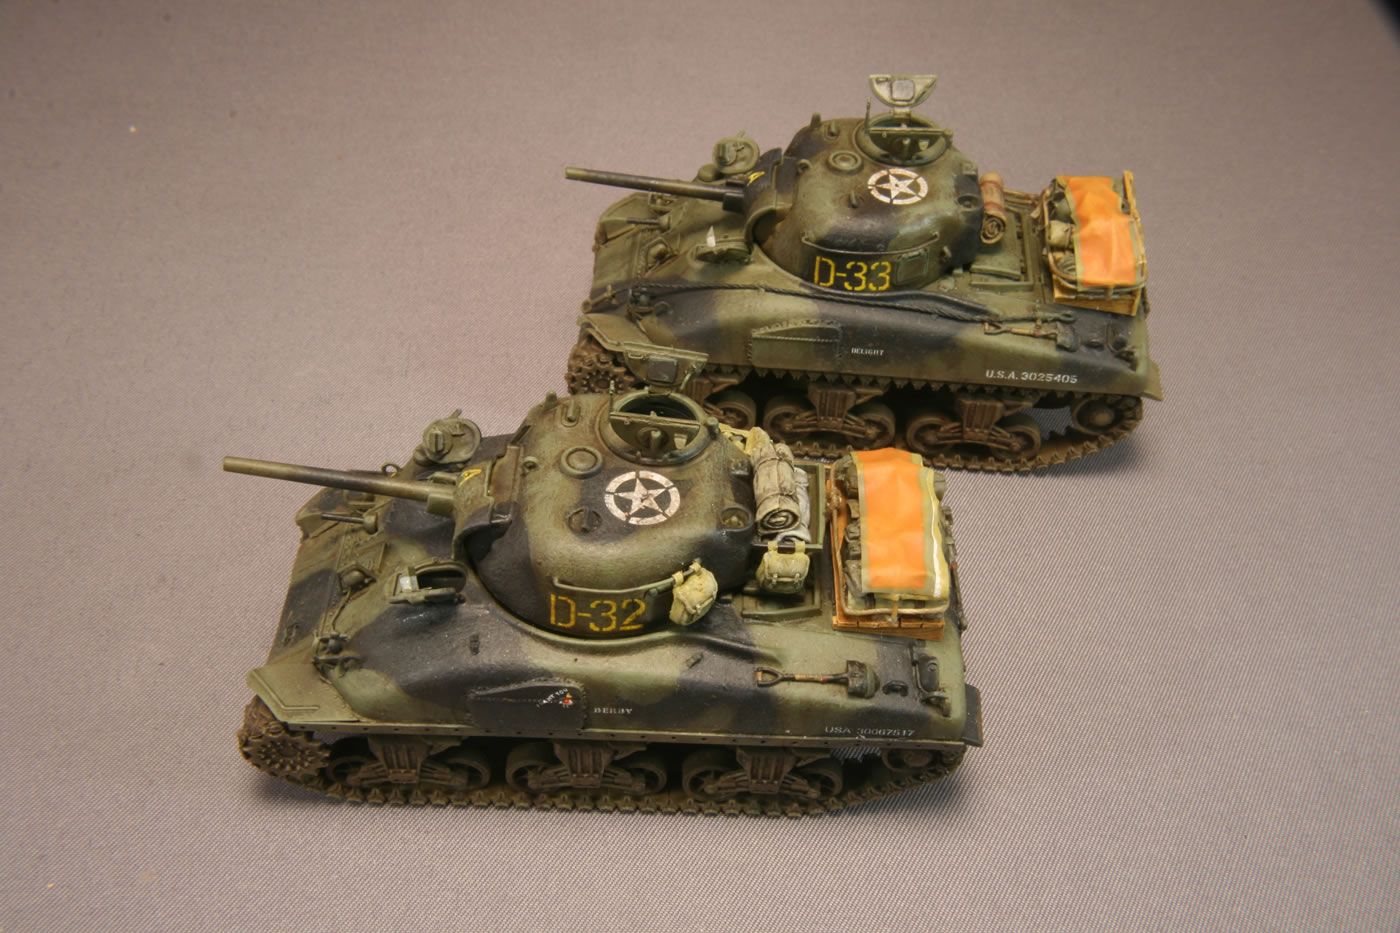
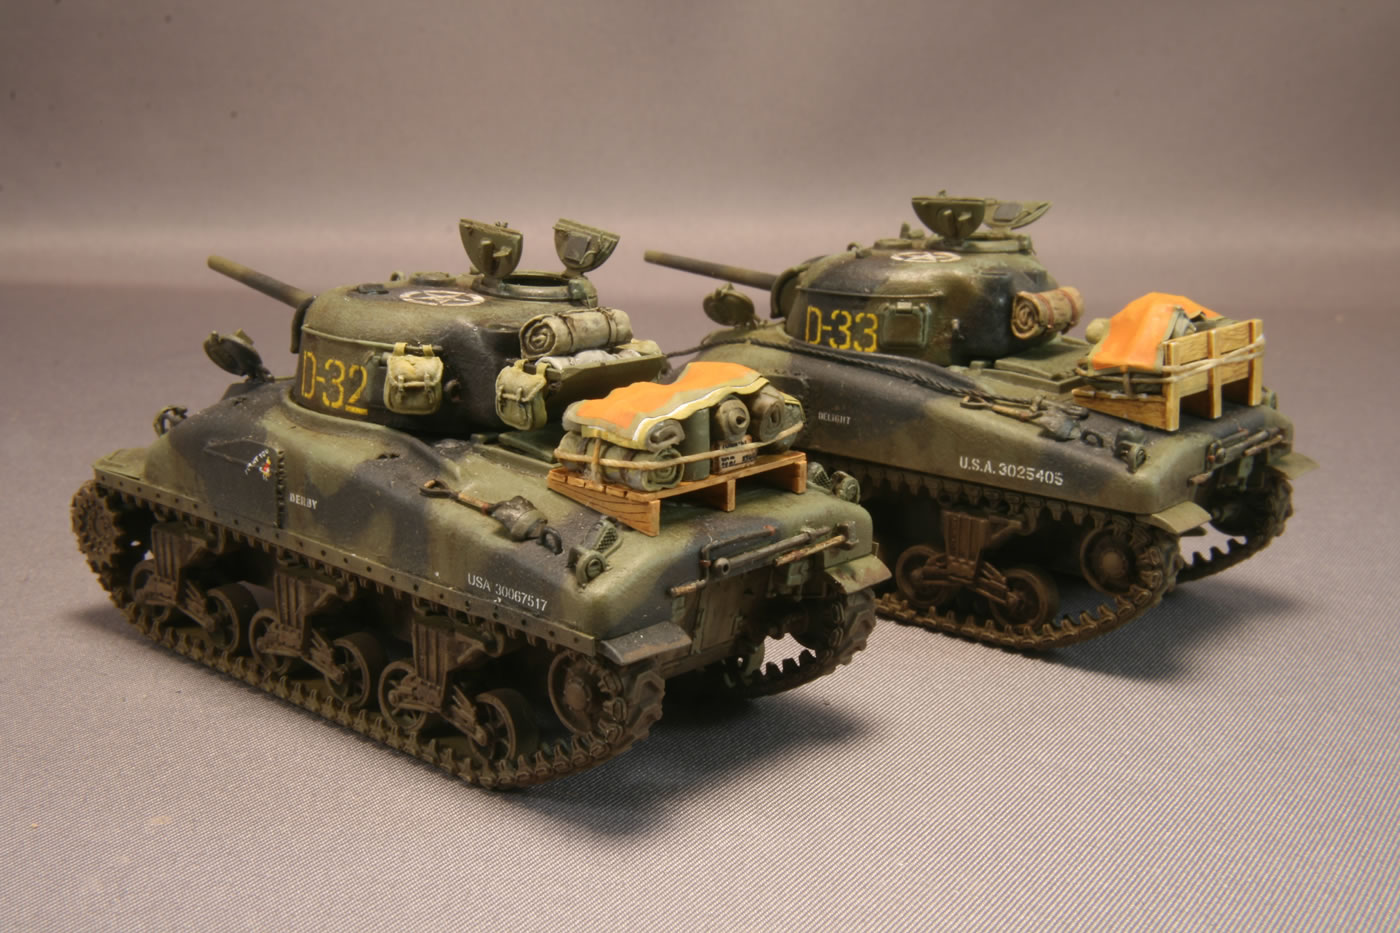
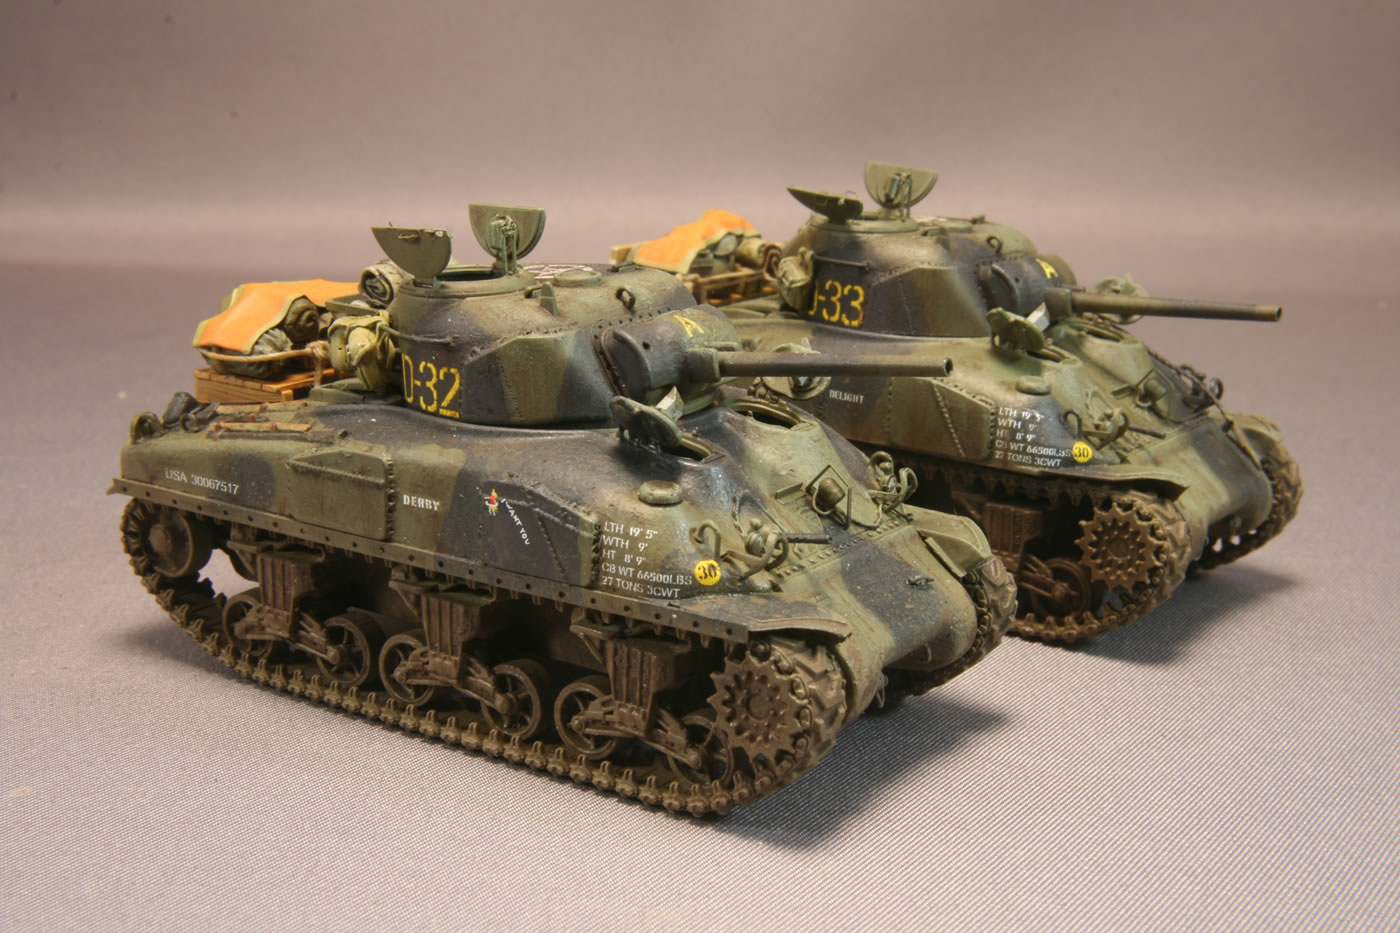
A Project in Process"Derby" is an oft-modeled M4A1 Sherman and is a good representative of the dry small hatch variant produced by General Steel Castings. The DML kit (#7273) provides nice detailing with optional photoetch that kicks it all up a notch if you're interested in an additional challenge. However, to build the most accurate "Derby" you need to invest a little money and scratchbuilding energy. This was the first 1/72 DML Sherman I'd purchased and my intention was to build it out of the box, and I'd gotten halfway through the build before I noticed DML had made some a couple big departures from the real Derby. My attempt at an AMS-free build was overcome by the desire to fix the most obvious flaws. By that point, to do so I needed to purchase second kit...and a set of Caliber72 open spoke road wheels. But the initial kit would not go to waste—since I wanted to create a diorama inspired by the ubiquitous photo of Derby moving past knocked out Pz IVs on the muddy road near St. Fromond, north of St. Lo, on July 9, 1944. The first Sherman—soon to be christened "Delight" by me—could back up Derby, provided I could work out the distinctive decal markings.
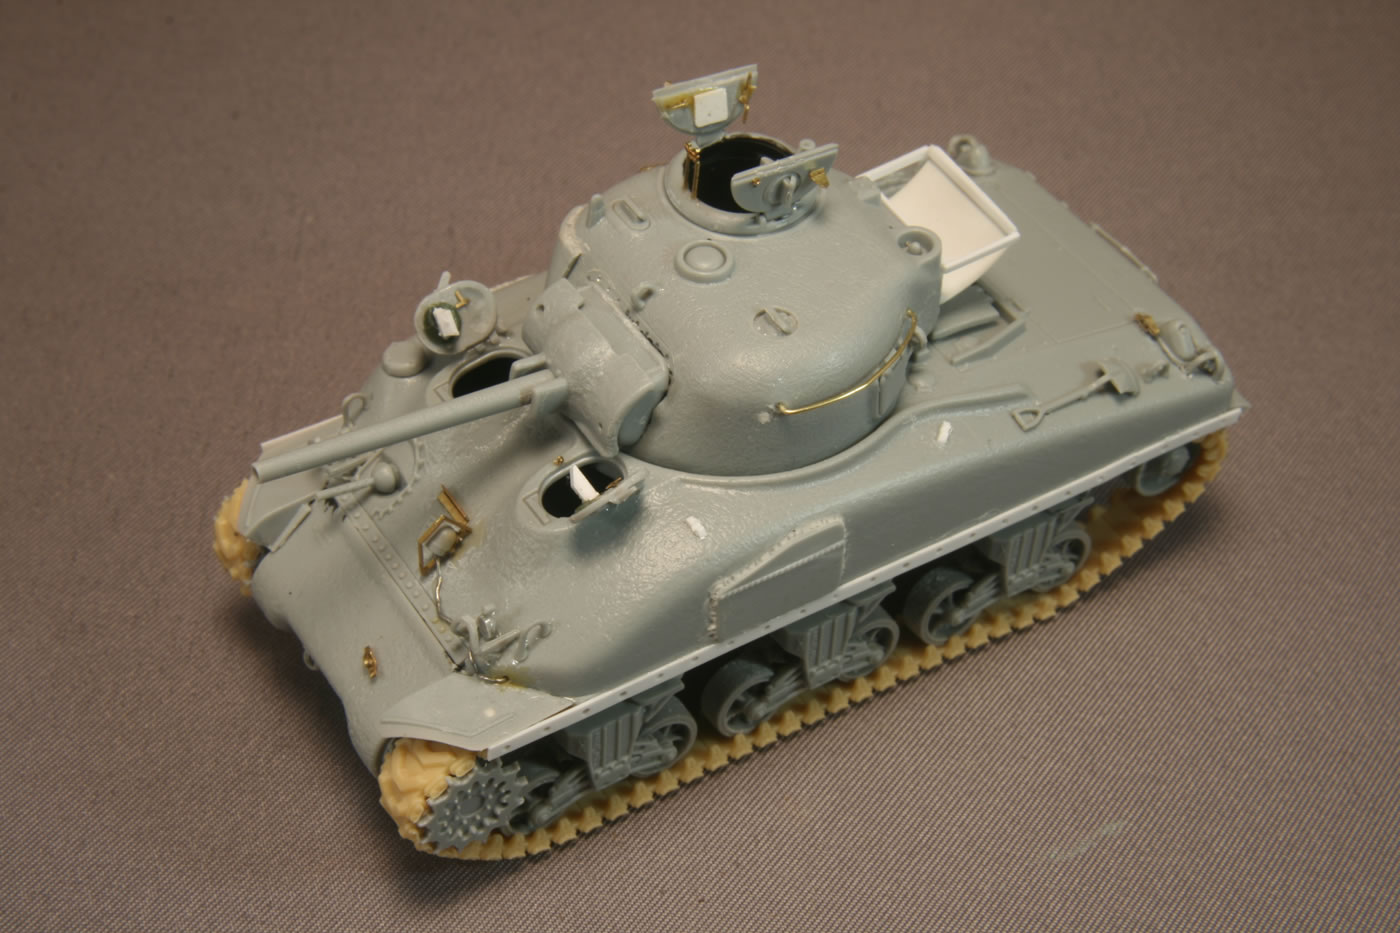
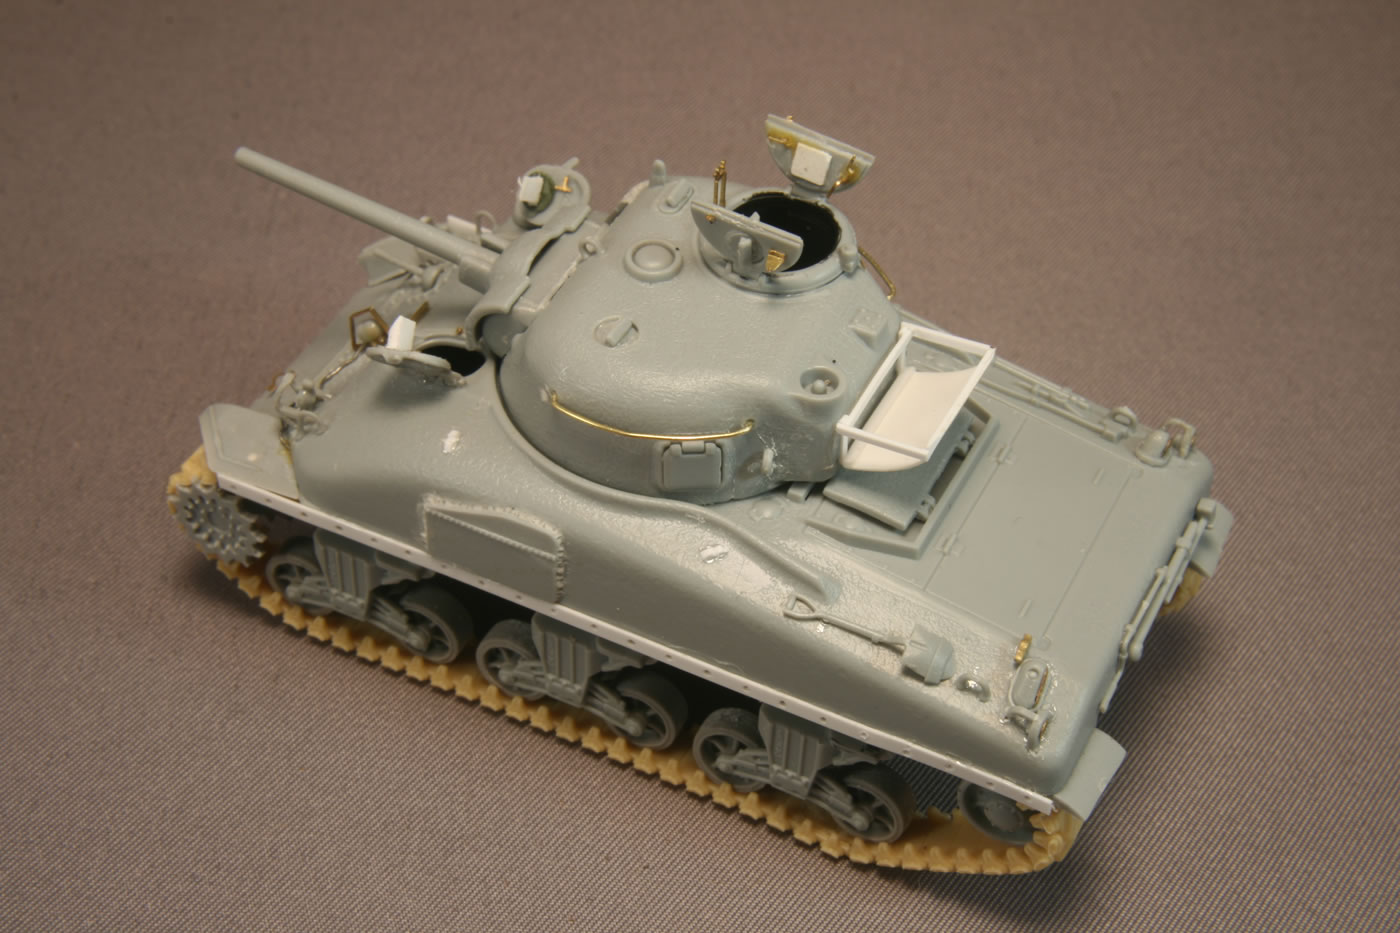
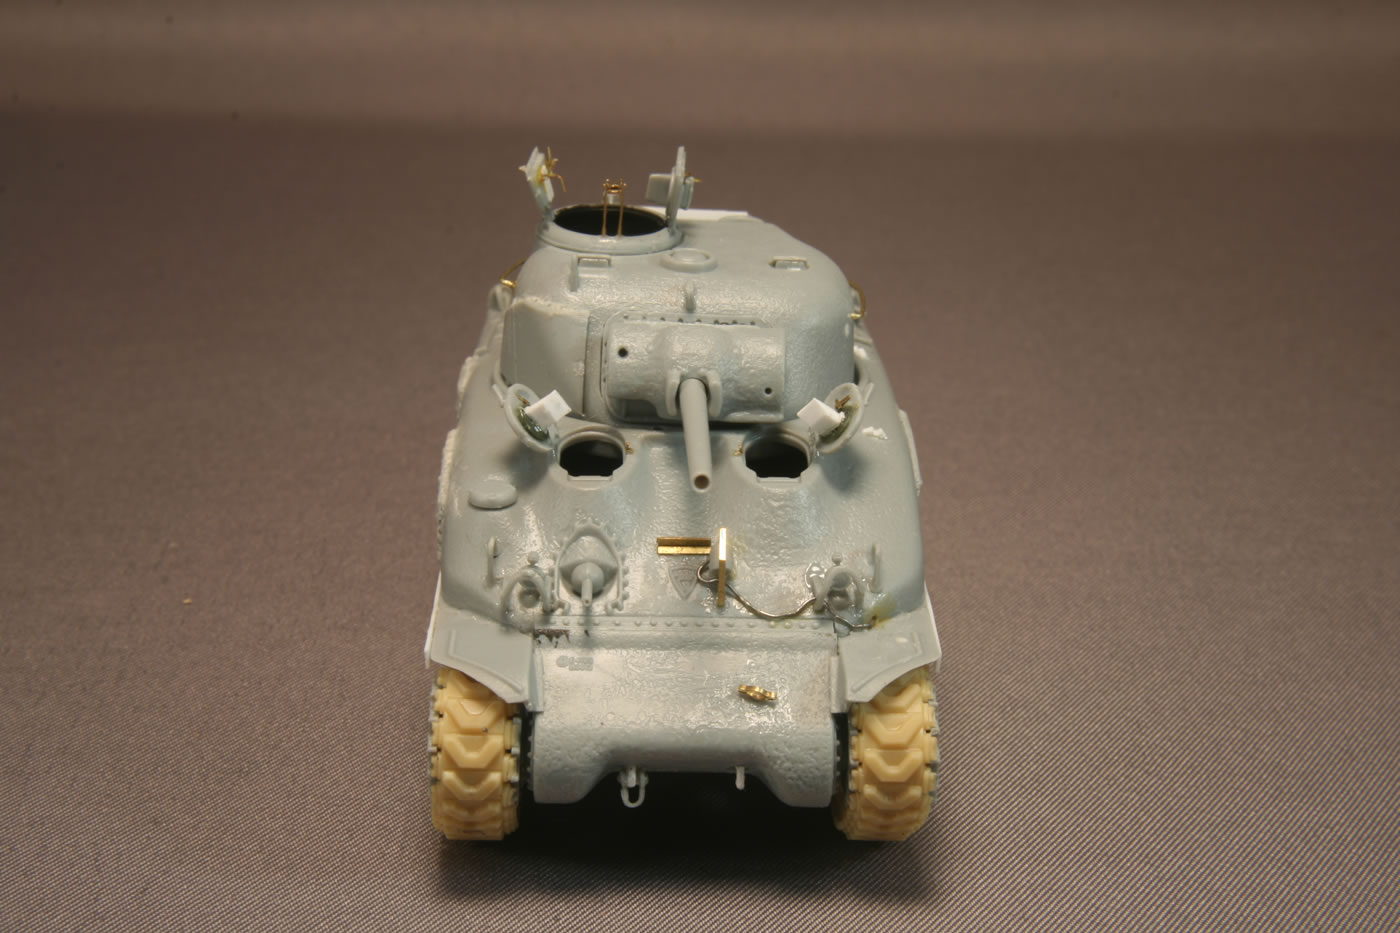
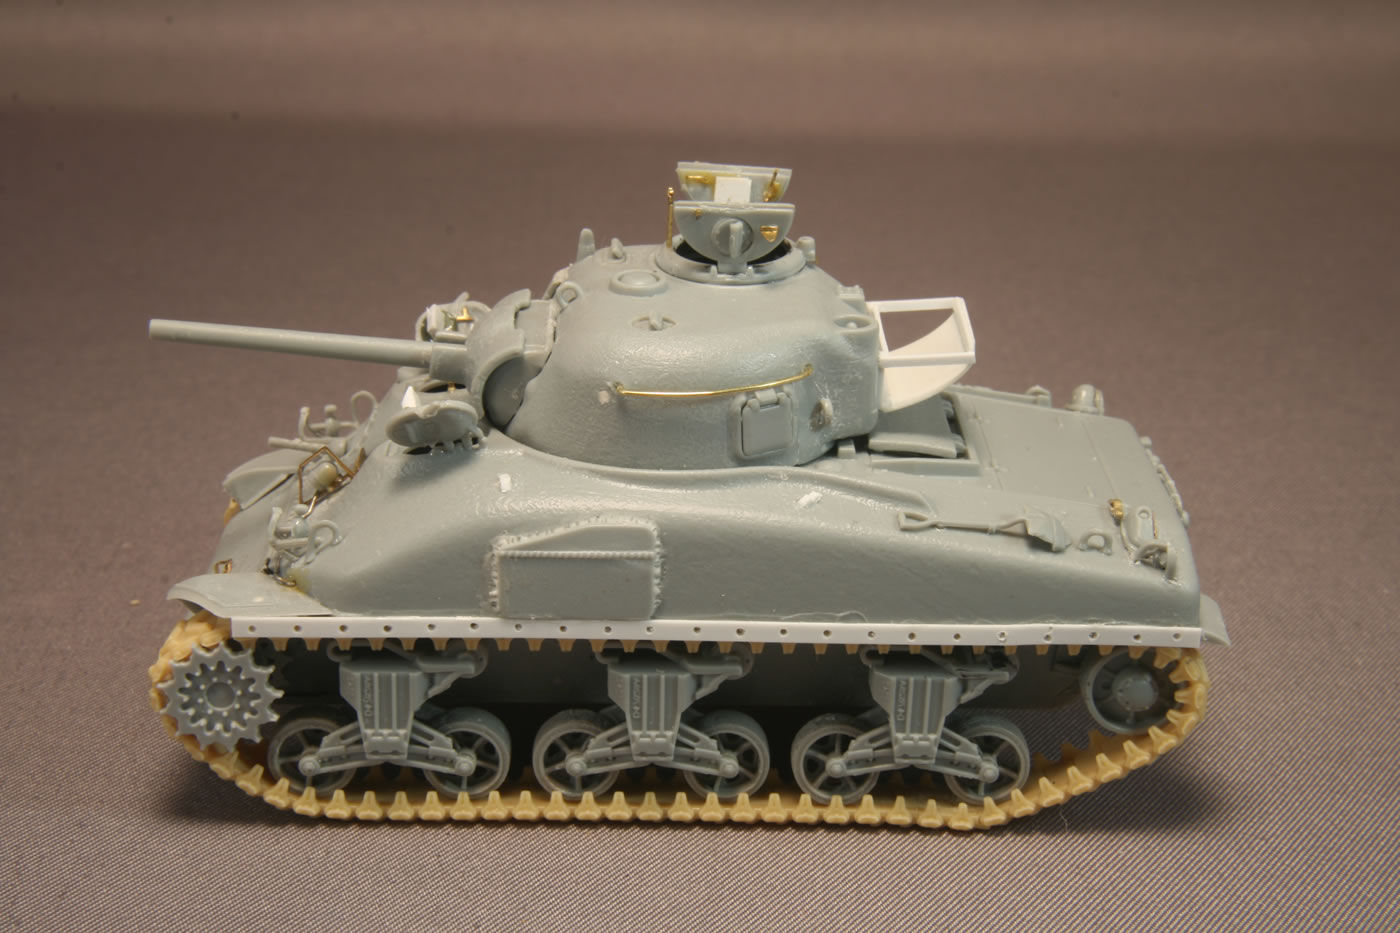
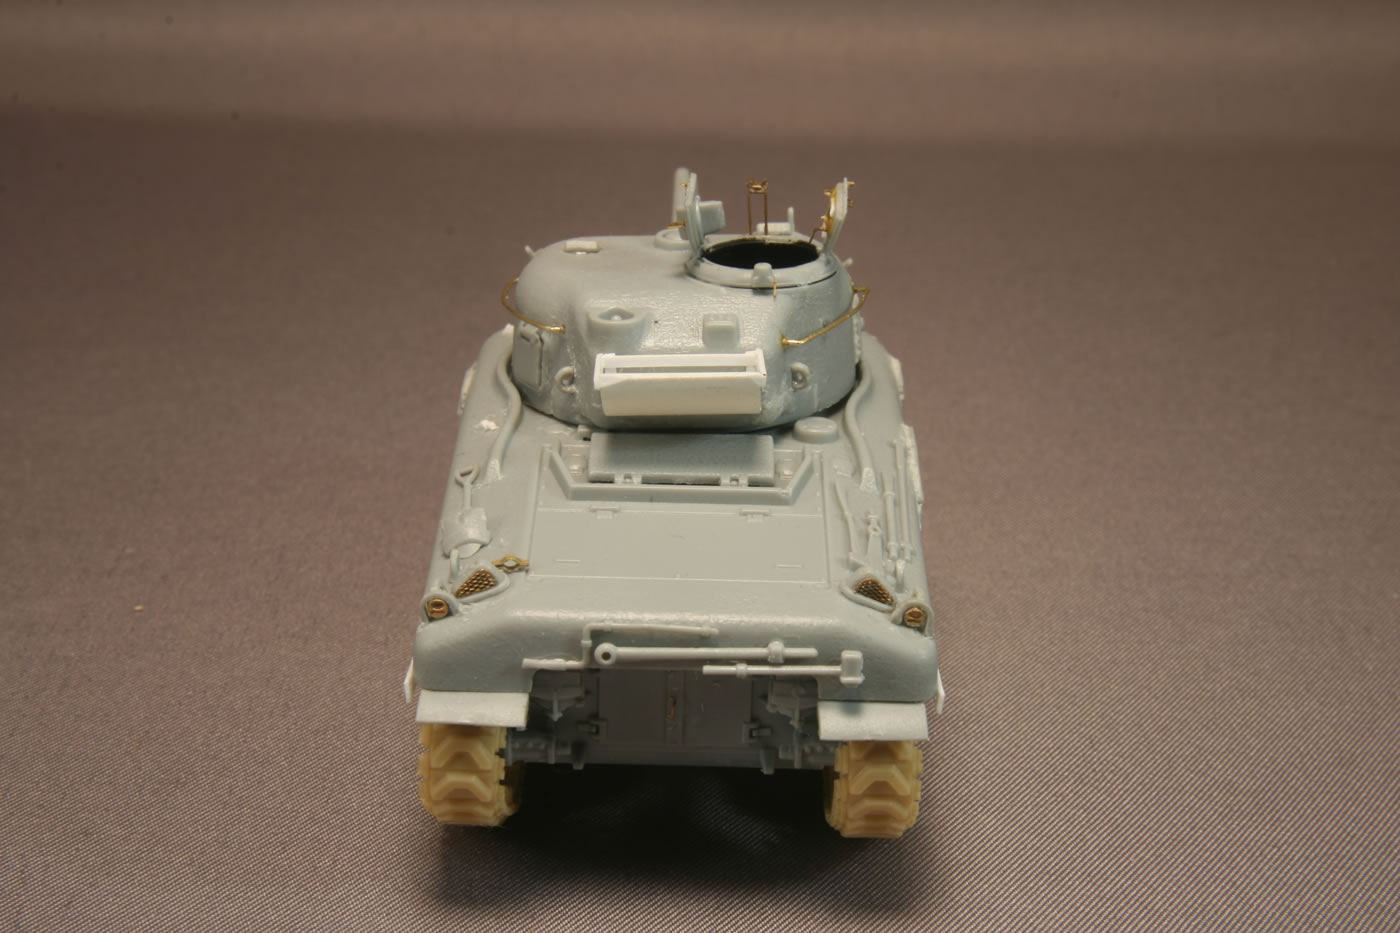
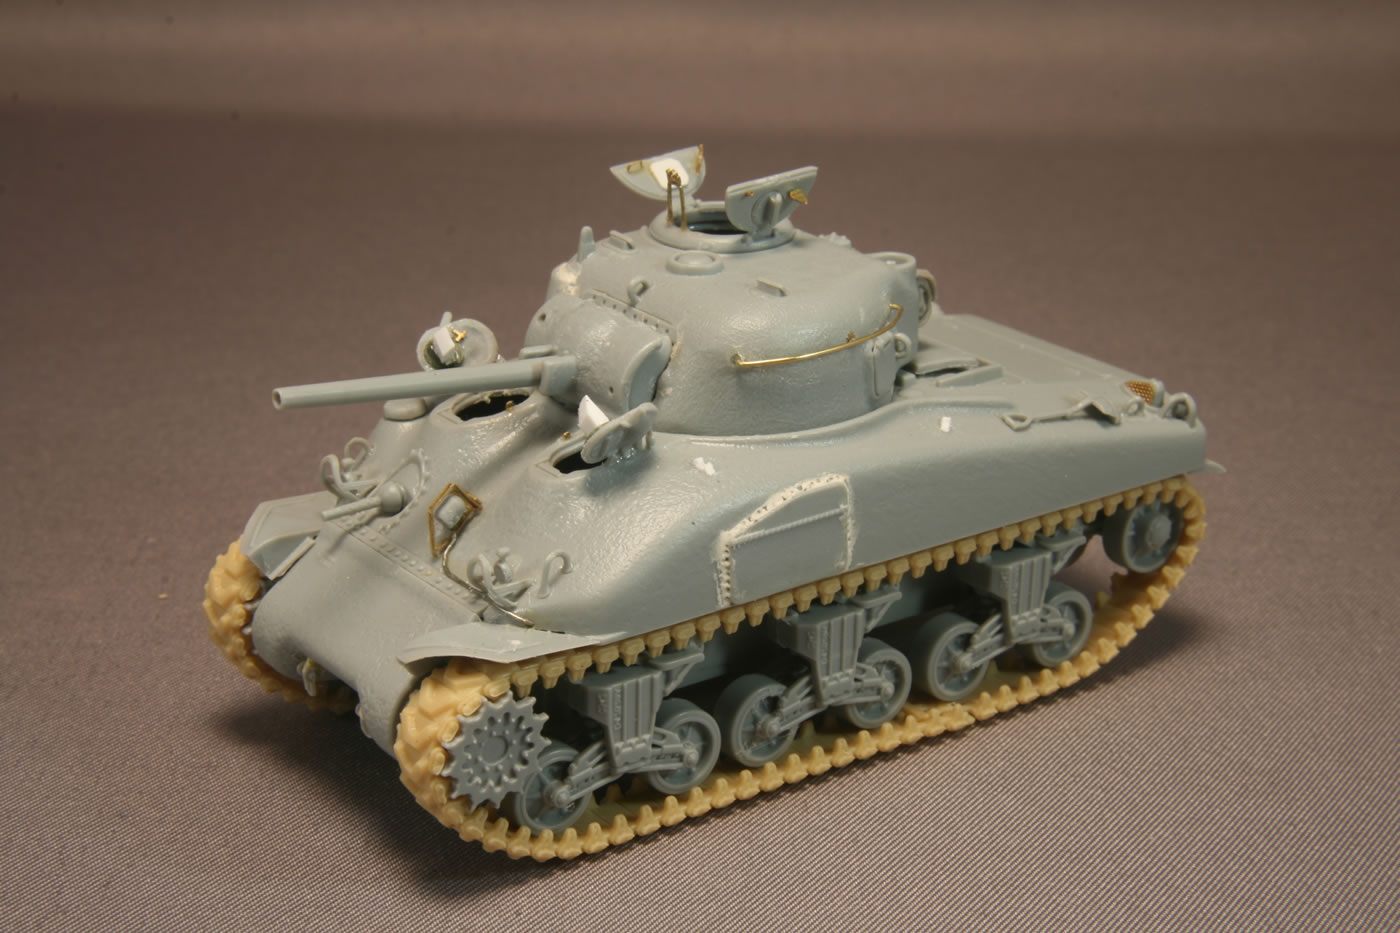
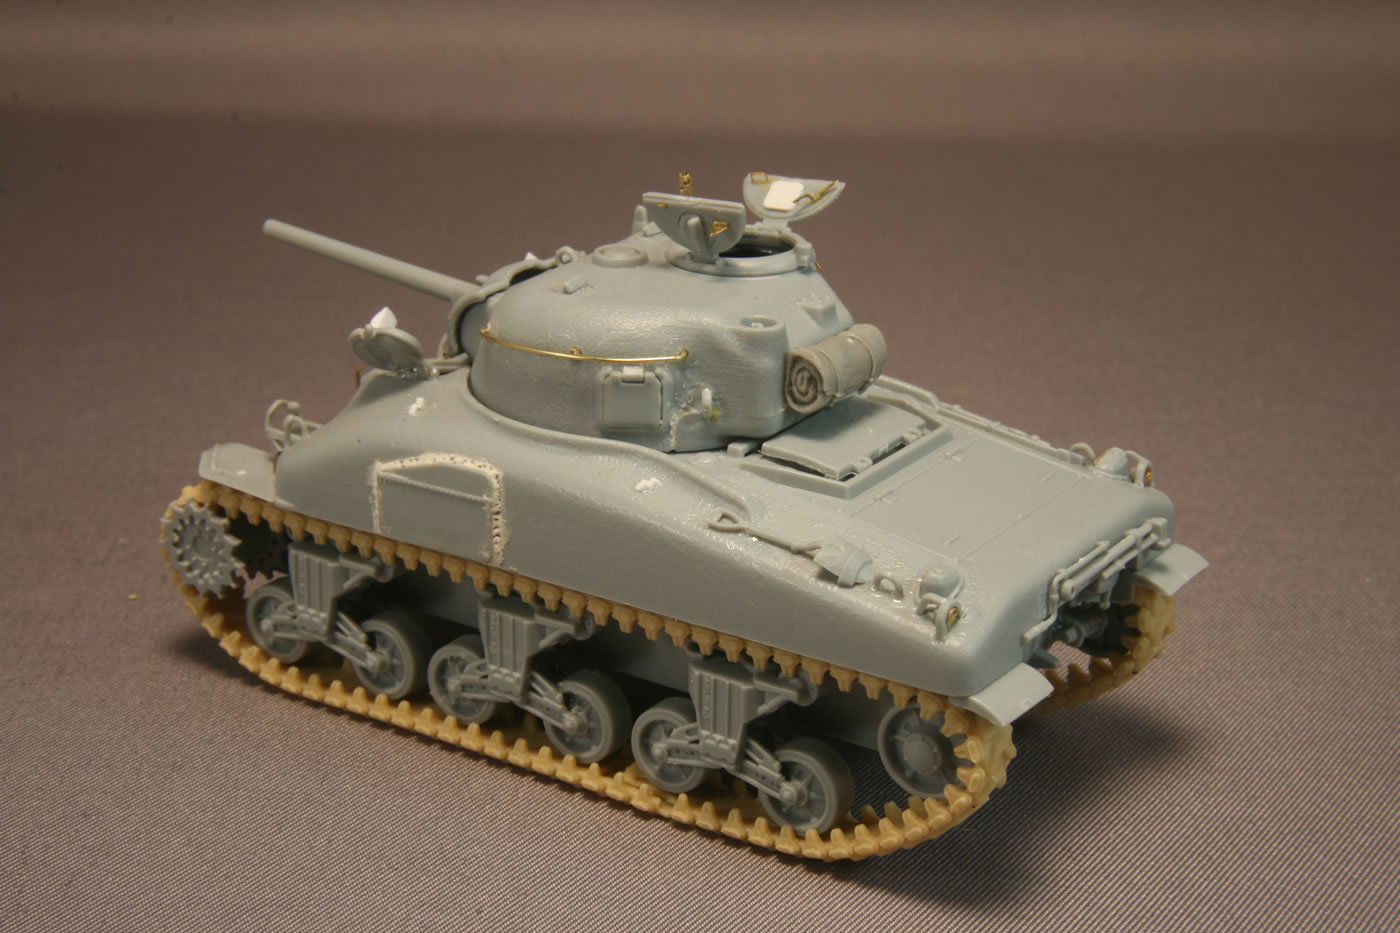
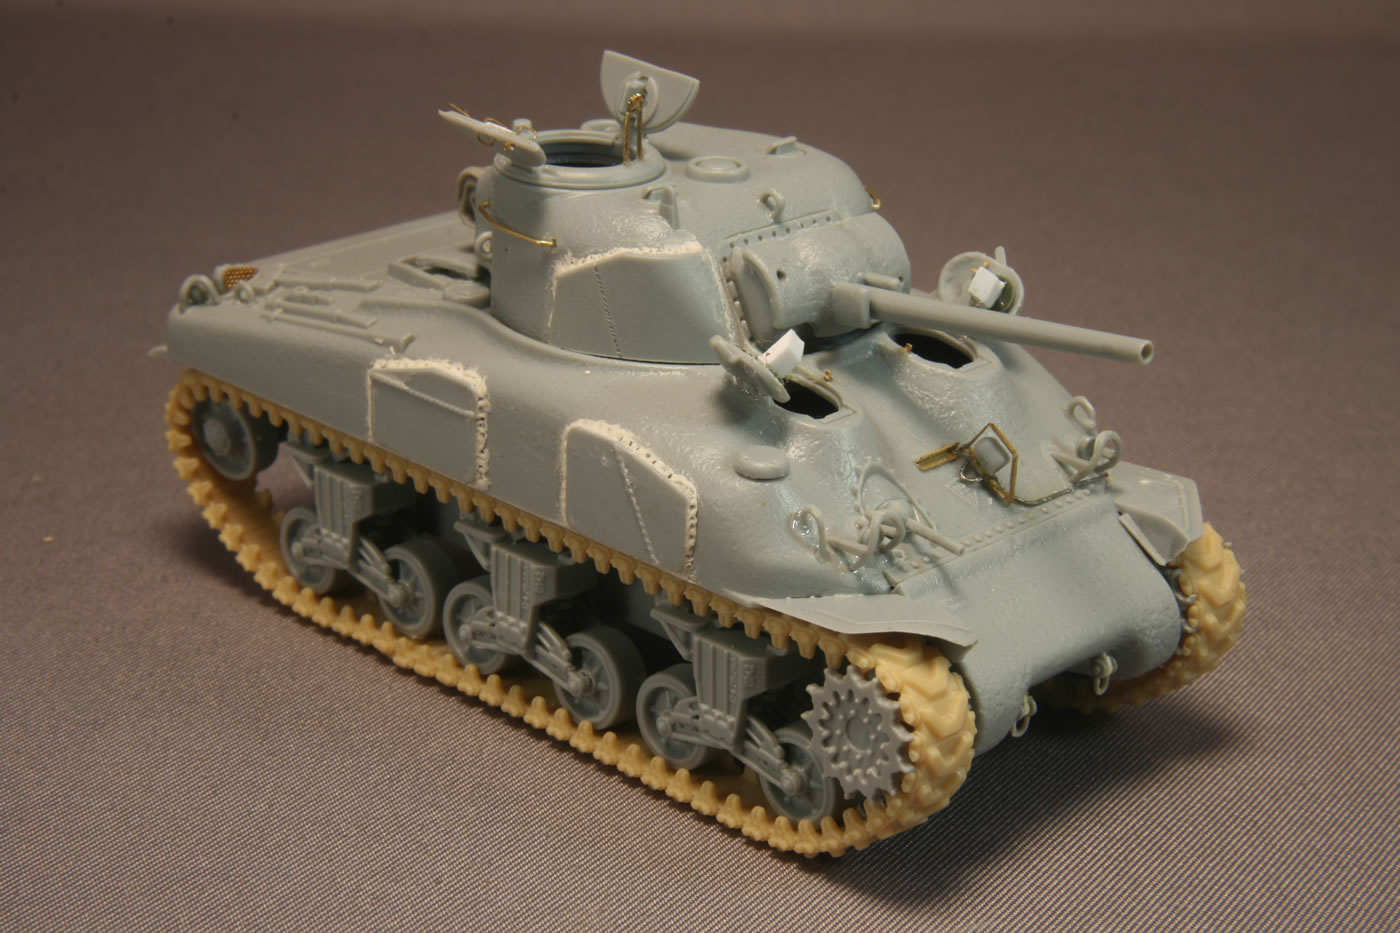
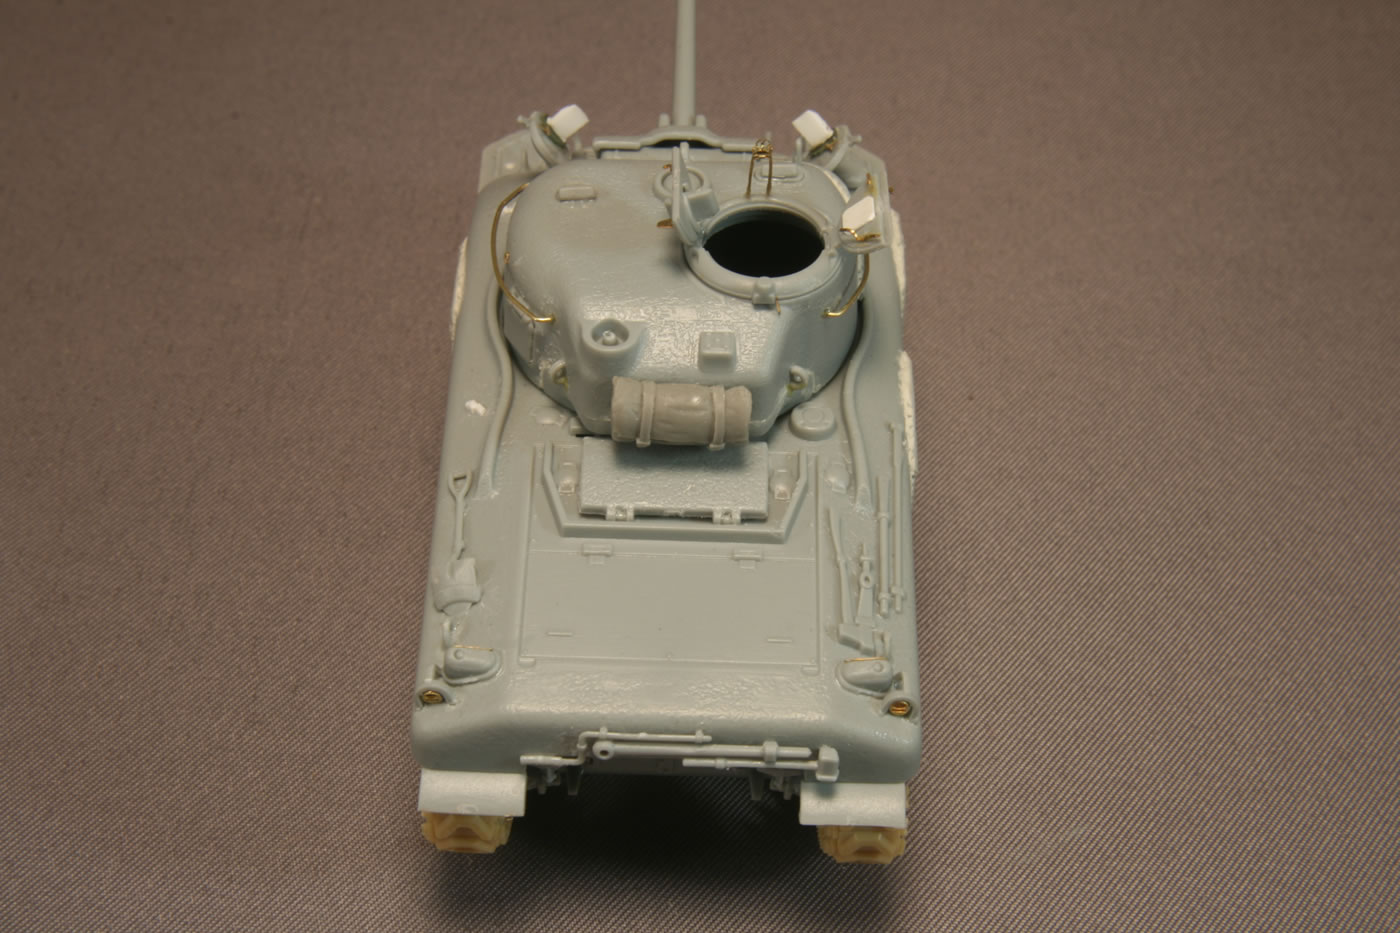
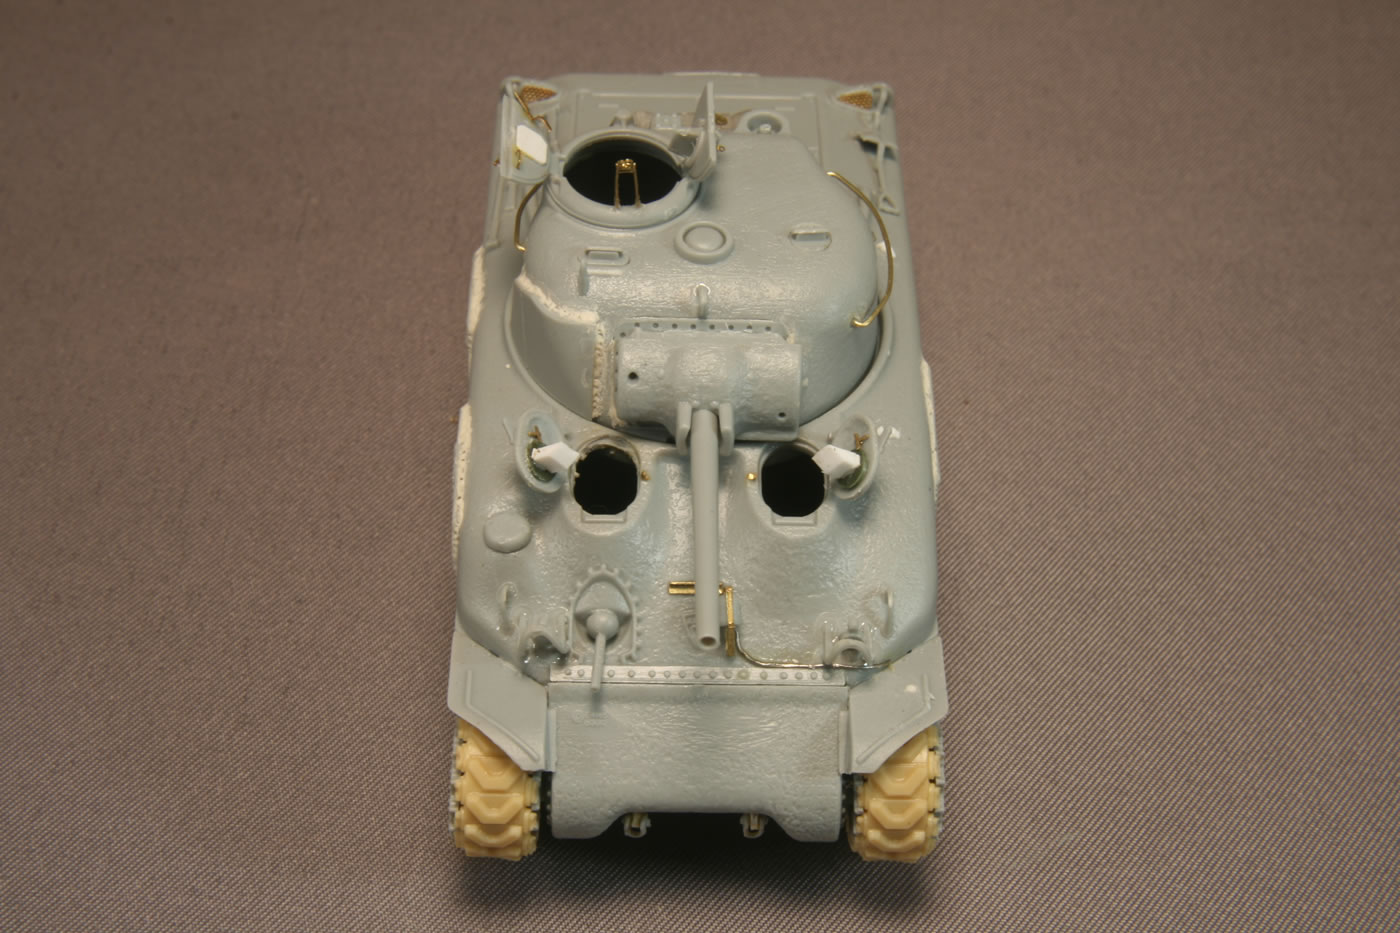
For Derby, I carved out the solid spoke wheels integrated with the back half of the suspension arms, and the Calibre72 resin replacements were sandwiched between the arm pieces. I had a few instances of the little wheelies popping out while manhandling the lower hull, so be careful if trying this at home. (For the record, I prefer the relative ease of Trumpeter's suspensions.) Derby also had the welded sand shield bar along the hull sides, which I made out of plastic strip I painstakingly drilled. With all of this effort on Derby, I opted to go without these features on Delight. I also decided to give Delight a different stowage arrangement from Derby so there would be additional natural differences between the two tanks. But to both I continued to add details, such as the securing clamps and cleats for the towing cables and stowage bars on the turrets. I opted for the plastic light guards (I saved the photoetch versions for future Trumpeter kits). While the kit includes some photoetch handles and latches for the hatches, I decided more was needed. The hull hatches are missing periscope details, so I added those along with pull handles. After I got the hatches all glued in place, I was still dissatisfied with the looks of them, and pulled out my Dremel. Very carefully, I carved out the kidney-shaped hollows across from the periscopes—successfully avoiding breaking any hatches off the hull! For the commanders hatches, I added strips for the flange covering the open seams between the hatch halves; the head padding; and the locking handles. The incredibly fragile clips to secure 50 machine gun barrels across the commander's hatches were carefully bent and glued in place. No .50 machine guns, however, were seen in the Derby photos. Derby
Delight
I got the models painted, marked, and weathered. I was lucky to get two sets of decals with one of the Shermans, so I was able to cobble together the However, I won't glue the upper hull to the bottom hul on either model until I get the driver and assistant driver figures in place in the hull.
-tss-
|


 |
 |
 |
 |
 |
 |
 |
 |
 |
 |
 |
 |
|